
A Step-by-Step Guide to Crafting Homemade Stress Balls: Fun for Parents and Kids Alike!
Hello, wonderful parents and craft enthusiasts! ? Are you ready to dive into a delightful activity you and your kids will absolutely adore? It’s time to get crafty and squeeze the stress away by making your very own stress balls! Whether it’s for helping little hands strengthen their grip or for taking a much-needed pause from the hustle and bustle of daily life, stress balls are a fun and easy project for families to enjoy together. Let’s roll up our sleeves and create some squishy magic!
Why Making Stress Balls Is a Must-Try Family Activity
Stress balls are not just a way to keep your fingers busy, they’re a fantastic tool for relaxation, concentration, and sensory play. Plus, they provide a splendid way to bond with your children while nurturing their creative spirits. By making stress balls at home, you’ll find the perfect blend of fun, creativity, and motor skills development for your little ones. Now, isn’t that a trifecta of awesomeness? ?
What You’ll Need:
- Durable balloons (preferably latex and an assortment of colors)
- Filling material (such as flour, rice, or fine sand)
- A funnel or a DIY paper cone
- A spoon or something similar to push the filling
- Empty water bottles
- Scissors
- Permanent markers (optional for decoration)
Before you begin, make sure your crafting area is easy to clean, as some fillings can be a bit messy if they escape the balloon. This is part of the fun though—embracing the joy of messy play can be a wonderful stress reliever in its own right!
Step 1: Prepare Your Filling
First up, pick your filling! Each material provides a different texture and squeeze-factor, so feel free to experiment. Flour will give a softer feel, rice adds a grainy texture, and fine sand provides a heavier, more malleable experience. Whichever you choose, ensure it’s handy and ready for action.
Step 2: Prepping the Balloons
Grab those colorful balloons, and let’s stretch them out! Gently pull and expand them to make the filling process smoother. This is a great exercise for the kids to get involved in as well—it’s like a mini aerobic session for those tiny fingers! ?
Step 3: Fill ’em up!
Now, take the empty water bottle and attach the balloon to its neck. Using your funnel or paper cone, pour your chosen filling into the bottle. Then, hold tight and turn the bottle upside down to let gravity do its work – shake, wiggle, and jiggle until the balloon is filled to the desired size. Once filled, carefully remove the balloon from the bottle, making sure to keep the contents from spilling out.
Step 4: Tie It Up and Trim
After the balloon is filled with your chosen material, have an adult carefully tie off the neck of the balloon to secure the filling inside. It’s like tying a tiny, squishy present and the end result is so satisfying! If there’s any excess rubber from the balloon, snip it off with scissors to give your stress ball a neat finish. But please, do watch those fingers while snipping away. ??
And there you have it, the start of your stress relief journey through crafting! But I’m not leaving you hanging, dear readers. I know you’re all excited to finish your beauteous balls of bliss, and I promise we’ve got plenty more to talk about, including personalizing your creations and ensuring they’re built to last. Stay tuned for more tips and tricks in the next segment. Until then, keep smiling and squeezing! ?
By the end of this guide, you’ll not only have a handful of homemade stress balls but also a treasure chest of happy moments shared with your family. So, stick around as we continue this delightful DIY adventure.
Want to ensure each stress ball is as unique as the person squeezing it? In the next section, we’ll delve into decorating your stress relievers and explore different fillings for a variety of textures. You won’t want to miss it!
5 Helpful Tips for Parents Preparing to Make Stress Balls
Ready to start the fun adventure of making stress balls with your kids? Here are five essential tips to help parents prepare for an enjoyable and hassle-free crafting experience:
Tip #1: Choose the Right Balloons
When selecting balloons for your homemade stress balls, prioritize durability. Look for thick latex balloons that can withstand handling and won’t easily burst. This is particularly important as little hands can get quite enthusiastic during the squeezing process. Also, choose various colors for an extra splash of joy and to allow for customization to each family member’s preference.
Tip #2: Set Up a Kid-Friendly Workspace
A big part of the stress ball-making process involves filling, which can get messy. Cover your workspace with newspapers or a disposable tablecloth for easy clean-up. Keep your materials organized and within easy reach for everyone. Encourage the kids to wear old clothes or aprons, so they can freely enjoy the activity without you worrying about stains or spills.
Tip #3: Experiment with Different Fillings
One of the joys of DIY stress balls is finding the perfect filling. Consider various options like flour, rice, play sand, cornstarch, and even beads for a range of sensory experiences. Remember that different fillings provide unique textures and squeezing sensations, so don’t shy away from testing out a few different types to find your favorites.
Tip #4: Keep Safety in Mind
Always supervise children throughout the crafting process, especially when it comes to tying the balloons and trimming the excess rubber. Keep scissors out of reach when not in use, and ensure you – the parent – handle the more perilous parts while involving the kids in safer steps like filling and decorating.
Tip #5: Personalize the Experience
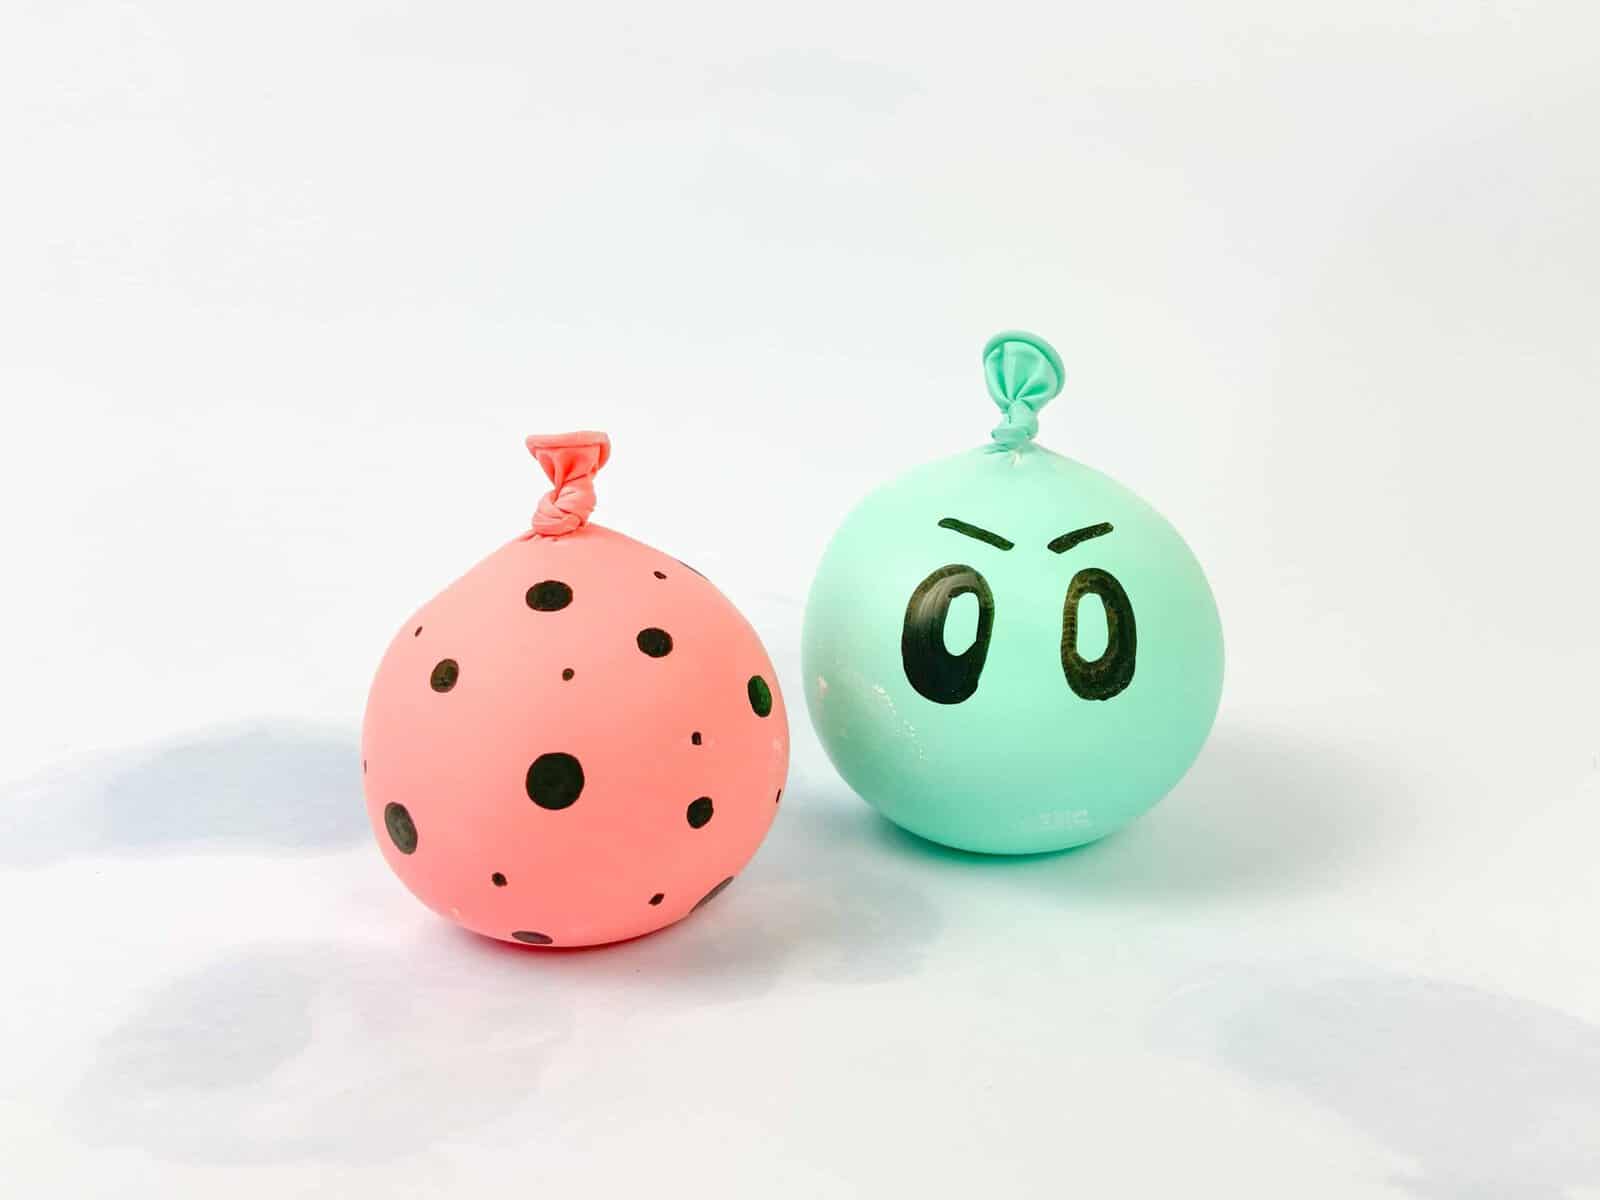
Bring out the permanent markers and let your children unleash their creativity by decorating the stress balls. They can draw faces, patterns, or write their names. Not only does this foster creative expression, but it also allows kids to claim their craft as their own, making the stress-relief process even more personal and enjoyable.
With this quintet of tips at the ready, you’re well on your way to a successful stress ball-making session. Keep in mind that the goal is not just to end up with a stress-relieving tool but also to savor the moments of togetherness and the smiles that come from collaborative creation. Dive in and have loads of fun! ?
Completing Your Stress Ball: Final Touches and Care Instructions
After following steps 1 through 4, it’s time to put the final touches on your stress balls and ensure they’re ready for action!
Decorate Your Stress Balls
With the stress balls assembled, bring out the markers and give your new squishy buddies some personality. Encourage the kids to think of designs or characters that make them feel happy and calm.
Ensure Durability
To avoid any accidental breakage and prolong the life of your stress balls, consider double-layering them. Carefully cut off the neck of another balloon and stretch it over the filled and tied one. This provides an additional layer of protection and can add a nice two-tone effect or a surprise color reveal as the stress ball is squeezed.
Care for Your Stress Balls
To keep your stress balls in tip-top shape, store them in a cool, dry place away from direct sunlight, which can degrade the rubber over time. If a stress ball does happen to break, clean up the contents immediately to avoid a mess, especially if you’ve used something like rice or flour.
With these steps complete, your family’s stress-relief toolkit will be wonderfully enhanced. Remember, the beauty of DIY is in the process as much as it is in the end product. Happy crafting, and stay squishy!
Remember, everyone’s experience will be as unique as the stress ball they create. Share your dynamic duos of parents and children working together and the joyous results of your crafting on your favorite social media platforms, uplifting others to join in on the fun. The world could always use more happy, handmade, stress-busting pals! ?
See more great Things to Do with Kids in New Zealand here. For more information see here
Disclaimer
The articles available via our website provide general information only and we strongly urge readers to exercise caution and conduct their own thorough research and fact-checking. The information presented should not be taken as absolute truth, and, to the maximum extent permitted by law, we will not be held liable for any inaccuracies or errors in the content. It is essential for individuals to independently verify and validate the information before making any decisions or taking any actions based on the articles.


