
How to Make Your Own DIY Wheat Bags: A Warm and Cozy Crafting Guide for Parents
Hey there, amazing parents! Are you looking for a crafty project that’s both beneficial and delightful to share with your kiddos? Look no further, because homemade DIY wheat bags are here to sprinkle some warmth into your family crafts!
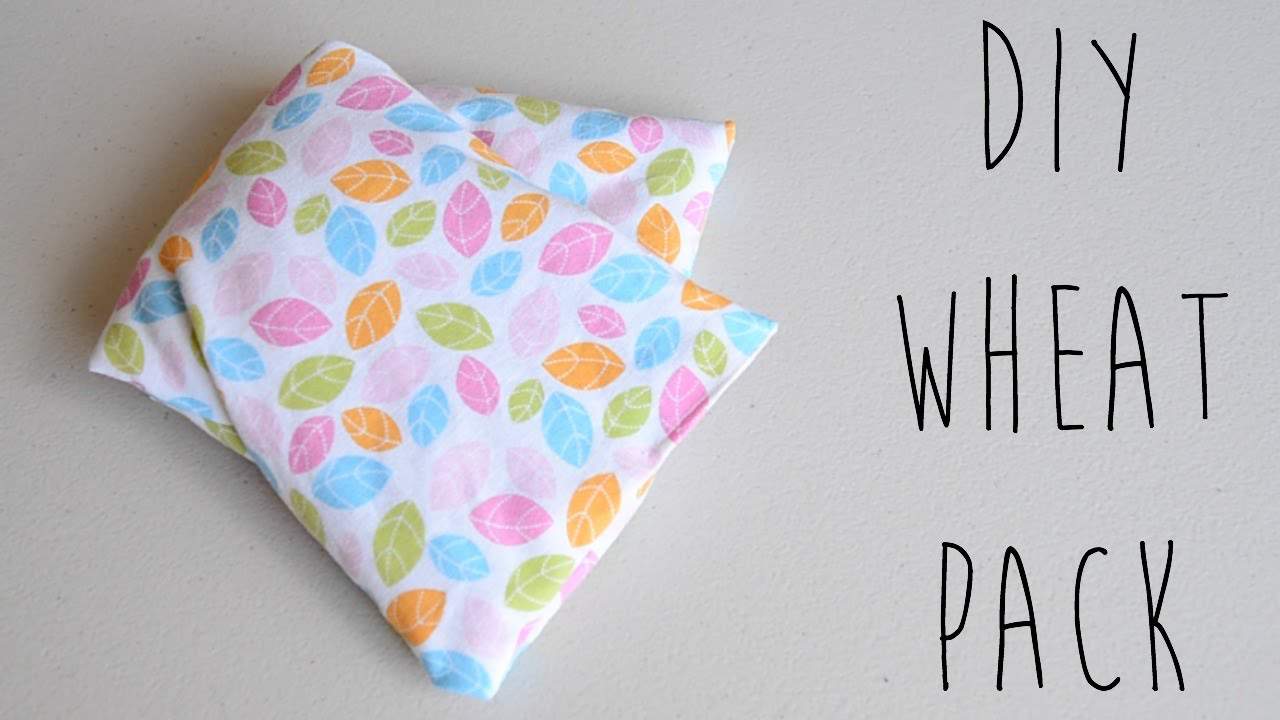
What is a Wheat Bag?
A wheat bag is essentially a pouch filled with grains, like wheat, which can be heated in the microwave or chilled in the freezer. It’s a perfect, safe, and natural alternative to electric heating pads or hot water bottles. Not only are they cozy for cuddling on a cool day, but they can also soothe aches and pains.
Benefits of Homemade Wheat Bags
- Eco-friendly: By making your own, you’re creating a reusable product that reduces waste!
- Cost-effective: Skip the pricey store-bought versions and customize your own for a fraction of the cost.
- Personalized crafting fun: You can pick your favorite fabrics and designs, making this a personalized accessory or gift.
- Therapeutic activity: Whether it’s the calming effect of sewing or the warmth from the finished product, wheat bags are a treat for the soul.
Materials You’ll Need to Make a DIY Wheat Bag
- 100% Cotton Fabric: Choose a material that’s durable and comfortable against skin. Remember, it needs to withstand heat!
- Wheat grains: You can find these at health food stores or online. Make sure they’re clean and free from pests.
- Thread: Strong cotton thread to ensure your bag remains sealed and secure.
- Sewing Machine or Needle: For those who prefer sewing machines or love the mindfulness of hand-stitching, either option will do!
- Scissors or Rotary Cutter: For cutting your fabric to the desired size.
- Funnel or Spoon: For pouring the wheat into your bag without making a mess.
- Measuring Tape or Ruler: To make sure your dimensions are precise.
- Dried Herbs or Essential Oils (optional): For an added touch of aromatherapy, consider lavender or chamomile.
Choosing the Right Fabric
When picking out fabric for your wheat bag, consider using 100% natural fibers like cotton or linen for safety and comfort. Synthetic fabrics are not recommended as they can melt or burn in the microwave. Opt for fun patterns or soothing colors that make the crafting process joyful and result in a beautifully designed end product.
Step-by-Step Instructions to Create Your Wheat Bag
Now that you’re geared up with your materials, it’s time to plow ahead into the crafting process with gusto! Let’s set the foundation for a snuggly wheat bag that’s sure to be a family favorite.
- Measure and cut two pieces of fabric to your preferred size. A good starting point is 20cm x 30cm, great for a versatile wheat bag.
- Pin the fabrics together, with the right sides facing each other, to prepare for sewing.
- Sew around the edges, leaving a small opening for the wheat to be poured in later. Be sure to backstitch at the start and end of your sewing for extra durability.
- Clip the corners and turn the bag right side out. This will give a neater edge and better shape to your wheat bag.
- Using a funnel or spoon, carefully fill the bag with wheat grains. Don’t overfill it – around two-thirds full allows the bag to remain flexible.
- If you’re adding dried herbs or a few drops of essential oil, now’s the time to sprinkle or drip them onto the wheat.
- Pin the opening shut, ensuring the wheat is pushed back to avoid spilling whilst you sew it closed.
- Finally, stitch the open gap securely. You can do this with a sewing machine or with a neat hand stitch, whichever you prefer.
Congratulations, you’ve now created a soothing and snug DIY wheat bag! But wait, there’s more to learn about using and caring for your new creation – stay tuned for the next segment, where we’ll discuss heating instructions, safety tips, and how to clean your wheat bag.
5 Things Parents Should Know Before Preparing DIY Wheat Bags
Before diving into the creation of your DIY wheat bags, there are a few things to keep in mind to ensure a successful crafting experience:
- Safety First: Always supervise children during the crafting process, especially when sewing and filling the wheat bags. Ensure that any sharp tools are handled with care and that hot sewing machines or irons are out of reach.
- Quality of Wheat: Purchase high-quality, triple-cleaned wheat to avoid any bugs or impurities. The cleaner the wheat, the less likely you are to encounter issues when heating your wheat bag.
- Microwave Specifications: Each microwave is different, and wattages vary, which means heating times will differ. Before letting the kids cuddle up with a warmed wheat bag, test different timings to find the optimal heating duration for your microwave.
- Maintaining Cleanliness: Since wheat bags cannot be washed like normal fabric, it’s crucial to use a clean work area and clean hands while making your bags. Consider creating a removable washable cover to keep the actual wheat bag clean over time.
- Consider Allergies: Ensure that no one in your family has wheat or grain allergies. If there are sensitivities, alternative fillings such as rice, dried corn, or barley can be used to fill your DIY bags.
Caring for Your DIY Wheat Bag
After crafting and enjoying the warm coziness of your wheat bag, you’ll want to know how to care for it properly. Here’s some advice on maintenance and safety:
- Heating: Heat the wheat bag in the microwave at short intervals, shaking between each round to distribute the heat. Always follow the recommended heating time and never overheat.
- Storage: Store your wheat bag in a cool, dry place to prevent moisture buildup, which can lead to mold. If you infrequently use the bag, storing it in the freezer will also keep it fresh and ready to use.
- Refreshing Aromas: If you’ve added dried herbs or essential oils, you may need to occasionally refresh the scent. Just add a few more drops of essential oil on the bag’s exterior to rejuvenate the fragrance.
- Inspection: Regularly check the bag for signs of wear and tear. If the fabric starts to thin or rip, it’s time to make a new wheat bag to prevent spills and potential burns.
Incorporating the DIY Wheat Bag into Your Family Routine
Once you’ve made your DIY wheat bags, you’ll find they seamlessly fit into many family activities. Use them to warm beds on chilly nights, soothe sore muscles after sports, or as comforting weights during calm-down time. The fun doesn’t end with crafting; it extends into every warm hug your handmade wheat bag gives.
So, aren’t you thrilled to introduce this wholesome activity to your family’s crafting repertoire? These nifty bags are not only a joy to create but also serve as a handy addition to your home’s comfort essentials. Enjoy the blend of crafting, quality time, and the pleasant warmth of your very own DIY wheat bags. Let the cozy crafting begin!
See more great Things to Do with Kids in New Zealand here. For more information see here
Disclaimer
The articles available via our website provide general information only and we strongly urge readers to exercise caution and conduct their own thorough research and fact-checking. The information presented should not be taken as absolute truth, and, to the maximum extent permitted by law, we will not be held liable for any inaccuracies or errors in the content. It is essential for individuals to independently verify and validate the information before making any decisions or taking any actions based on the articles.


