
Easy Play Dough Recipe for Endless Fun at Home
Welcome, amazing parents and guardians, to your go-to guide for creating the squishiest, most colorful play dough right at home! If you’re looking to whip up some homemade fun that promises to keep the little munchkins engaged for hours, you’ve clicked on the right article. Today, we’re diving into the magical world of play dough — the pliable, moldable wonder that has been captivating the hearts and imaginations of children across the globe. Get ready for an easy, no-fail play dough recipe that’s not only cost-effective but also safe for those tiny, curious hands.
Why Choose Homemade Play Dough?
Before we get our hands doughy, let’s chat about why homemade play dough is simply the best choice. Commercial play dough can be expensive and sometimes contains ingredients that may not be the best for our kids. Going the DIY route means you can control what goes into the mix, ensuring a non-toxic, allergy-friendly playing experience for everyone.
Your Ultimate Easy Play Dough Recipe
Now, the moment you’ve been waiting for — the recipe! This easy-to-make play dough comes together with just a few kitchen staples, which means less time shopping and more time shaping. Here’s what you’ll need to create your very own batch of homemade happiness:
- 2 cups all-purpose flour
- 3/4 cup salt
- 4 teaspoons cream of tartar
- 2 tablespoons vegetable oil
- 2 cups lukewarm water
- Food coloring (optional)
- Your choice of scents using essential oils or extracts (optional)
- Glitter or confetti for a sparkly twist (optional)
Here’s how to bring it all together:
- Mix Dry Ingredients: In a large mixing bowl, whisk together the flour, salt, and cream of tartar.
- Add Wet Ingredients: Next, stir in the water and vegetable oil. If you’re planning on making different colors, divide the dough into portions now.
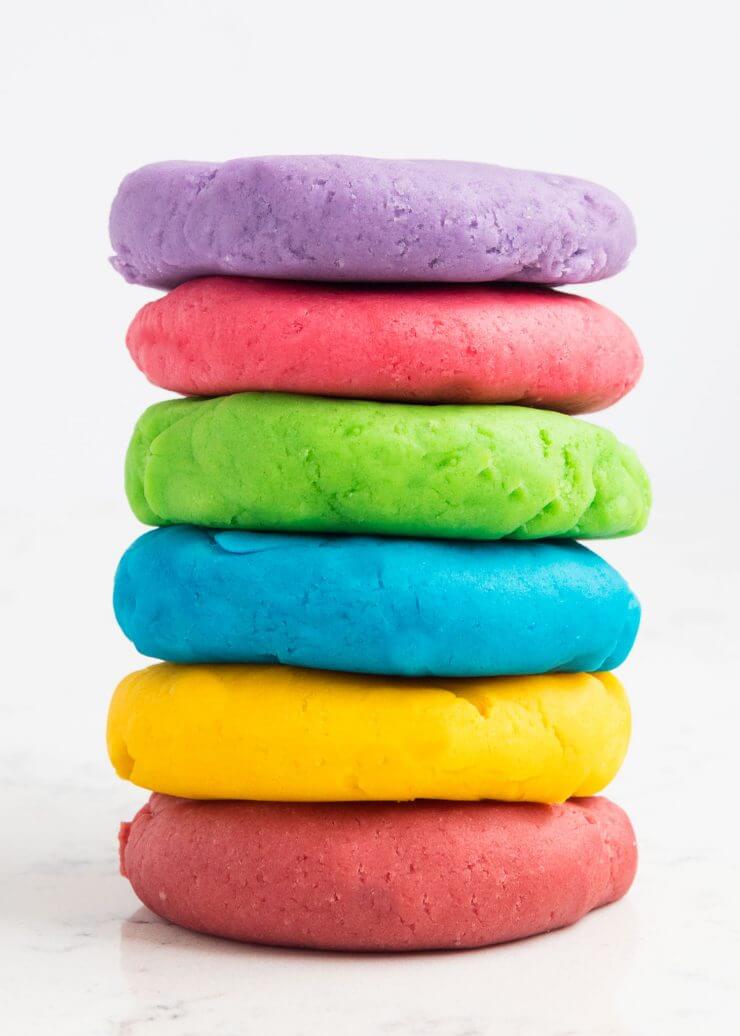
- Add Color and Sparkle: For each portion, add food coloring, sparkles, or scents and knead until the color is evenly distributed and the dough is smooth. If using glitter, fold it into the dough for a fun, shimmery effect.
- Cook the Dough: Pour each portion into a nonstick pan and cook over low heat. It’s important to continuously stir to prevent sticking. The dough will begin to thicken and eventually form a clump.
- Cool Down: Once the dough is no longer wet and has formed a solid ball, place it on a sheet of wax paper to cool. Be careful as it will be hot right off the pan.
- Final Kneading: After the dough has cooled down enough to handle, give it a final knead to make sure all ingredients are fully integrated. If the play dough is still sticky, add a bit more flour until the consistency is just right.
And voila! Just like that, you’ve made your very own play dough. Remember, the key to perfect play dough is in the kneading — so don’t be afraid to get in there and work the dough with love and care. Now, let’s talk about storing your play dough to keep it fresh!
Storing Your Homemade Play Dough
To ensure your play dough stays soft and pliable for the long haul, proper storage is key. Here are a few tips to keep it fresh:
- Airtight Containers: Store your play dough in zip-top bags or airtight containers to prevent it from drying out.
- Keep it Cool: If your home is warm or humid, consider storing the play dough in the refrigerator to help it retain its texture.
- Refresh with Water: If the play dough starts to dry out, a few drops of water kneaded into the dough can bring it back to life.
Creating homemade play dough is not just an activity; it’s an adventure that you and your kids can embark on together. It’s also an amazing opportunity for sensory play, fine motor skill development, and a fantastic way to bond with your little ones.
Up next, we’ll explore how you can turn play dough into an educational experience and share some fun play ideas to spark your child’s imagination. So, keep that apron on; our adventure into the world of homemade play dough is just getting started!
Ready to roll, squish, and create unforgettable memories? Let the fun begin!

Five Things Parents Should Know When Preparing Easy Play Dough Recipe
1. Quality Ingredients Matter
Just like with any recipe, the ingredients you choose can make a difference in the outcome. Opt for high-quality flour and salt to ensure that the dough is soft and pliable. Lower quality ingredients may result in a crumblier texture that doesn’t hold up as well to little hands at play.
2. Consistency is Key
Getting your play dough’s consistency right is crucial for the best play experience. If the dough turns out too sticky, add more flour in small increments. If it’s too crumbly or dry, a little bit of water can help. Remember, patience is your friend – consistent kneading and adjusting will get your dough to the perfect texture!
3. Color with Care
Food coloring is fabulous for creating vibrant dough, but it can get messy! Wearing gloves while kneading in the colors can save you from stained hands. Also, consider using natural food coloring or dyes to keep things as non-toxic as possible. Be mindful when adding sparkles or confetti that they are also safe and non-toxic for children.
4. Allergies and Sensitivities
Always consider potential allergies and sensitivities. The basic play dough recipe is wheat-based, so for gluten sensitivities, you can substitute in a gluten-free flour blend. If you’re adding scents or essential oils, make sure they’re safe and appropriate for children’s sensitive skin and system.
5. Involving Kids in the Process
Making play dough can be as much fun as playing with it. Involving kids in the process gives them a sense of accomplishment and can be an educational experience. Let them measure ingredients, choose colors, and knead the dough. It’s a wonderful way to introduce them to basic cooking concepts and cause-and-effect in a tangible, engaging way.
Fun Play Ideas to Spark Creativity
Once you’ve got your freshly made play dough, it’s time to inspire the kids with some creative fun:
- Create a theme-based play date. Turn play dough time into a mini-adventure, from making play dough animals to molding shapes that rocket into space.
- Combine play dough play with learning. Letter cutters can make spelling fun, while shape cutters reinforce geometry skills.
- Mix in some tools! Adding cookie cutters, rolling pins, and other safe kitchen utensils can offer new textures and shapes to explore.
Remember, the most important ingredient in your play dough fun is your imagination. Encourage your kids to think outside the play-mat and bring their own unique ideas into the mix. And always be around to guide them and share in the joy of their creations, because the experiences you create now will become cherished memories for you and your little ones.
Ready to roll, squish, and create unforgettable memories? Let the fun begin!
. For more information see here
Disclaimer
The articles available via our website provide general information only and we strongly urge readers to exercise caution and conduct their own thorough research and fact-checking. The information presented should not be taken as absolute truth, and, to the maximum extent permitted by law, we will not be held liable for any inaccuracies or errors in the content. It is essential for individuals to independently verify and validate the information before making any decisions or taking any actions based on the articles.


