
Kickstart Your Family’s Pizza Adventures: A Parent’s Guide to Perfect Pizza Dough

Hello there, wonderful parents! Are you ready to become the superheroes of pizza night? Well, fasten your aprons because we’re diving into the world of homemade pizza dough! Imagine the smiles and the unforgettable fun as you and your little ones create magic in the kitchen. We’re not just talking about any pizza dough, oh no, we’re on a quest for the perfect pizza dough!
Why Homemade Pizza Dough Wins Every Time
Before we get our hands floury, let’s talk about why homemade pizza dough is leaps and bounds above store-bought. Making your dough from scratch is not only a terrific way to bond with your kids, but it also gives you control over the ingredients—no more preservatives or additives, just simple, wholesome goodness!
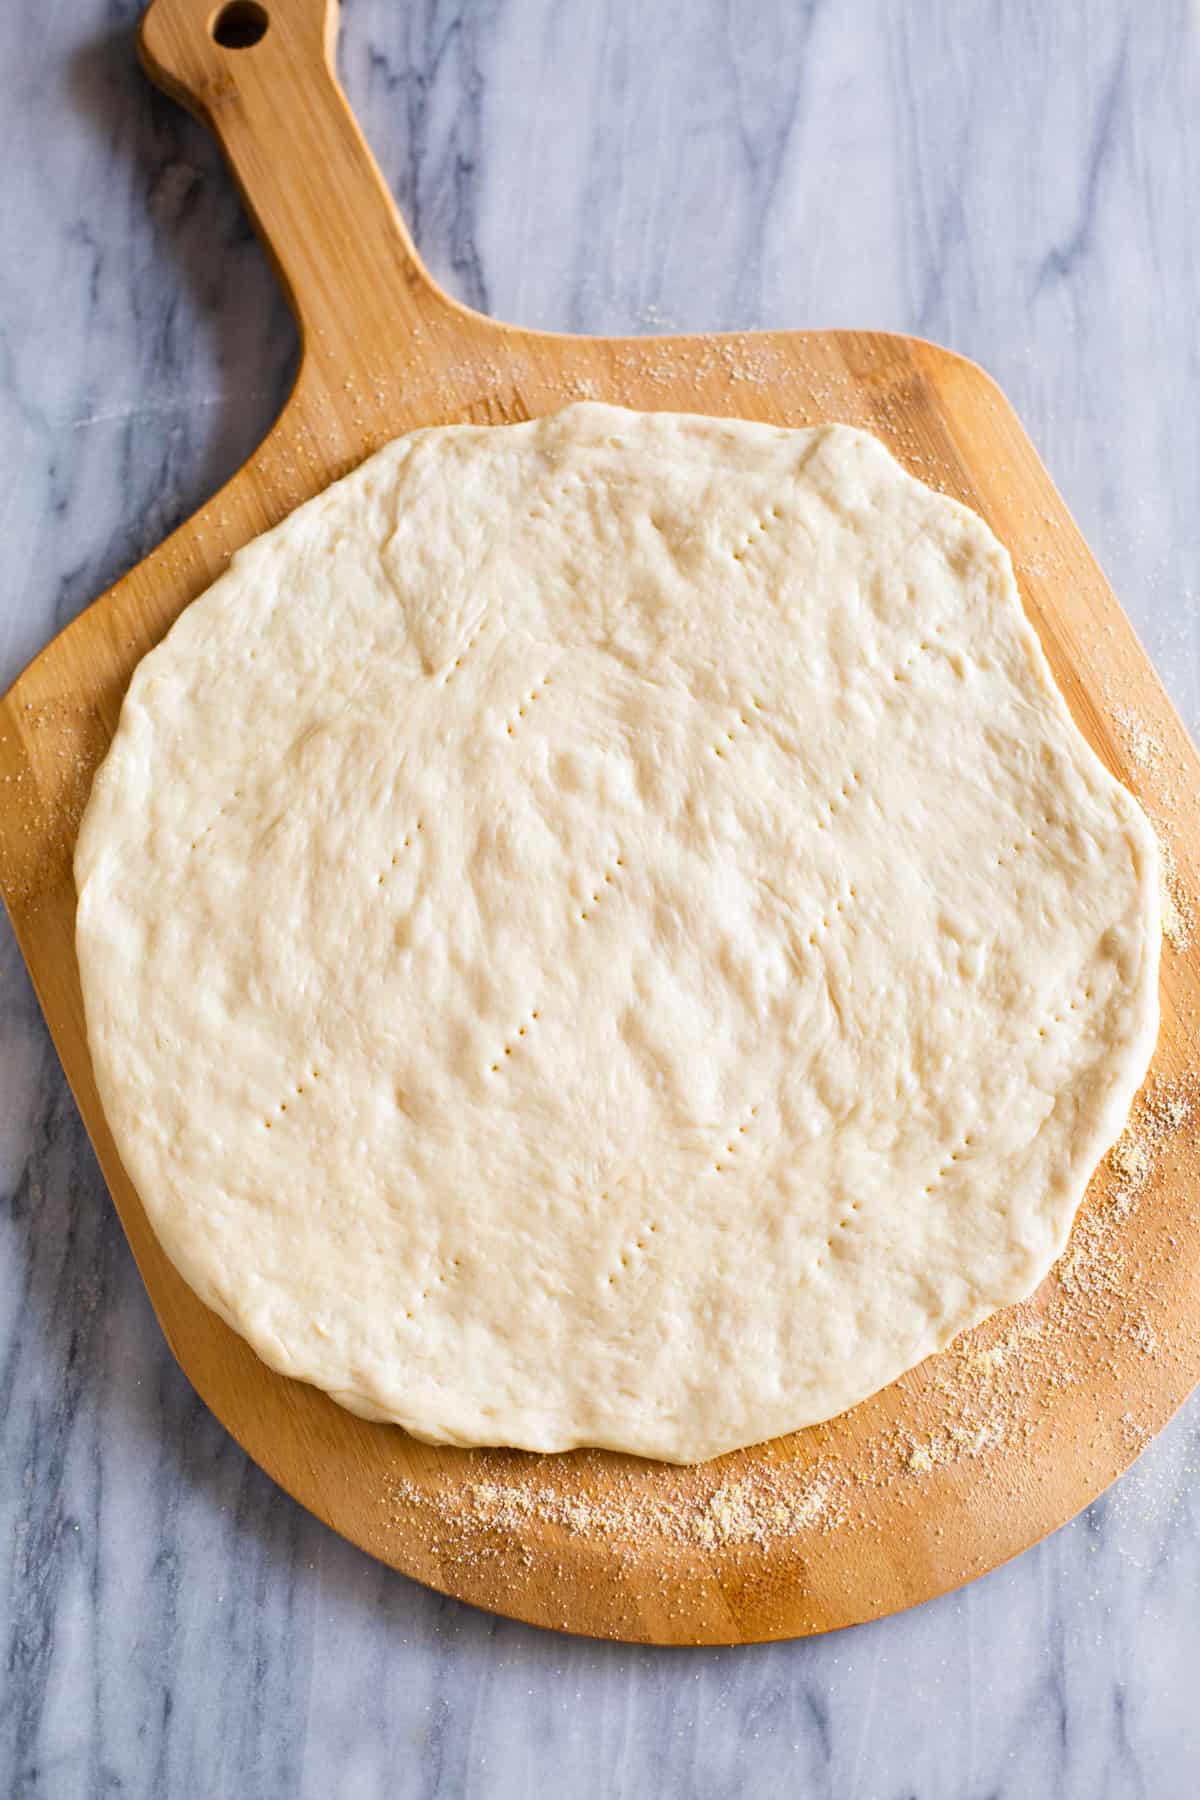
The Basics of Pizza Dough: Ingredients and Tools
- Ingredients: You’ll need some basic pantry items to get started—flour, water, yeast, salt, and a dash of olive oil. That’s it! These simple items will form the foundation of your pizza creation.
- Tools: A large mixing bowl, a sturdy spoon or dough whisk, and a clean surface for kneading is all you really need. If you’re looking to get a bit fancier, a stand mixer with a dough hook can make the process even easier!
And don’t stress about perfection. The beauty of making pizza dough is that it’s a forgiving process, perfect for little hands to explore and learn. So, breathe easy and enjoy the journey!
Choosing the Right Flour
Flour is the cornerstone of your dough, and the type you choose can make a significant difference. The classic choice for pizza is “00” flour, renowned for its fine texture and high gluten content—ideal for creating a chewy, yet crispy crust. However, all-purpose flour is a superb and accessible alternative, offering consistent results that don’t skimp on flavor.
The Magic of Yeast
Yeast is the little wizard in the world of pizza dough, responsible for making the dough rise and adding that characteristic pizzeria flavor. While there are many types of yeast, instant or active dry yeast are the most convenient choices for home cooks. Just remember, a little patience goes a long way when letting your dough rise, making it lighter and more digestible.
The Kneading Know-How
Kneading might just be the part your kiddos will love the most—getting their hands into the dough and really working it! This essential step develops the gluten, which gives your pizza crust its structure and chewiness. Encourage your children to press, fold, and turn the dough for about 8-10 minutes or until it’s smooth, elastic, and just a bit tacky to touch.
First-Time Tips for Parent-Pizzaiolos
- Patience is Key: Rushing the dough will only lead to disappointment. Allow enough time for the dough to rise, this could take anywhere from 1 hour to overnight, depending on the recipe.
- Temperature Matters: Yeast loves a cozy environment. Make sure the water you use to activate it is between 110-115°F (43-46°C)—too hot and you’ll say goodbye to your yeast, too cold and it won’t wake up from its slumber.
- Get Creative with Toppings: This is where you can really let your family’s tastes shine. From classic cheese and pepperoni to more experimental veggie and fruit toppings—sky’s the limit!
Now, are you ready to roll up your sleeves and embark on this flavorful journey? From measuring ingredients to kneading and shaping your own pizza dough, each step is an opportunity to not just make food, but to make memories. Let’s get started with our hands-on, foolproof step-by-step process to achieving the ultimate pizza dough that’ll have everyone coming back for seconds—or thirds!
Stay tuned as we knead our way to pizza perfection in the next section, where we’ll cover the step-by-step process of making the dough, proofing, shaping, topping, and baking your masterpiece. Remember, the art of pizza is a delicious experiment, and every attempt brings you closer to your family’s ideal pizza. Warm up your ovens and get ready for a fantastic pizza adventure!

Five Things Every Parent Should Know Before Preparing Pizza Dough
- Hydration is Vital: The water-to-flour ratio in your dough, known as hydration, plays a crucial role in the texture of your pizza crust. A higher hydration generally leads to a lighter, airier crust, while lower hydration results in a denser, crisper crust. For beginners, aiming for a hydration level of around 60-65% is a good starting point.
- Salt is Not Just for Flavor: Yes, salt adds taste, but it also strengthens gluten structure and controls yeast fermentation. Too little can result in a bland, flat crust, but too much can hamper yeast activity and affect dough rise. Striking the right balance is key, so follow your recipe closely!
- Fermentation Time Builds Flavor: Longer fermentation times can lead to better flavor development in your dough. If you can plan ahead, letting your dough slowly ferment in the fridge for 24-48 hours will create more complex flavors and improve the texture of your crust.
- Proofing is a Step You Can’t Skip: After kneading, the dough needs time to relax and rise, known as proofing. This rest period allows the gluten to relax and the yeast to produce gas, which will give your crust its lift. Rushing this step can result in a tough or dense pizza crust.
- Temperature Control is Essential for Consistency: Consistency in dough temperature helps produce a consistent product. Room temperature dough can be easier to shape and will rise predictably, but cold dough from the refrigerator will have a different character and may require more time to rise. Aim to keep your dough at a consistent temperature suited for the stage you’re in.
Step-by-Step Guide to Making Your Own Pizza Dough
Let’s walk through the process of creating your own pizza dough from scratch. With these detailed steps, you’ll forge a path to pizza success that even the pickiest of eaters at your table will applaud!
1. Measure Your Ingredients Precisely
Start by weighing your ingredients for the most accurate results. A kitchen scale will be your best friend here. Precise measurements ensure consistency in your dough every single time. As you measure, involve the kids by having them read numbers and calculate proportions—it’s pizza-making and math lesson all rolled into one!
2. Activate the Yeast
If you’re using active dry yeast, dissolve it in warm water with a pinch of sugar. The sugar acts as “food” for the yeast and will help it activate more quickly. You’ll know your yeast is ready when the mixture becomes frothy, signalling that the yeast is alive and ready to leaven your dough.
3. Mix the Ingredients
Combine the flour, activated yeast mixture, salt, and olive oil in your mixing bowl. If you’re using a stand mixer, start with the paddle attachment to bring everything together, then switch to the dough hook for kneading. If you’re kneading by hand, bring the ingredients together with a wooden spoon or your hands until a rough dough forms.
4. Knead Like a Pro
Transfer the dough to a floured surface and knead with love. Teach your mini chefs to use the heels of their hands to push the dough away, then fold it back on itself, giving it a quarter turn each time. If the dough is sticky, add a sprinkle of flour; if too dry, add a touch of water. The goal is a smooth, elastic dough that’s soft but not sticky.
5. Let the Dough Rise
Shape the kneaded dough into a ball and place it in a clean, oiled bowl. Cover the bowl with a damp cloth or plastic wrap and let it rise in a warm place. Creating the right environment for your dough to rise may involve some clever problem-solving—is your home too cold? Try placing the bowl in the oven with the light turned on (but the heat off) for a warm rise spot!
6. Divide and Shape
Once the dough has doubled in size, it’s time to punch it down gently, releasing the gases produced by the yeast. Then, divide the dough into balls for each pizza. Show the little ones how to shape dough by cupping their hands and rolling it on the surface, creating perfect dough balls ready to be stretched or rolled into your pizza bases.
Continue with these steps, carefully examining how to proof, shape, top, and finally bake your pizza dough into delectable creations. Engage your children in every step, making it an interactive experience that nurtures their culinary curiosity. Who knows, you may be raising the next great pizzaiolo!
For more great articles please see here. For more information see here
Disclaimer
The articles available via our website provide general information only and we strongly urge readers to exercise caution and conduct their own thorough research and fact-checking. The information presented should not be taken as absolute truth, and, to the maximum extent permitted by law, we will not be held liable for any inaccuracies or errors in the content. It is essential for individuals to independently verify and validate the information before making any decisions or taking any actions based on the articles.


