
Let’s Get Crafty: Creating Your Own Flour Balloon Stress Ball
Hello crafty parents! Are you looking for a fun and easy activity to enjoy with your kiddos? Or perhaps something to help the whole family de-stress? Look no further! Today, we’re diving into the wonderful world of DIY with a step-by-step guide on making your very own flour balloon stress balls. They’re squishy, they’re stress-relieving, and best of all, they’re a blast to make!
Why Flour Balloon Stress Balls?
Before we jump into the how-to, let’s chat about why flour balloon stress balls are such a hit. Not only do they provide a lovely texture that’s perfect for squeezing away worries, but they also offer a myriad of benefits including:
- Stress Relief: Squeezing a stress ball can help redirect energy and relieve tension, which is beneficial for both adults and children.
- Sensory Play: These DIY stress balls are an excellent tool for children who need sensory play for development and calming strategies.
- Motor Skills Development: For the little ones, squishing and manipulating the balloons can help improve grip strength and manual dexterity.
- Affordability and Accessibility: With common household items, you can create an effective stress-relieving tool without breaking the bank.
- Customizability: From choosing your balloon color to the size of your stress ball, you can personalize your creation to suit your needs and preferences.
What You’ll Need
Gathering your materials is the first step! Here’s what you’ll need to create your homemade stress ball:
- Balloons (preferably thicker ones for durability)
- All-purpose flour
- A funnel or a DIY paper cone
- A spoon or scoop
- Scissors
- (Optional) Permanent markers for decoration
- (Optional) Empty water bottle to use as a funneling tool
Step-by-Step Guide to Making Flour Balloon Stress Balls
Now comes the fun part — creating your stress balls! Follow these easy steps to start crafting:
Step 1: Prep Your Workspace
First, find a flat and clean surface to work on. You can lay down some newspaper or a plastic tablecloth to catch any potential flour spills. This is especially helpful if you’re working with the kiddos.
Step 2: Fill Your Balloon With Flour
Attach the neck of the balloon to the funnel or your homemade paper cone. If using an empty water bottle, fill the bottle with flour and then attach the balloon to its mouth. Using your spoon or simply shaking the bottle, transfer the flour into the balloon. Make sure to fill the balloon to the desired size, leaving enough space to tie it off.
Stay tuned for more detailed steps on securing and customizing your flour balloon stress ball for maximum fun and stress relief!

Create a Homemade Flour Balloon Stress Ball – A Family Crafting Adventure!
Hey there, amazing parents! Ready to roll up your sleeves and dive into a delightful DIY adventure with your little ones? You’re about to embark on the journey of crafting the ultimate homemade flour balloon stress ball! It’s not just a craft; it’s a fantastic way to bond, laugh, and find a little peace in our busy lives!
The Marvels of Flour Balloon Stress Balls
Ever wonder what makes a simple flour-filled balloon so magical? Besides being supremely squishable and oh-so satisfying, these little wonders are packed with benefits that make them a hit in any household. Here’s why you and your kiddos will love them:
- Effective Stress Busters: When life gets a tad hectic, give that stress ball a squeeze. It’s a healthy way to relieve tension and stay calm!
- A Sensory Sensation: Perfect for kids who thrive with tactile play, these stress balls can help soothe and focus busy minds.
- Boosting Fine Motor Skills: Watch your little ones enhance their grip and dexterity with each squeeze, poke, and stretch!
- Super Affordable: Why splurge when you can create an excellent stress-relief tool with items you probably already have at home?
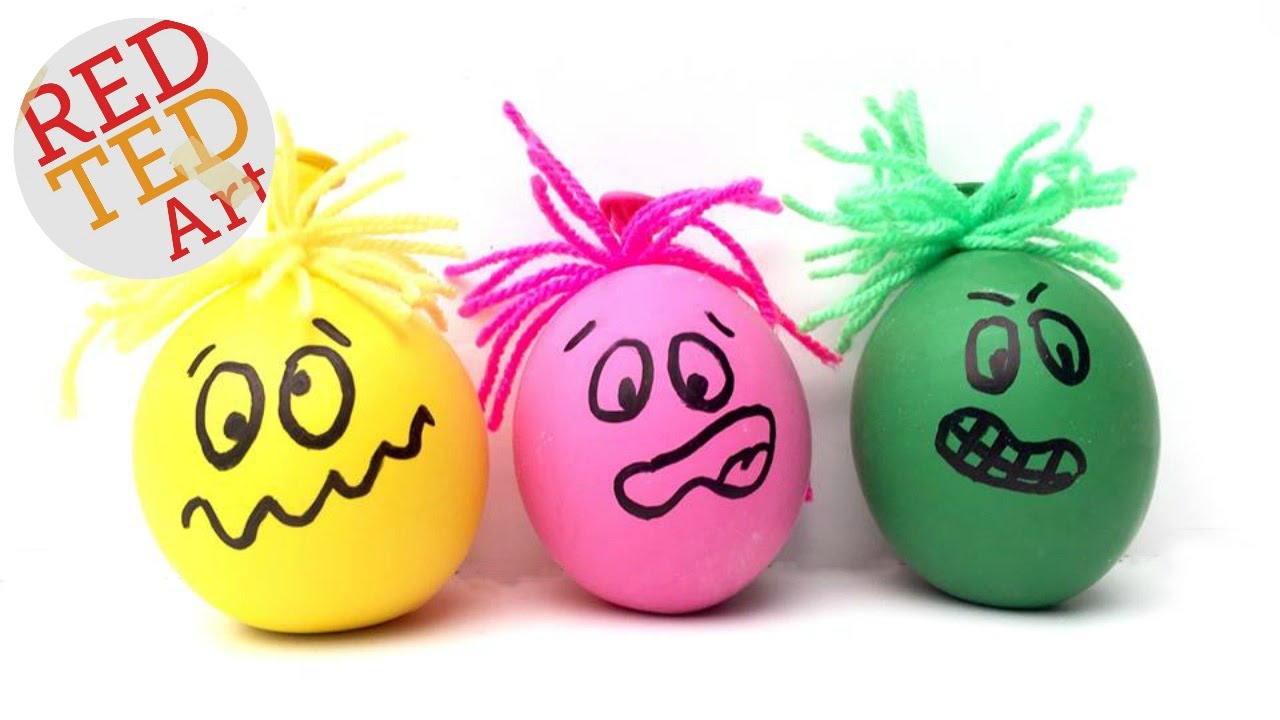
- Personalize Your Play: Make your stress ball unique! Choose your faves from a rainbow of balloon colors and decorate to your heart’s content.
Gearing Up: Your DIY Stress Ball Toolkit
Ready to get started? Let’s gather our DIY essentials. Here’s your quick shopping list:
- Sturdy balloons (thicker ones will last longer and resist breaks)
- Trusty all-purpose flour
- A funnel or makeshift paper cone for mess-free filling
- A spoon or scoop (because sometimes our hands need tools)
- Scissors (be sure to handle with care!)
- (Optional) Permanent markers to bring your creation to life
- (Optional) An empty bottle to act as your handy flour funnel
5 Things Parents Should Know When Preparing for Flour Balloon Stress Ball Making:
- Choose Your Balloons Wisely: Opt for quality over quantity. Durable, thick balloons reduce the chance of accidental pops during crafting.
- Quality Time, Not Just Craft Time: This activity is a stellar way to connect with your kids. Be present, chat, and laugh as you create together.
- Mess Happens: Accept that flour might get a little wild. Set up in an easy-to-clean area for a stress-free experience.
- Embrace Imperfection: Your stress ball might not turn out perfectly round or might have some lumps – and that’s okay! It’s all about the process and having fun.
- Decorate with Heart: Decorating isn’t just about making it pretty; it’s a chance for kids to express their creativity and personality. Allow them to lead the way!
Every Step of the Way: Making Your Own Flour Balloon Stress Balls
With your materials at the ready and the little ones eager to help, it’s time to craft that stress ball! Just follow these simple steps, and you’ll have a handful of homemade joy in no time:
Step 1: Create a Comfy Crafting Corner
Kick off by setting up a space where creativity can flourish. A bit of newspaper or an old tablecloth can catch flour escapes and spare you the cleanup woes.
Step 2: Fill ‘er Up with Flour
Attach your balloon’s neck to the funnel, cone, or bottle top. Gently spoon or pour the flour inside, taking care not to overfill. Leave just enough room to tie the balloon shut without stress.
And guess what? There’s plenty more to come. Keep your eyes peeled for further steps on how to create the ultimate flour balloon stress ball. Until then, prep, laugh, and enjoy the little moments!
See more great Things to Do with Kids in New Zealand here. For more information see here
Disclaimer
The articles available via our website provide general information only and we strongly urge readers to exercise caution and conduct their own thorough research and fact-checking. The information presented should not be taken as absolute truth, and, to the maximum extent permitted by law, we will not be held liable for any inaccuracies or errors in the content. It is essential for individuals to independently verify and validate the information before making any decisions or taking any actions based on the articles.


