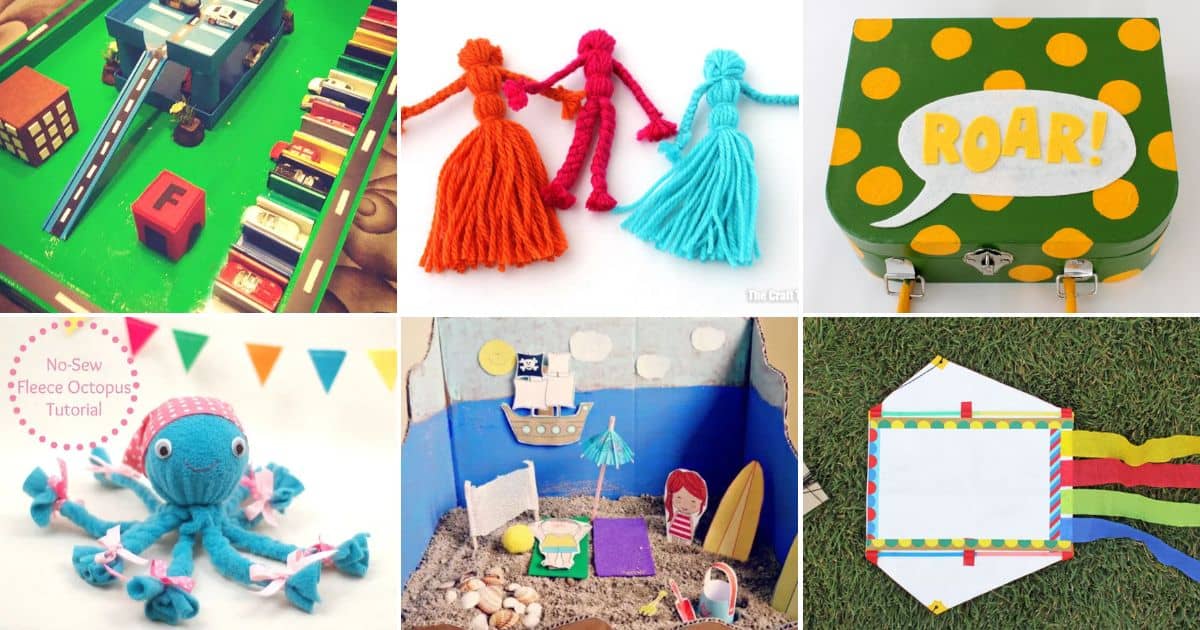
Ultimate DIY Toys Guide for Creative Parents: Crafting Fun at Home
Hello, Crafty Mamas and Papas! Are you ready to dive into the wonderful world of DIY toys? Whether you’re a seasoned DIYer or just beginning your crafting journey, making toys at home can be a splendid activity that stimulates creativity, bonds the family, and saves a penny or two while creating one-of-a-kind playthings for your little ones.
In this comprehensive guide, we’ll walk through a variety of DIY toy projects that are not only fun and engaging for children but also easy and affordable for parents. So grab your glue guns, colorful papers, and crafting spirits, as we’ll dive into making playtime an enriching, educational, and particularly personal experience!
Why Choose DIY Toys?
Before we get started, let’s explore the benefits of DIY toys:
- Educational Value: DIY toys can be tailored to aid your child’s development in areas like motor skills, problem-solving, and creativity.
- Personal Touch: Handmade toys carry the love and effort of the creator, making each toy unique and sentimental.
- Environmentally Friendly: Repurposing materials or using eco-friendly options contributes to sustainability and teaches kids the importance of being environment-conscious.
- Cost-Effective: Creating toys at home can save money while ensuring hours of amusement.
DIY Toys Safety Tips
As we progress, remember that safety is paramount. Here are some safety considerations:
- Always choose non-toxic, child-safe materials.
- Avoid small parts for children under three to prevent choking hazards.
- Ensure all edges are smooth and there are no sharp points.
- Use sturdy construction to withstand the rough and tumble of play.
DIY Toys Projects to Get You Started
Now, let’s roll up our sleeves and look into some simple DIY toy projects you can start with:
1. The Classic Cardboard Fort
There’s nothing quite like a cardboard castle or fort to spark imaginative play. This project is great because it not only recycles large boxes but gives your child a space of their own to play in.
Material Checklist:
- Large cardboard boxes
- Box cutter or scissors
- Non-toxic glue or strong tape
- Markers, paints, or stickers for decoration
Step-by-Step Guide:
- Cut windows and doors into your cardboard boxes.
- Connect several boxes together with glue or tape to create multiple rooms.
- Let your child paint or decorate the fort to their heart’s content!
2. Handmade Playdough
Creating playdough from scratch is not only fun but also safe since you know exactly what’s in it. Here’s a quick, no-cook method.
Material Checklist:
- 2 cups of flour
- ½ cup of salt
- 2 tablespoons of cream of tartar
- 1 ½ cups of boiling water (add gradually)
- 2 tablespoons of vegetable oil
- Food coloring
Step-by-Step Guide:
- Mix the dry ingredients together in a bowl.
- Add the oil and boiling water gradually, stirring as you go.
- Once cooled, knead the dough thoroughly.
- Divide the dough and add food coloring to create different colors.
Oh, and don’t worry! We’ve got even more exciting DIY toy ideas on the next page, so stay tuned as we continue to unleash your inner toymaker and make playtime a blast!

5 Essential Preparation Steps for Parents Embarking on DIY Toy Projects
Creating DIY toys can be as much an adventure for you as playtime is for your little one. Here are some essential steps every parent should consider before starting their DIY toy-making journey:
1. Plan and Research
Before diving into the toy-making process, have a clear plan. Research ideas that will suit your child’s age and interests. Look for inspiration and instructions on blogs, Pinterest, or YouTube to get a sense of the time and effort required for your chosen projects. Planning ensures you’re prepared with the right materials and tools, and it can help prevent mid-project store runs or mishaps.
2. Gather High-Quality Materials
Once you have a plan, compile a list of all the necessary materials. Invest in high-quality, durable supplies that will ensure the longevity of your homemade toys. For example, choose robust cardboard for building forts or premium non-toxic paints for decoration. Reusing materials from around the house can be a great way to save money and be eco-friendly, just ensure they’re clean and safe for use.
3. Create a Safe Workspace
Crafting can get messy, and having a designated workspace helps to keep chaos at bay. Make sure your crafting area is well-ventilated, especially if you’re working with paint or glue. Cover surfaces with newspapers or a drop cloth to protect them from spills and stains. Keep tools and materials organized and out of reach of younger children to prevent accidents.
4. Set Aside Ample Time
DIY projects can take longer than expected, especially with little helpers. Set aside sufficient time so that you’re not rushing, which can lead to mistakes or accidents. If the project is complex, consider spreading it over multiple sessions to keep it enjoyable and stress-free for everyone.
5. Involve Your Child
Whenever possible, involve your child in the creation process. It can be a thrilling and educational experience for them. Select age-appropriate tasks like painting or decorating to keep them engaged. Involving them also provides a sense of accomplishment and pride in the toy they helped make.
Keep in mind that the goal is not perfection but enjoyment in the process of creating and the joy that follows seeing your child play with something made with love. With the preparation sorted, you’re now ready to embark on crafting those wonderful DIY toys that will likely become cherished keepsakes for years to come. Let’s continue with more DIY toy ideas to spark that delightful home-based fun!
More DIY Toy Ideas Coming Up!
Stay tuned for additional DIY toy projects, where we’ll cover a variety of imaginative options such as homemade puzzles, sensory bins, and upcycled musical instruments. Each project includes a materials list and easy-to-follow instructions. Remember to personalize your creations and adapt them to your child’s current developmental stage and interests.
With your enthusiasm and our guide, the possibilities for craft-based play are endless! So, let’s keep those creative juices flowing and those little hands busy. The next wave of DIY toy inspiration is just around the corner, and we can’t wait to share more playful projects with you!
See more great Things to Do with Kids in New Zealand here. For more information see here
Disclaimer
The articles available via our website provide general information only and we strongly urge readers to exercise caution and conduct their own thorough research and fact-checking. The information presented should not be taken as absolute truth, and, to the maximum extent permitted by law, we will not be held liable for any inaccuracies or errors in the content. It is essential for individuals to independently verify and validate the information before making any decisions or taking any actions based on the articles.


