
Unlock Creativity: Fun Art with Shaving Cream for Kids
Published on
Hey there, fabulous parents! ? Are you ready to dive into a whimsical world of color and creativity with your little one? Today, we’re going to explore the amazing world of art with shaving cream — a sensory experience that’s not only a total blast but also chock-full of learning opportunities. Get those smocks ready and prepare for a delightful mess as we guide you through all the fluff and fun!
What Is Shaving Cream Art?
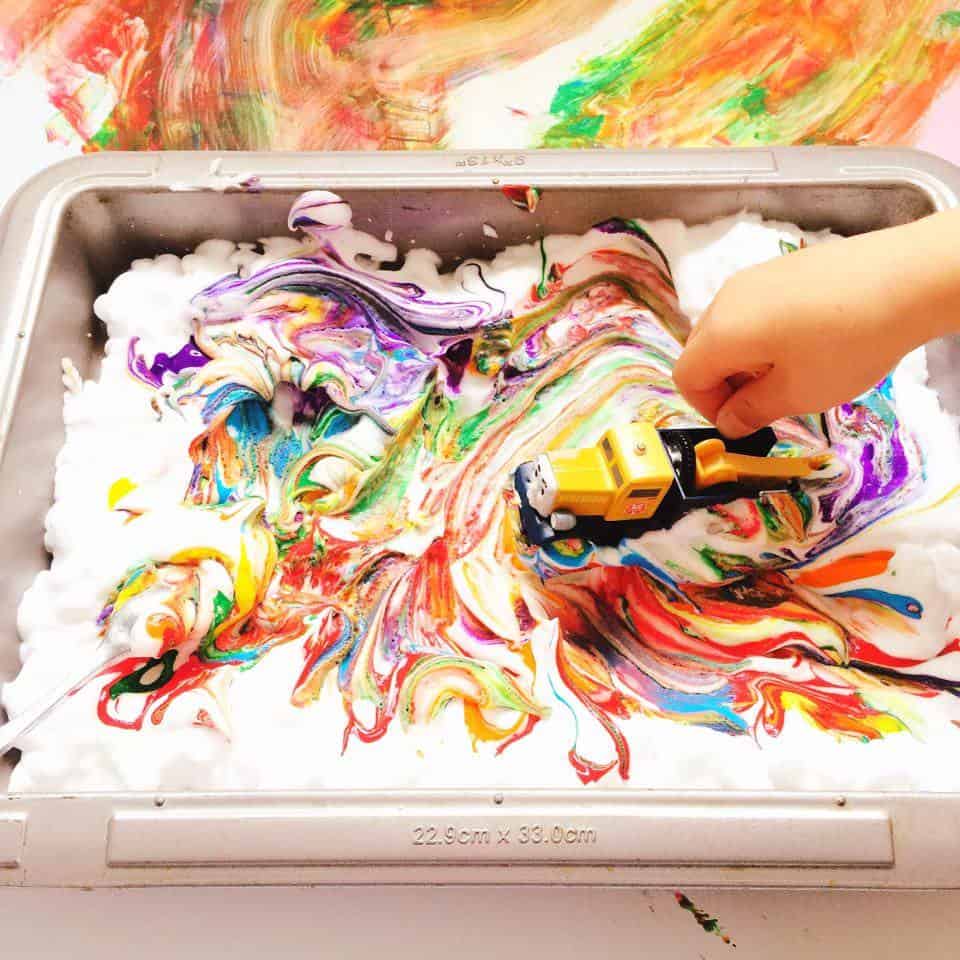
Shaving cream art is a form of sensory play that allows children to express their creativity while experiencing different textures and scents. It involves using shaving cream as a canvas and food coloring, or washable paints, to create vibrant, marbled designs. It’s affordable, easy to set up, and an absolute favorite among kiddos of all ages. Trust us, you’ll be tempted to join in on the fun too!
Why Shaving Cream Art Is Great for Kids
Sure, it’s fun and looks fantastic, but did you know that creating art with shaving cream offers a plethora of benefits for your children? Here’s why this activity rocks:
- Sensory Integration: It’s fantastic for children to explore their senses — the soft feel of the shaving cream and the bright colors stimulate and engage them on multiple levels.
- Fine Motor Skills: As they mix colors and create patterns, children are honing their fine motor skills, which are essential for writing and other complex tasks.
- Creativity and Self-Expression: There’s no right or wrong way to make art with shaving cream. It’s all about letting imaginations run wild!
- Science Learning: They’ll observe color mixing and cause and effect in action, uncovering basic principles of science as they play.
Supplies You’ll Need
One of the best things about shaving cream art is that you don’t need a treasure trove of supplies. Here’s what to gather for your art session:
- A can of shaving cream (non-gel, unscented is perfect for sensitive skin)
- Food coloring or washable non-toxic paint
- A shallow baking tray, or any flat surface that can get messy
- Thick paper or cardstock (watercolor paper works wonderfully)
- Something to spread the shaving cream, like a spatula or straight edge ruler
- Toothpicks, skewers or combs for creating designs
- Paper towels for clean-up
- Smocks or old clothes to wear because things might get a tad messy ?
Setting Up Your Shaving Cream Art Station
Find a space where everyone can be comfortable and where a bit of mess won’t cause any stress. Outdoor patios, kitchen tables with a drop cloth, or even a craft room are perfect spots. Spread out all your materials, have your paper towels handy, and let’s get this party started!
The Fun Begins: Making Your Shaving Cream Art
All set up? Great! Here’s a simple step-by-step process to create your masterpiece:
- Prepare the Shaving Cream Base: Spray a layer of shaving cream into your tray, enough to completely cover the bottom.
- Smooth It Out: Use your spatula or ruler to spread the shaving cream evenly across the tray.
- Add the Magic (Color!): Squeeze drops of food coloring or dollops of paint throughout the shaving cream.
- Create Your Design: Take a toothpick or the end of a comb and start swirling the colors into beautiful patterns. Make sure not to overmix, or you’ll end up with a muddy hue.
- Press Your Paper: Gently lay a piece of paper on top of your colored shaving cream. Press lightly to make sure the paper contacts all the colored areas.
- The Big Reveal: Carefully lift the paper and admire the marbled effect! Use your straight edge to scrape off excess shaving cream from the paper.
- Drying Time: Set your paper aside to dry. This can take a little while, so patience is key. Once it’s dry, you can use it for all sorts of craft projects!
Let’s Talk Clean-Up
Clean-up is a breeze! Shaving cream is super easy to wipe away, and if you’ve used washable paint, a quick rinse should do the trick. If you’re working indoors, laying down a plastic sheet or newspaper before you start makes for even speedier tidy times.
Extended Activities and Ideas
Once you’ve mastered the basics of shaving cream art, why not take it to the next level?

Extended Activities and Ideas
Art with shaving cream can go beyond just marbling papers. Here are a few ways to step up your creative game:
- 3D Sculptures: Let the kids use the shaving cream to build three-dimensional structures on a sheet of plastic or wax paper. They can add food coloring to craft multicolored sculptures!
- Fragrant Art: Add a few drops of child-safe essential oils to the shaving cream for a multi-sensory experience. Lavender can be soothing and peppermint refreshing!
- Educational Patterns: Practice letters, numbers, and shapes within the shaving cream for a fun educational twist. They won’t even realize they’re learning!
- Seasonal Themes: You can tailor the colors and patterns to fit holidays or seasons – orange and green for a spooky Halloween theme or red and green for festive Christmas art!
- Canvas Creations: If you want something more permanent, let your children try the technique on a stretched canvas. Hang their finished abstract masterpiece on the wall!
Are the little artists ready to channel their inner Picassos with shaving cream? Before you set them free in a foamy wonderland, a few tips will make the process smoother for you and your tyke:
Five Things Parents Should Know in Preparing for Art with Shaving Cream
- Prep is everything: Before you begin, consider the cleanup. Lay out materials on surfaces that are easy to wipe or protect areas with old newspapers or a plastic sheet. Keep a roll of paper towels within arm’s reach for quick spills and a basin of water nearby for dipping hands.
- Go with the flow: Remember, the goal is to let kids be kids – which means it’s okay if they get a bit wild. It’s all part of the fun. Just let them know beforehand which areas are ‘safe’ to get messy.
- Discuss safety: Make it clear that while the shaving cream is safe on the outside, it’s not meant for eating or rubbing in eyes. Keep a washcloth handy just in case little fingers go wandering.
- Think ahead: Have a space ready for artworks to dry. Keep it out of reach of pets and siblings who may be tempted to touch. Once pieces are dry, date and label them for keepsakes or gifts!
- Embrace the sensory experience: Some kids will love the feeling of shaving cream, others might not. Encouraging touch without forcing it helps children to grow accustomed to various sensory inputs at their own pace.
All aboard for a foamy fiesta of colors, textures, and giggles! Gather your supplies, roll up your sleeves, and get ready for a family art day that will foster creativity, bonding, and priceless memories.
Now, let’s make some art!
See more great Things to Do with Kids in New Zealand here. For more information see here
Disclaimer
The articles available via our website provide general information only and we strongly urge readers to exercise caution and conduct their own thorough research and fact-checking. The information presented should not be taken as absolute truth, and, to the maximum extent permitted by law, we will not be held liable for any inaccuracies or errors in the content. It is essential for individuals to independently verify and validate the information before making any decisions or taking any actions based on the articles.


