
Squish, Shape, and Smile with Our Easy Homemade Playdough Recipe!
Hey lovely parents out there! Are you ready to mix up a storm of fun with an easy playdough recipe that promises endless creative play for your little munchkins? Get ready to don your aprons and transform your kitchen into a laboratory of imagination and joy. Perfect for rainy days, sunny days, and any kind of day in between, this playdough recipe is your ticket to a happy, hands-on activity that’s just right for kids of all ages!
Why Make Homemade Playdough?
Before we jump into the squishy details, let’s talk about why homemade playdough is the bees-knees of kid’s crafts:
- It’s Safe and Non-toxic: You control the ingredients, so you know exactly what those tiny hands are playing with.
- It Sparks Creativity: From fantasy creatures to mini-masterpieces, playdough gives kids a 3D canvas to sculpt their imaginations.
- Economical: Why buy when you can make it? Save your coins for a rainy day and create a playdough stash that keeps on giving!
- Family Fun: Making playdough is an enjoyable activity for everyone—parents, grandparents, and kiddos alike!
The Simplest Playdough Recipe You’ll Ever Need
Now, let’s get down to the nitty-gritty. Gather your little helpers, roll up your sleeves, and let’s make some easy-peasy playdough!
Ingredients:
- 2 cups all-purpose flour
- 1/2 cup salt
- 2 tablespoons cream of tartar (helps with elasticity)
- 1 1/2 cups boiling water
- 2 tablespoons vegetable oil
- Food coloring (optional, for vibrant fun)
- Essential oils (optional, for a sensory boost)
Instructions:
- Start by mixing the dry ingredients—flour, salt, and cream of tartar—in a large mixing bowl.
- In a separate container, mix the boiling water and the vegetable oil. If you’re using food coloring and/or essential oils, add them to the water/oil mixture now.
- Pour the wet ingredients into the dry ingredients bowl and mix them together well, until a dough starts to form. The mixture should begin to clump together and pull away from the sides of the bowl.
- Once the dough is cool enough to handle, turn it out onto a clean surface and knead it like bread dough. If the dough is too sticky, you can add a bit more flour, a little at a time.
- Knead the dough until it’s smooth and elastic. This is the perfect time to let the kids jump in and help out—kneading is a fun workout for those little hands!
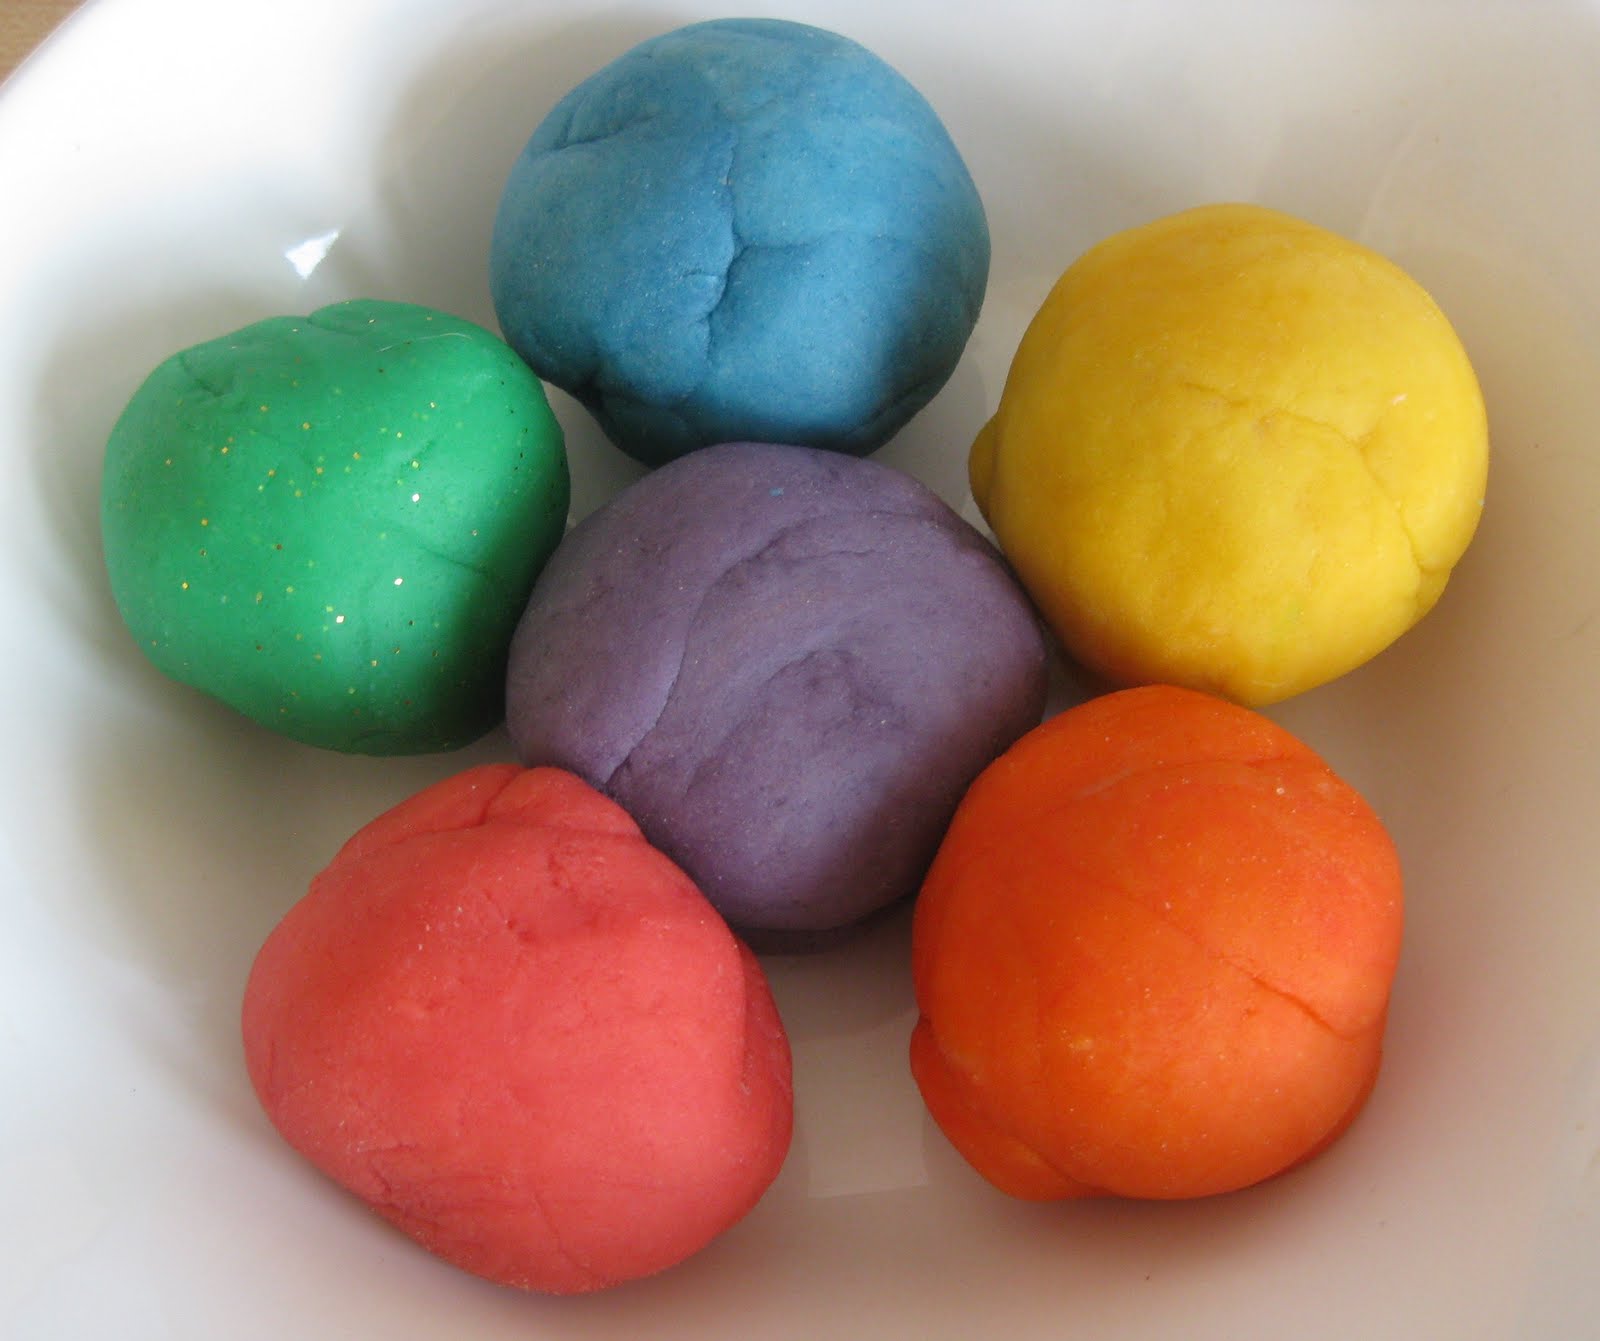
- If you didn’t use food coloring earlier and want to make multiple colors from the same batch, divide your dough and work in the colors now by kneading in a few drops at a time until you reach your desired hue.
Voila! Your Playdough is Ready
Congratulations! You’ve created your very own playdough. The beauty of this recipe is its simplicity and versatility. Plus, homemade playdough can last for months when stored properly in an airtight container or a sealed bag. Now, let those imaginations run wild as your kids sculpt, roll, and stamp their way through their homemade playdough wonderland.
Now you’ve got the basics down, feel free to get a little fancy with your playdough creations. You can add glitter for sparkle, use cookie cutters for shapes, or incorporate natural elements like leaves and flowers for texture. The possibilities are truly endless, and the best part is that you get to make beautiful memories along the way. And remember, when playtime comes to an end, store your playdough safely so it can bring joy over and over again.

Unlock Hours of Fun with This Simple Homemade Playdough Recipe!
Welcome, amazing parents! Delight in crafting memories with a super easy playdough recipe. Turn ordinary days into extraordinary interactive family fun times. Whether it’s a cozy indoor activity or a backyard sensory play, this homemade delight is perfect for any moment, giving your child a world full of color and texture at their fingertips!
Perks of Crafting Playdough at Home
Let’s peek at some fabulous reasons to embrace the joy of homemade playdough:
- Safety Comes First: Knowing what goes into your playdough means peace of mind as your kiddos play and explore.
- Unleash the Creativity: Empower your children to dream, design, and develop with a squishy medium that can become anything they imagine.
- Wallet-Friendly Fun: Skip the store-bought stuff — you probably have all you need right in your pantry!
- Bonding Bonanza: Crafting playdough is a fantastic way to spend quality time together, creating memories and masterpiece alike.
Your Go-To Playdough Recipe for Playful Moments
Ready for some DIY fun? Here’s the easiest, most fail-proof way to homemade playdough heaven:
What You’ll Need:
- 2 cups of flour (all-purpose is perfect)
- 1/2 cup of table salt
- 2 tablespoons of cream of tartar (for that fabulous elasticity)
- 1 1/2 cups hot water (just boiled)
- 2 tablespoons of cooking oil (your choice)
- Food coloring or natural dyes (for that splash of fun)
- Essential oils (to add that olfactory twist)
Let the Magic Begin:
- Whisk together flour, salt, and cream of tartar in a big bowl.
- Mix the scalding water and oil in a separate jug. If you’re infusing colors and scents, now’s the time to drop them in.
- Bring the wet and dry mixes together, stirring until a doughy formation takes shape. It should begin to bunch up nicely and ease away from the edges.
- When cool enough, pour the dough onto a surface for a good old kneading session. If it’s a wee bit sticky, sprinkle more flour as you go.
- Get kneading until it’s supple and smooth. Little hands love this part, and it’s great for their motor skills!
- For a rainbow of playdough, split the batch and knead in food coloring until you’re happy with the vibrancy.
All Set for Fun Times!
Cheerio! You’ve crafted homemade playdough! Embrace the beauty of DIY playdough’s simplicity and adaptability. This playdough can mature like fine wine in an airtight home for months on end. Now, surrender to the whims of your children as they roll, shape, and stamp to their heart’s content.
Five Handy Tips for Prepping Playdough with Ease:
- Pre-Measure Ingredients: To avoid a measuring muddle, have all your ingredients ready to go for seamless mixing.
- Choose the Right Spot: Pick a place that’s okay to get a little messy. The kitchen table or a plastic mat on the floor works wonders.
- Non-Stick Pans for Mixing: If you want to skip the bowl, use a non-stick pot or pan which can handle the heat and makes for easy clean-up.
- Keep It Safe and Sound: Once done, ensure the playdough is stored in an airtight container to prevent drying out, keeping it soft for uses to come.
- Embrace Customization: Let the kids in on action by choosing colors and adding mix-ins like glitter, to make the playdough uniquely theirs.
As your family enjoys this delightful recipe, remember that the joy comes not just from the playdough but from the shared moments of creation. Those are the memories that will stick around, much like playdough under the sofa cushions (so do check there when cleaning up!).
. For more information see here
Disclaimer
The articles available via our website provide general information only and we strongly urge readers to exercise caution and conduct their own thorough research and fact-checking. The information presented should not be taken as absolute truth, and, to the maximum extent permitted by law, we will not be held liable for any inaccuracies or errors in the content. It is essential for individuals to independently verify and validate the information before making any decisions or taking any actions based on the articles.


