
Unlock the Secrets to Crafting Your Own Bench Seating with Storage!
Hey there, creative parent! Are you ready to transform that cozy little nook in your home into a functional and stylish space? ?? Let’s embark on a DIY journey to create a charming bench seating with storage that will not only be a phenomenal addition to your décor but also provide a practical solution to your storage woes! This step-by-step guide will help you to build a personalized storage bench that your family will adore. Let’s get crafting!
Understanding the Magic of Multi-Functionality
In today’s fast-paced world, we all crave a little extra order and charm in our living spaces. A bench with storage capabilities offers just that! Before we dive into the nuts and bolts, let’s imagine the finished product. Picture yourself sipping a warm cup of tea while sitting on your handcrafted bench, admiring the tidiness of your space. Breathtaking, isn’t it? ?
Gathering Your Wizardry Tools and Materials
First things first, let’s talk about what you’ll need. Ensure you have the following tools and materials before you start:
- Measuring tape
- Plywood sheets
- Wooden boards (for frame and legs)
- Screws and wood glue
- Power drill and drill bits
- Jigsaw or handsaw
- Sander or sandpaper
- Hinges (for the lid)
- Paint or wood stain
- Paintbrush or roller
- Clamps (to hold the wood in place while drilling or cutting)
- Fabric and foam (for upholstered top, optional)
(Remember to personalize your material list based on the size and design you envision for your storage bench!)
Conjuring Up the Design of Your Bench
Before we start sawing and sanding, you’ll need to sketch out your plan. What dimensions will suit your space best? How high should the seating be? Will the bench live indoors or grace your outdoor space? ?? Dreaming up the perfect size and design is crucial for ensuring the end product is just what you wanted. Consider the size of baskets or bins you might want to slide into the storage area beneath the seat.
Constructing the Frame – Where Wood Meets Wonder
Alright, it’s time to roll up your sleeves and start crafting the frame! Here’s how:
- Measure and cut your wooden boards according to the size needed for the sides, back, and front of your bench.
- Use a power drill to secure the boards together to form the frame, using screws for durability.
- Make sure the frame is square by checking that all corners are 90 degrees.
This solid frame will serve as the skeleton of your bench, so taking the time to get it right will pay off in the long run.
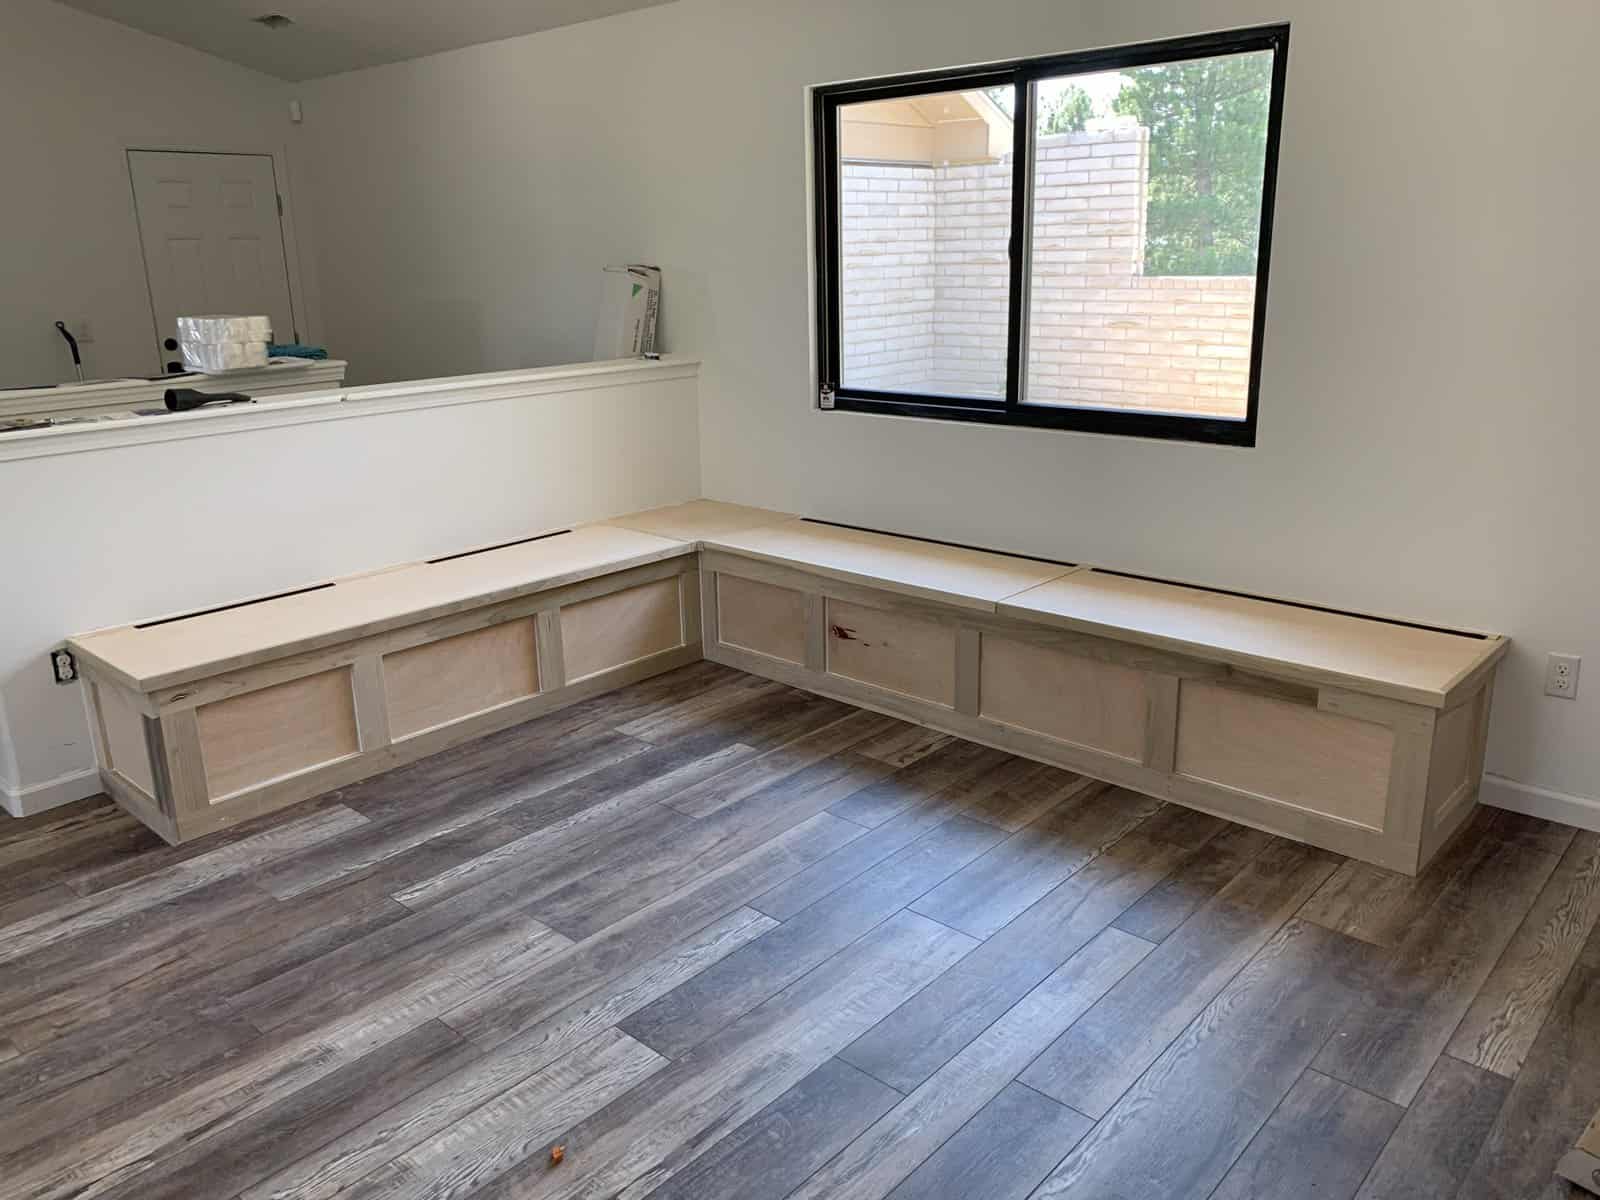
Adding the Seating and Storage – Harmony and Function
Now, the excitement really begins! We’re going to add the components that turn this frame into a multifunctional masterpiece:
- Cut a piece of plywood to fit the top of your frame. This will be your seat. Make sure it overlaps slightly for a lip, or sits flush for a sleek look.
- Do you want your bench to have an open storage shelf or a closed one? Decide and, if necessary, install a bottom using additional plywood.
- For a closed storage option, attach hinges to the seat and the back of the frame for easy access.
Building bench seating with storage is not only a practical project but also a fun way to add a personal touch to your home. Keep following along as we jump into the finishing touches, including sanding, painting, and upholstering your soon-to-be favorite piece of furniture! ?
Sanding to Perfection – It’s All in the Details
Don’t rush through this next part. Taking the time to sand every corner and edge will ensure a smooth, professional finish. Plus, it’ll make painting or staining a breeze!
Your home is about to get an upgrade with your very own, handcrafted bench seating with storage, and we’re here to walk you through every step of the way. Stay tuned for more detailed instructions on adding those final personal touches that will make your bench truly one of a kind!
Five Essential Preparation Steps for Parents Building Bench Seating with Storage
1. Set Up a Safe Workspace
Before the sawdust starts flying, it’s crucial to establish a well-organized and safe workspace. Make sure all tools and materials are easily accessible and that there’s plenty of light. If little ones are around, consider setting up child barriers or a separate play area so they can be close by without being in harm’s way. Safety goggles and gloves are a must for all involved in the building process, and keeping a first aid kit nearby is always wise!
2. Measure Twice, Cut Once
Double-checking your measurements before cutting wood is non-negotiable. Not only does it prevent material waste, but it also saves time and frustration. Take the time to measure your available space for the bench and map out where it will fit best. It might be fun to involve the kids in some basic measuring, turning this step into a practical math lesson!
3. Choose Kid-Friendly Finishes
When selecting paint, stain, or sealant for your bench, opt for non-toxic, child-friendly options. These finishes are safer for the whole family and are usually more environmentally friendly. If the bench will double as a kids’ zone, you might even want to choose a washable paint for easy clean-up after those inevitable scribbles and spills.
4. Building as Family Bonding
Building the bench doesn’t have to be a solo mission. Turn the construction into quality time by involving your kids in age-appropriate tasks, like sorting screws or handing you tools. This shared experience can instill a sense of pride and ownership in them for the completed project.
5. Plan for Future Needs
While you might be building this bench with today’s toys and books in mind, consider future uses as well. Will it someday store electronic gadgets, hobby supplies, or sports equipment? Designing with adjustable compartments or removable bins can make your bench seating with storage a long-lasting piece that adapts to your growing family’s needs.
Finishing Touches – The Enchantment of a Polished Look
The final phase of your project is where the magic happens. Here’s what to anticipate:
- Sand the entire bench thoroughly to prepare it for finishing; starting with coarse-grit sandpaper and working your way up to fine-grit.
- Wipe down the bench to remove all dust and debris – a tack cloth works wonders for this step.
- Apply your chosen finish – whether it’s paint or stain – and allow it to dry completely. Remember to apply additional coats if necessary, according to the manufacturer’s guidelines.
- For an upholstered look, cut your foam to size, wrap it with fabric, and secure it to the plywood seat. An electric staple gun makes this job a breeze.
- Add any final decorative touches like pillows, baskets, or knobs that complement the rest of your room.
Don’t forget to document the whole process with before, during, and after photos. These snapshots of your progress will become cherished memoirs of the time you spent building something special for your home. After all, it’s not every day that you get to create a custom piece of furniture that’s filled with love and memories.
So, there you have it – your ultimate guide to building a delightful and convenient bench seating with storage, where every hammer and nail brings a sense of achievement, and every cushion and cubby add a dash of joy to your family home. Happy building!
See more great Things to Do with Kids in New Zealand here. For more information see here
Disclaimer
The articles available via our website provide general information only and we strongly urge readers to exercise caution and conduct their own thorough research and fact-checking. The information presented should not be taken as absolute truth, and, to the maximum extent permitted by law, we will not be held liable for any inaccuracies or errors in the content. It is essential for individuals to independently verify and validate the information before making any decisions or taking any actions based on the articles.


