
The Ultimate Guide for Parents: Cooking Silverside Steak
Hello amazing parents! Get ready to don your apron and welcome to this joyful journey of cooking a perfect silverside steak. Whether you’re a seasoned home cook or a beginner, it’s time to bring restaurant quality meals straight to your family dinner table. No need to fret! We will provide you with step-by-step guidance and valued tips to excel in your cooking venture.
Chapter 1: Understanding Silverside Steak
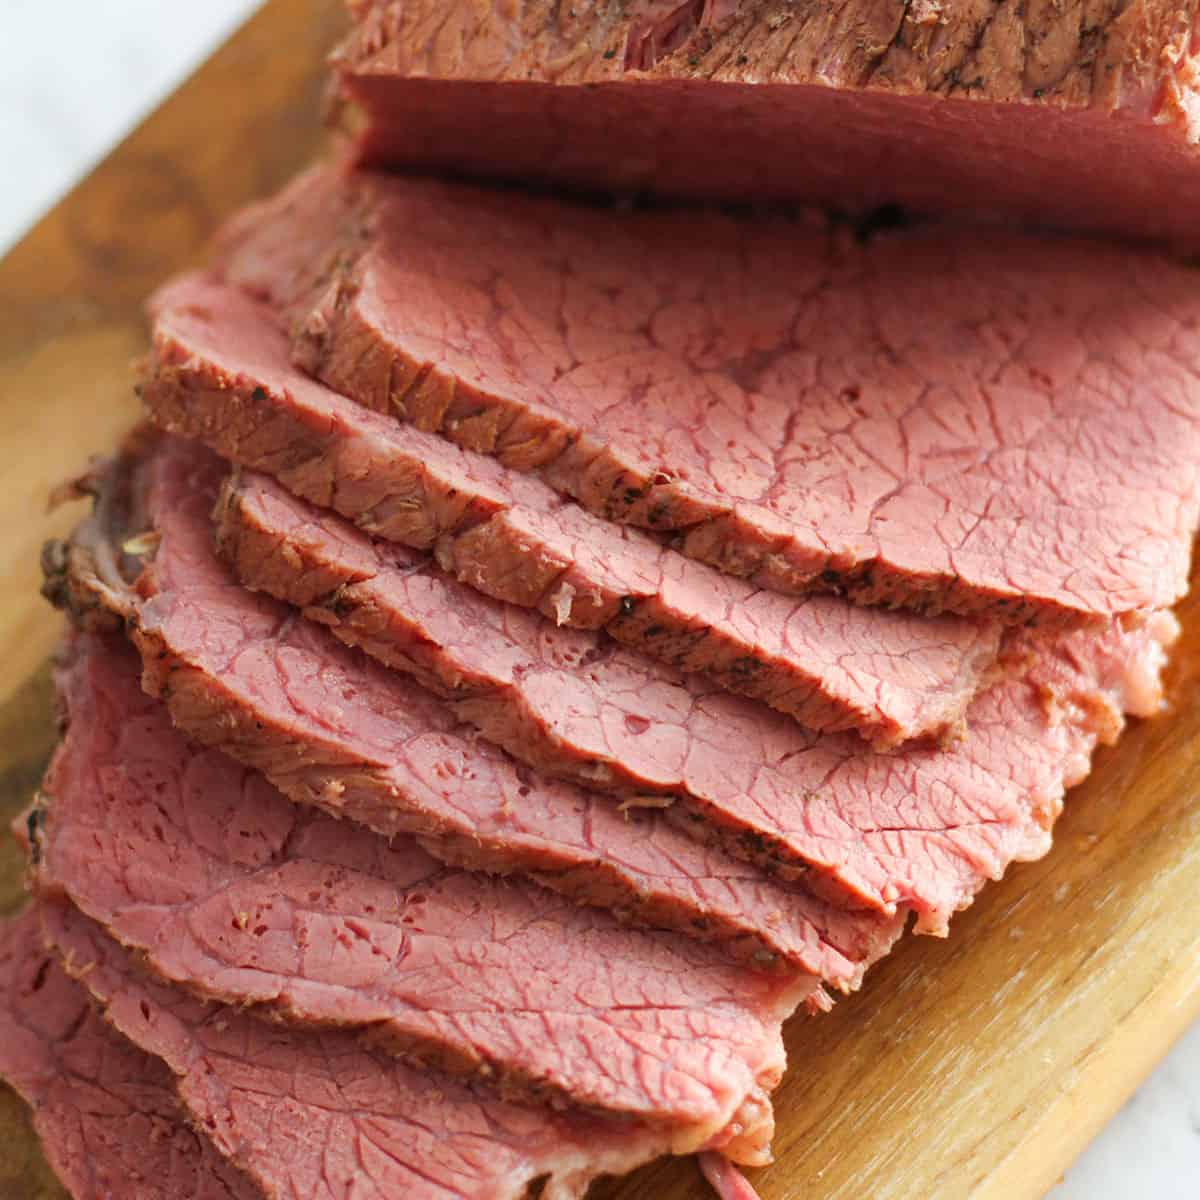
For starters, let’s dive into understanding what silverside steak is. Silverside steak, named for its shiny silver appearance, is a lean cut of beef from the hindquarter of the animal. This cut is typically tougher than other types, but it offers a rich, flavourful taste that’s perfect for slow-cooking methods such as braising.
Why is Silverside Steak a Great Choice?
Silverside steak allows for versatility in preparation, while also being budget-friendly. It provides a high protein content and is lower in fat, making it an ideal choice for health-conscious moms and dads. Step up your cooking game with silverside steak – making mealtimes more exciting and nutritious for your loved ones!
Chapter 2: Prepping the Silverside Steak
To start with, the most important aspect of cooking any steak is the quality of the meat. Ensure to source your silverside from a reputable butcher to guarantee that you’re getting a quality piece of beef.
Step 1: Season Your Steak
Now, let’s move onto seasoning our delicious steak! Whether you simply prefer a dash of salt and pepper or desire a more adventurous rub with garlic, rosemary, and chili, don’t shy away from experimenting. But remember, steak is flavoursome on its own, you don’t want to overpower it with too much spice.
Step 2: Ensuring the Perfect Temp
Before throwing the steak onto the pan, let it sit at room temperature for around 20 minutes. This allows the meat to cook evenly, ensuring that every bite is simply scrumptious. No more worries about an overcooked exterior while the insides stay raw.
Stay tuned for the next chapters, where we will delve into the actual cooking process, serving suggestions, and other delightful tips and tricks. From understanding the temperature markings to presenting it like a true master chef, we’ve got you covered. Let this jolly cooking adventure begin!

Chapter 3: Cooking the Silverside Steak
Ready, set, cook! Cooking silverside steak might feel intimidating but armed with our step-by-step guide, you’re all set to impress!
Step 3: Sizzling Sauté
Heat some oil in a pan over medium-high heat. Once the oil is glistening, gently place the steak into the pan. One of our top tips: avoid moving the steak around too much. Allow each side to brown nicely for about 2-3 minutes. This searing process locks in the flavour while giving a nice crust to your steak.
Step 4: Low-and-Slow Cooking
Now, it’s time to slow cook your seared steak. Reduce the heat to low, cover the pan and let it simmer for a few hours. This slow cooking process tenderises the tougher cut of the silverside steak, turning it into a melt-in-your-mouth cuisine!
Chapter 4: Perfecting the Presentation
You’ve whipped up a sumptuous meal, but your job isn’t over yet. Presenting your silverside steak is just as important as cooking it!
Let it Rest
Once cooked, let your steak rest for about 10 minutes before serving. This allows the juices to redistribute, resulting in a juicier and more flavorful piece of steak. Patience is key here, and rest assured, the end result is worth the wait!
Serving Suggestions
For a complete meal, pair your hearty silverside steak with some roasted vegetables or a classic mashed potato. Top it with a spoonful of the pan juices for an added depth of flavor. Feel free to toss in a side salad for a refreshing touch to balance out the meal.
Chapter 5: Conclusion
Cooking silverside steak at home doesn’t have to be daunting. It’s all about understanding the basics, experimenting with flavors and having fun in the kitchen. Remember, practice makes perfect. So go ahead, roll up your sleeves and cook up a storm. Your family is in for a treat!
Remember, your journey in the kitchen is always yours to explore and enjoy. So keep this guide handy and let’s make mealtimes a delicious adventure together!
How to Prepare Silverside Steak: 5 Essential Tips for Parents
Cooking silverside steak can be a savory delight for your family. Here’s a succinct guide on what you need to know about preparing this cut of meat.
1. Understand Your Meat
Silverside steak is a lean, tough cut of beef from the hindquarters of the cow. It works best with slow-cooking methods like braising or marinating to tenderize it. Thus, plan your mealtime accordingly.
2. Proper Preparation
Trim any excess fat from the silverside steak as it may make the meat tougher during cooking. Marinating the steak overnight not only ensures it tenderizes but also adds flavors to it.
3. Use the Right Cooking Method
Given its tougher texture, silverside steaks are not ideal for grilling or pan-frying. Instead, leverage slow cooking methods like simmering in a stew, slow roasting, or pressure cooking to achieve tender and tasty results.
4. Monitor the Cooking Time
Overcooking can make your silverside steak tough and chewy. Depending on the cooking method, it’s best to cook for a longer time at a lower temperature. This allows the meat fibers to break down and soften.
5. Let the Steak Rest
A common mistake is not allowing the steak to rest after cooking. Resting the steak for 5-10 minutes before serving allows the juices to redistribute. This results in a succulent, tender silverside steak every time.
Remember these five crucial steps for the perfect silverside steak. With understanding, preparation, the right cooking method, ideal cooking time, and resting time, you and your family can enjoy a delicious and nutritious meal together!
For more great articles please see here. For more information see here
Disclaimer
The articles available via our website provide general information only and we strongly urge readers to exercise caution and conduct their own thorough research and fact-checking. The information presented should not be taken as absolute truth, and, to the maximum extent permitted by law, we will not be held liable for any inaccuracies or errors in the content. It is essential for individuals to independently verify and validate the information before making any decisions or taking any actions based on the articles.


