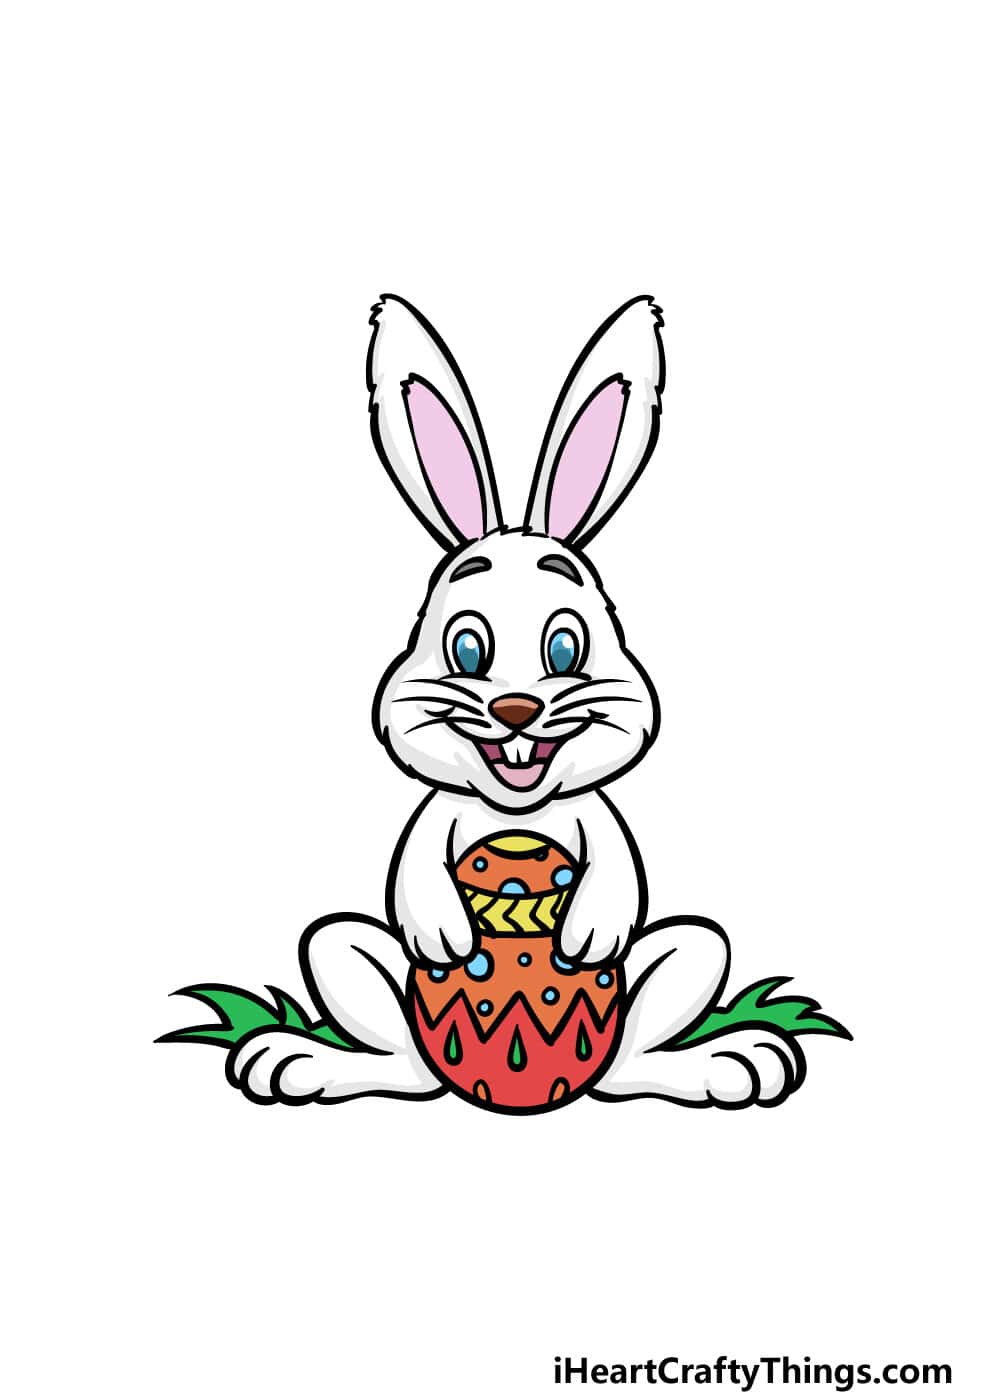
Introduction to Drawing an Easy Easter Bunny
Hello there, lovely parents and creative kids! Easter is just around the corner, and what better way to celebrate than by spending some quality time drawing your very own Easter Bunny? Not only is it a fun activity to do together, but it also helps children develop their fine motor skills and unleash their creativity. Drawing can be a bit daunting if you don’t know where to start, but fear not! Our step-by-step guide is here to make it as easy as a bunny hop.
Whether you plan on adding a personal touch to Easter cards, creating decorations, or just looking for a fun activity, this simple Easter Bunny drawing tutorial is perfect for artists of all ages. We’ve designed it with simplicity in mind so that everyone, regardless of their artistic skills, can join in on the fun.
Gathering Your Drawing Supplies
Before we hop into the action, let’s make sure you have all the supplies you need. Here’s a quick list to check off:
- Drawing paper: Any type of paper will do, but thicker paper can handle eraser marks and multiple layers of color better.
- Pencils: Regular HB pencils are great for sketching your bunny’s outline.
- Erasers: For those little oops moments! A kneaded eraser is gentle on paper and perfect for lifting graphite without damage.
- Colored pencils, crayons, or markers: To bring your bunny to life with a burst of color!
- Sharpener: Keep those pencils sharp for the fine details!
Now that you’ve got everything you need let’s start creating some magic!
Step-by-Step Instructions on Drawing Your Easter Bunny
Drawing an adorable Easter bunny is a wonderful way to engage with your child’s imagination. Let’s break it down into simple manageable steps:
- Draw the Basic Shapes: Start with a large oval for the bunny’s body and add a smaller circle for its head.
- Add the Bunny’s Ears: Ears are what give the Easter bunny its characteristic look. Draw two long and slightly curved lines upwards from the head, then mirror them on the inside for that fluffy ear feeling.
- Sketch the Face: In the center of the circle, draw two small circles for the eyes, a little ‘X’ for the nose, and a curved line for the mouth. Don’t forget to add the whiskers!
- Outline the Legs and Paws: To the bottom of the oval, add some ovals for the feet and don’t forget the fluffy tail!
- Bring in Some Details: Texture your bunny with some soft, furry lines along the outline of the body and ears. Perhaps add a bow tie or a little vest to personalise your bunny.
Remember, this is not about perfection; it’s about having fun and spending time together. Keep encouraging your little ones to use their imagination, and reassure them that every bunny is unique and special, just like them!
So far, you’ve got all the tips and tricks to get started on your Easter Bunny drawing adventure with your kiddos. Remember, confidence comes with practice, so don’t be afraid to make multiple bunnies. Each one will have its own charm and characteristics. Stay tuned for more details on how to decorate and integrate these delightful drawings into your Easter festivities!

5 Things Parents Should Know in Preparing for a Simple Easter Bunny Drawing
- Patience is Key: Drawing can sometimes be challenging for little ones, especially if they are aiming for ‘perfection.’ It’s important for parents to encourage patience and remind kids that practice and persistence are more valuable than getting it right on the first try. Celebrate their effort and progress over the outcome.
- Create a Conducive Environment: Make sure you have a comfortable workspace with ample light. It should be a peaceful environment where your children can concentrate and enjoy the process of creation without any distractions or interruptions.
- Encourage Creative Expression: While following the steps is important for learning, it’s equally important to let kids express themselves creatively. If they want to add extra details, use unconventional colors, or interpret the steps differently, support their individuality. This is what makes art a unique experience for every child.
- Keep it Fun and Lighthearted: Avoid turning the drawing session into a serious lesson. The goal is to have fun and bond with your child, not to stress over artistic skills. Play some music, tell Easter stories, or prepare some snacks to make the activity more enjoyable.
- Preparation is Helpful: It can be very helpful for parents to do a trial run of the drawing before sitting down with their children. This way, you can anticipate any tricky parts and be ready to guide your child through them. Also, have some examples or reference images handy to inspire and excite your children about what they’re about to draw.
Getting Creative with Your Easter Bunny Drawings
Once you and your child have drawn an adorable Easter Bunny, it’s time to get even more creative. Here are a few ideas to take your bunny drawings to the next level:
- Coloring: Encourage your child to color in their bunny drawing. This can be done using colored pencils, markers, or even paint. Experiment with different techniques, such as blending colors for a more dynamic effect.
- Adding Context: Draw a background or scenery around your bunny. Whether it’s a sunny meadow, a garden of Easter eggs, or a whimsical forest, a context adds depth to the drawing and encourages storytelling.
- Accessorizing: Accessorize your bunny with Easter-related items like a basket of eggs, a bonnet, or ribbons. This is a great opportunity to discuss Easter traditions and symbols with your children.
- Creating a Series: Make a series of bunnies with different expressions and postures. Perhaps one bunny is sleeping, another is hopping, and one more is painting an egg. This can lead to a fun Easter-themed narrative and a greater understanding of emotions and movements.
- Transforming the Drawing into Crafts: Bunny drawings can be cut out and used as decorations, transformed into greeting cards, or laminated as placemats for Easter dinner. It’s a lovely way to showcase your child’s artwork and add a personal touch to your holiday decor.
By completing these steps, you’ll not only have a treasure trove of memories with your child, but you’ll also have fostered their creative growth and imagination. Most importantly, you’ll have loads of fun along the way!
So, grab those art supplies and let’s get ready to embark on this ‘egg-citing’ artistic journey to create the cutest, most cheerful Easter Bunny! Happy drawing, everyone!
See more great Things to Do with Kids in New Zealand here. For more information see here
Disclaimer
The articles available via our website provide general information only and we strongly urge readers to exercise caution and conduct their own thorough research and fact-checking. The information presented should not be taken as absolute truth, and, to the maximum extent permitted by law, we will not be held liable for any inaccuracies or errors in the content. It is essential for individuals to independently verify and validate the information before making any decisions or taking any actions based on the articles.


