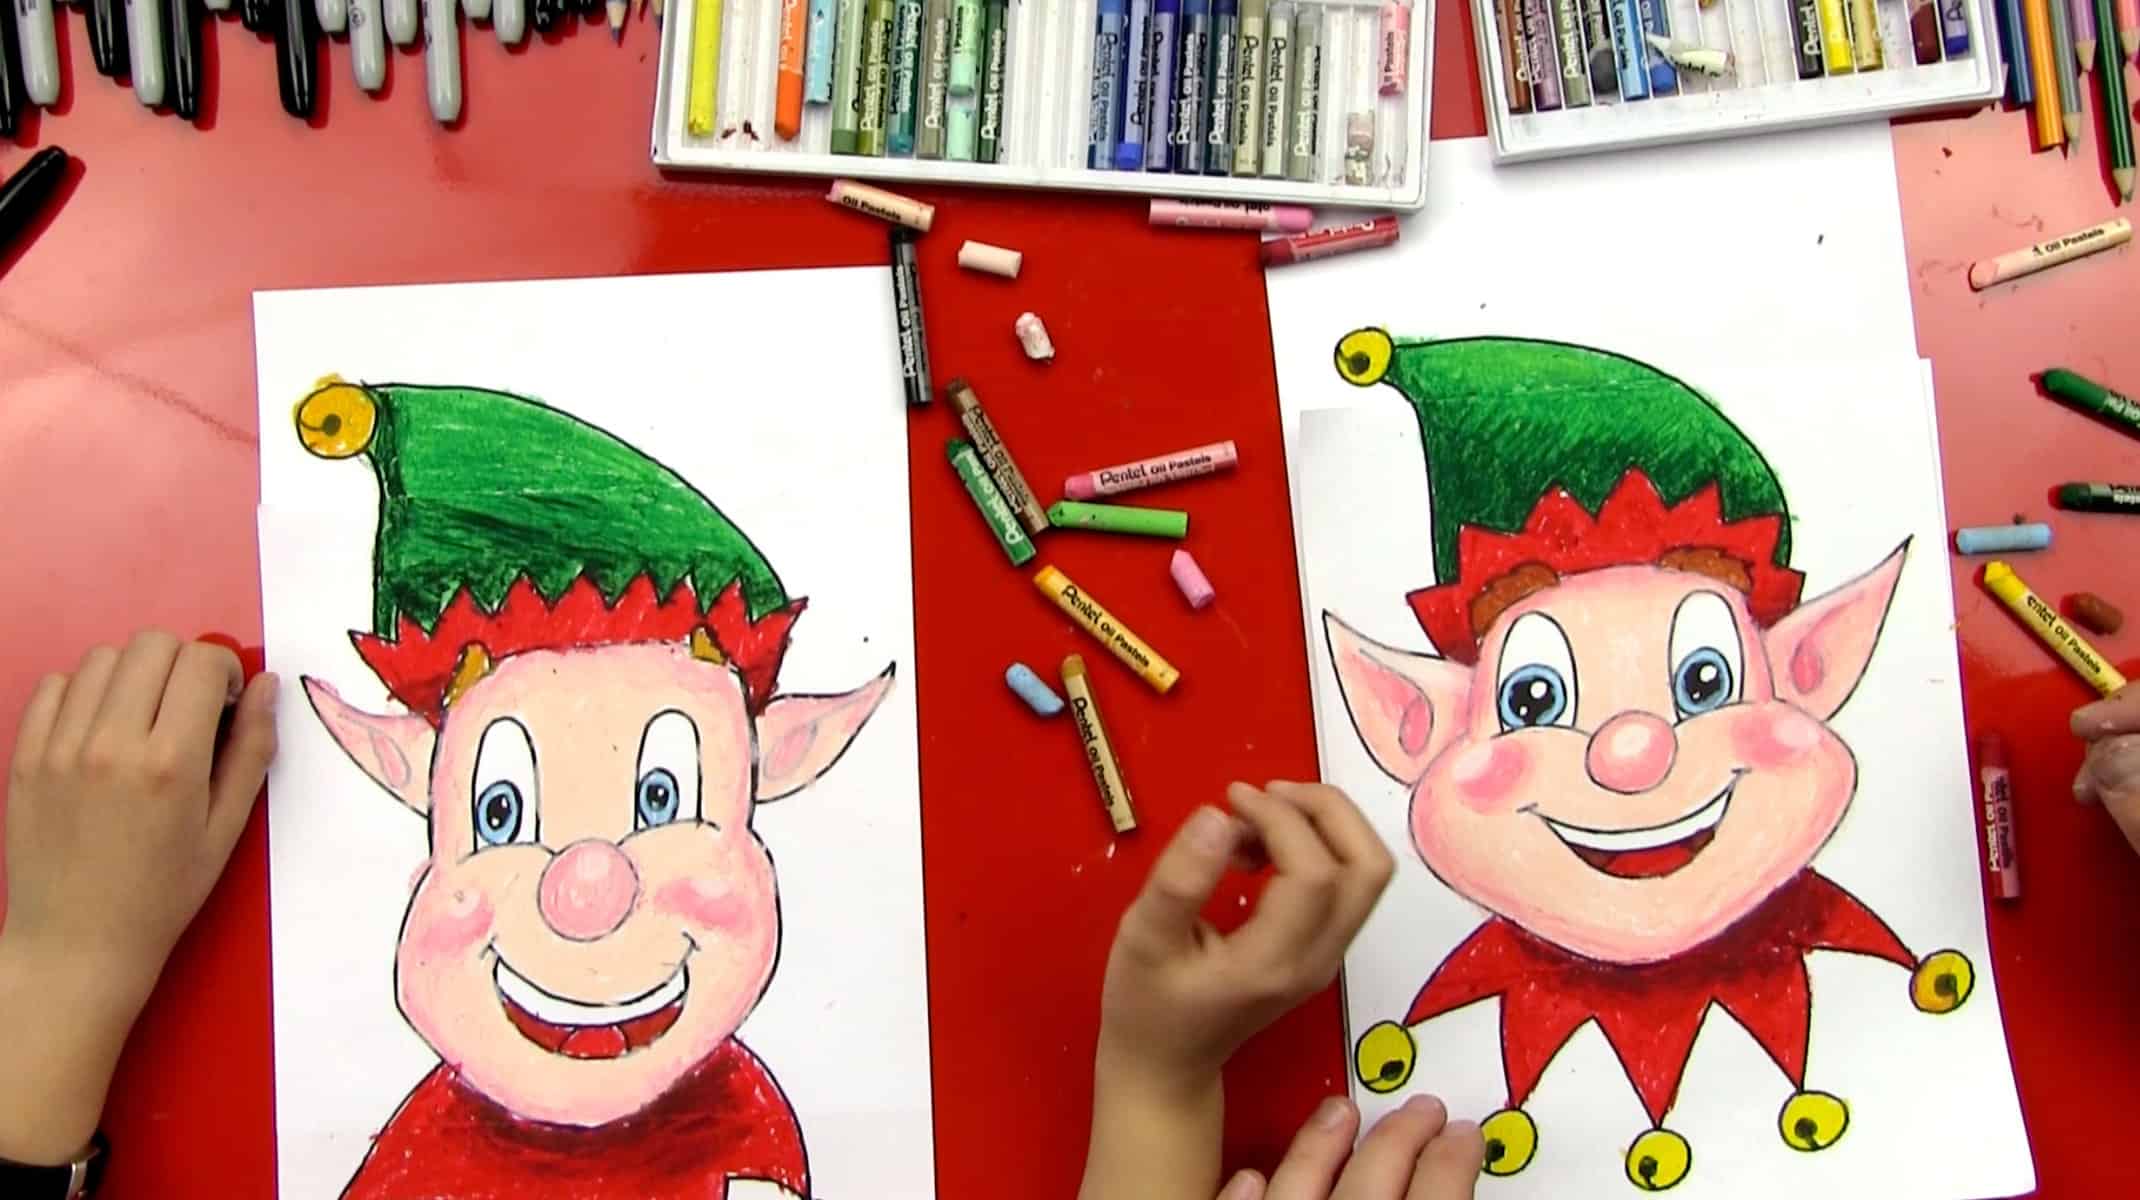
Step-by-Step Guide to Drawing a Charming Christmas Elf for Family Fun
Hello, festive friends! ? Are you ready to deck your halls with your very own drawings of cheerful Christmas elves? Drawing can be a wonderfully merry activity for the whole family, and with this step-by-step guide, you and your kids can create a holiday masterpiece to be proud of! You don’t need to be a North Pole artist—just bring your enthusiasm and a sprinkle of holiday magic! Let’s get started!
? What You’ll Need
- Plain paper or a sketchbook
- Pencil
- Eraser
- Colored pencils, markers, or crayons
- A good dose of Christmas cheer
?? Step 1: Sketch the Elf’s Head
Begin with a pencil to draw a rounded shape for the head. Remember, elves have cute, child-like features, so don’t worry about making it perfectly round. A slight oval or circular shape will do just fine. You’ll want to leave room at the top for a festive hat!
? Step 2: Add the Elf Hat
No elf is complete without a whimsical hat! At the top of the head, sketch a triangle with a soft curve for that classic Santa’s helper look. Don’t forget to add a small round pompom at the tip. It adds an extra touch of elfish charm to your drawing.
? Step 3: Draw the Face
It’s time to bring your elf to life with some facial features! Draw two large, sparkling eyes by sketching two ovals. Elves have a twinkle in their eyes, so be sure to leave a little white dot for the gleam. A rounded button nose and a jolly smile will make your Christmas elf look merry and bright. You can add rosy cheeks for a dash of warmth, too!
? Step 4: Elf Ears and Hair
Elves have distinctive pointed ears. Draw two pointy shapes on either side of the head. For the hair, let your creativity flow! Elves can have straight, curly, or even wavy hair in all kinds of festive colors. Draw the hair peeking out from under the elf hat.
We’re off to an enchanting start, aren’t we? But wait, there’s more! Keep your pencil twirling, as we’re about to add the elf’s body, outfit, and all those delightful details that make Christmas elves so special. So grab a sip of hot cocoa, and let’s continue our artistic adventure. Stay tuned for all the joyful details your holiday heart could desire!

? 5 Things Parents Should Know in Preparing for How to Draw a Christmas Elf
Before diving into the rest of our drawing journey, here are five essential tips to help parents make the most of this creative experience:
- Choose the Right Art Supplies: Have a variety of pencils, erasers, and coloring materials at hand to give kids the freedom to express their creativity. Thicker paper will prevent markers from bleeding through and allow for more robust artwork!
- Embrace Imperfections: Let the little artists know that their elves are unique and that there’s no ‘wrong’ way to draw. Encouragement over perfection fosters a positive drawing environment and allows for originality.
- Set Up a Comfortable Space: Ensure you have a well-lit, comfortable space for drawing. A clutter-free table with ample room for supplies will make the drawing experience more enjoyable and less frustrating.
- Incorporate Storytelling: While drawing, engage with your kids by crafting stories about their elves. This encourages imagination and can also help in adding unique attributes to their drawings, such as a special hat or a tool belt.
- Display Their Artwork: Plan where you’ll display the completed elf drawings. This could be on the fridge, in a frame for seasonal decoration, or as handcrafted Christmas cards. Showing that you value their artwork will boost their confidence and joy.
? Step 5: Design the Elf’s Outfit
Now let’s give our elf some style! Start by drawing two lines down from the head to form a simple tunic. Elves love bright colors and patterns, so feel free to get creative with the design. Add a belt with a big buckle for that classic elf look and draw small circles for buttons. Remember, elf clothes are often lively and fun, just like their personalities!
?? Step 6: Add Legs and Boots
What would an elf be without their pointy shoes? Draw two lines down from the tunic for the legs and sketch boots with curled tips at the bottom. You can add stripes or bells to the boots for a little extra festive flair!
? Step 7: Elf Arms and Hands
Extend two arms from the sides of the tunic with simple lines, and at the ends, add mittened hands or fingers. Elves are known for being crafty, so perhaps one hand could be holding a toy or a tool.
? Step 8: Finishing Touches
Our elf is almost ready! It’s time to add any final details. Maybe there are patches on the tunic, a festive scarf around the neck, or a sack of toys slung over a shoulder. Add as much character as you like—this is your elf’s story!
? Step 9: Color Your Christmas Elf
Bring your elf to life with splashes of color! Elves typically wear reds, greens, and golds, but there are no rules here. Encourage your kids to choose their favorite colors to fill in their elf’s outfit, making it truly their own creation.
? Step 10: Share and Celebrate
Once everyone has completed their elf drawings, take time to showcase and celebrate them. Sharing your drawings as a family will not only enhance the holiday spirit but also create wonderful memories you’ll all cherish for years to come.
See more great Things to Do with Kids in New Zealand here. For more information see here
Disclaimer
The articles available via our website provide general information only and we strongly urge readers to exercise caution and conduct their own thorough research and fact-checking. The information presented should not be taken as absolute truth, and, to the maximum extent permitted by law, we will not be held liable for any inaccuracies or errors in the content. It is essential for individuals to independently verify and validate the information before making any decisions or taking any actions based on the articles.


