
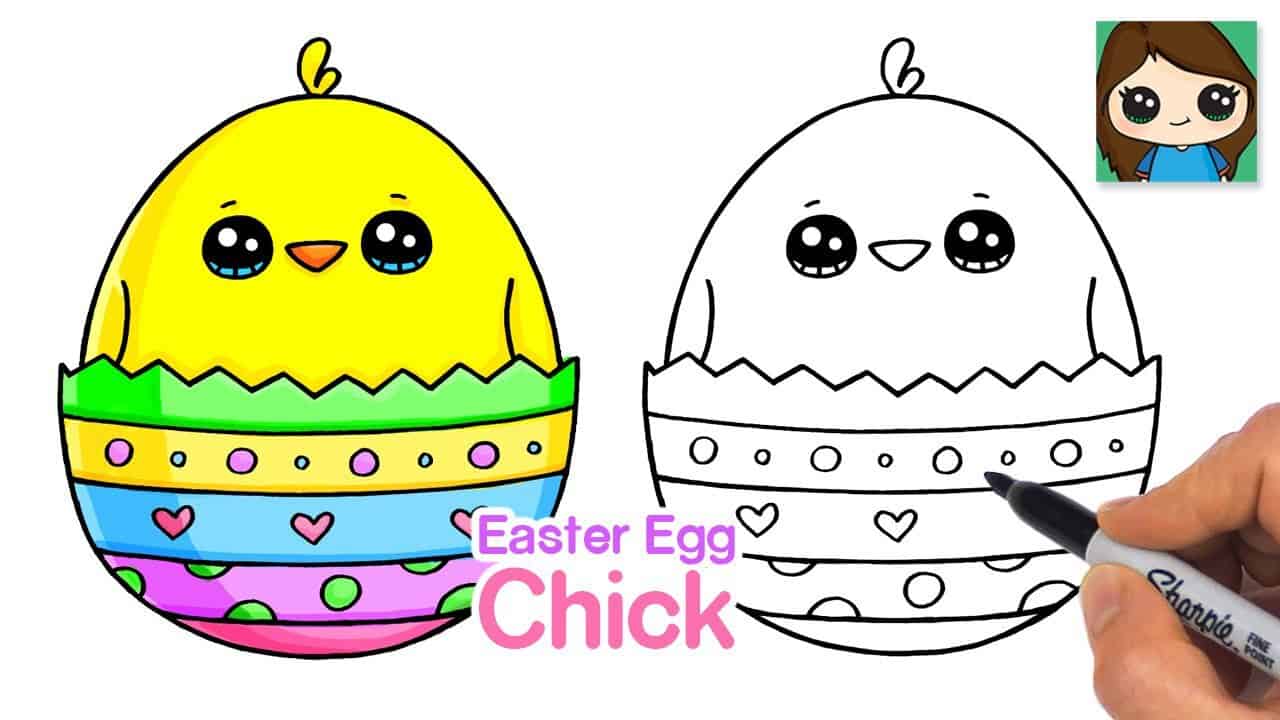
How to Draw a Delightful Easter Egg: A Step-by-Step Guide for Creative Families
Hello there, sunny-side-up parents and art-loving kids! Easter is hopping around the corner, and what’s a better way to celebrate than indulging in some egg-citing drawing activities with your little chicks? Let’s fill our baskets with colorful markers and dive into the wonderful world of Easter egg art. Whether you’re a seasoned artist or have two left thumbs when it comes to drawing, this step-by-step guide is crafted just for you! ?
Why Bond Over Bunny Crafts?
Before we roll up our sleeves and get to the drawing board, let’s talk about the magic of crafting together. Drawing with your kids isn’t just about the end result – it’s about spending quality time, building memories, and hatching creativity. It’s a way to connect, share laughs, and nurture your child’s artistic abilities. Plus, it’s just plain fun! So, grab your art supplies and let’s make this Easter an egg-straordinary artistic adventure!
A Peek Inside Your Art Basket: What You’ll Need
Creating your egg-cellent masterpiece is easy when you have the right tools. Here’s what you’ll need to start on our Easter expedition:
- Sketch Pad or Paper: A canvas for your creations.
- Pencils: To sketch out your egg shapes.
- Eraser: For any oopsie-doodles along the way.
- Markers or Colored Pencils: The more colors, the merrier!
- Ruler (optional): If you want to create perfectly straight lines or patterns.
- Stencils (optional): For those who like to keep things neat and tidy.
- Creative Juices: Essential for every artist!
Cracking On: A Step-by-Step Guide to Drawing Your Easter Egg
Step 1: Sketching Your Egg Shape
Let’s begin with the basics! Place your paper on a flat surface and hold your pencil lightly but firmly. Now, draw an oval shape with a slightly pointier top – just like a real egg. Don’t worry if it’s not perfect; remember, every egg has its own personality!
Step 2: Bring In the Patterns
Now that we have our egg shape, it’s time to dress it up! Use your pencil to lightly draw your designs. Zigzags, polka dots, flowers or even a cute bunny – the sky’s the limit. If you’re using stencils, now is the time to gently trace them onto your egg.
Step 3: Add a Rainbow of Colors
Time to add some pizzazz! Select your markers or colored pencils and gently fill in your patterns with bright, joyful colors. Mix and match to create an egg-travagant look. If you’re using markers and they bleed through the page, remember to protect your surface with an extra sheet underneath.
Step 4: Accent and Detail
Your egg is almost ready to hatch into a beautiful drawing! Add accents and details to your patterns with a finer tip marker or pencil. This can be anything from a dash of glitter to a subtle shading effect, giving your Easter egg that extra special touch.
Step 5: The Fine Art of Finishing Touches
Let’s wrap up our masterpiece! Take a step back and admire your work. Do you see any spaces that could use a little more color or flair? This is the time to add those last-minute details. Once you’re happy with your Easter egg, carefully erase any pencil lines that are peeking through.
And there you have it! Your very own hand-drawn Easter egg that’s just waiting to be shown off. Not only do you have a wonderful piece of art to decorate your home with this spring season, but you’ve also created priceless memories with your family.
Don’t let the fun stop here; keep those creative gears turning! Drawing Easter eggs is just the beginning. Every piece of paper is a new opportunity to let your imagination soar and your family bonding grow. Remember, art is about the joy of creating together, not just the beautiful results.
So, what are you waiting for? Get those pencils twirling, and markers swishing, and may your Easter be filled with creativity and joy. Hop to it, and let the good times roll!
5 Essential Tips for Parents Preparing for Easter Egg Drawing Fun
Tip 1: Setting Up Your Creative Space
(Sub-Title not included in character count) This joyous journey begins with the perfect setting. Choose a spot in your home where you can spread out and get messy without worries. Cover your table with old newspapers or a disposable tablecloth to make cleanup a breeze. Good lighting is key, as it will help the little ones see their colorful creations come to life. Make sure all your materials are within arm’s reach to keep the focus on fun and creativity!
Tip 2: Dress for Mess
(Sub-Title not included in character count) Remember, creativity can be a messy business, so dress for the occasion. Aprons or old t-shirts are perfect for protecting clothes from accidental splashes of art. You could even make it a themed dress-up to add to the festive spirit — bunny ears are always a hit!
Tip 3: Practice Patience
(Sub-Title not included in character count) It’s important to approach this activity with a relaxed vibe. Let the kids explore their artistic talents at their own pace, and resist the urge to correct their techniques. This is about fun, not perfection. Celebrate their efforts and unique styles, ensuring that everyone has an eggs-tra special experience.
Tip 4: Embrace Imperfection
(Sub-Title not included in character count) Each Easter egg drawn will be unique and perfect in its own right. Remind your children that irregular shapes and unexpected colors are what make their art one-of-a-kind. Encourage them to laugh off mistakes and turn them into something new and unexpected. After all, sometimes the best memories are made from happy accidents.
Tip 5: Safety First
(Sub-Title not included in character count) Keep safety in mind when choosing art supplies, especially for younger artists. Non-toxic, washable markers and paints are a must, and small objects should be kept out of reach to avoid any choking hazards. Always supervise your little ones to ensure a fun and safe crafting environment.
Armed with these practical pointers, you’re now ready to guide your family into a world of Easter egg drawing joy. Remember, it’s not just about the destination (although those eggs are going to look fabulous!); it’s also about enjoying the colorful journey together. So hop to it, and get ready to create some beautiful Easter memories!
Oh, and don’t forget to take a heap of pictures! These are the moments you’ll treasure forever — a snapshot in time when your family came together to celebrate Easter with art, laughter, and love. Plus, you’ll want to show off those pretty eggs on social media, won’t you?
Above all, let this be an opportunity for you to connect with your kids, nurture their creative minds, and maybe uncover a little bit of your inner child in the process. Who knows what wonders you’ll all create when you let your imaginations run wild? One thing is certain, though: the Easter Bunny is going to be very impressed!
Feeling inspired and prepared? Fantastic! Gather your little bunnies, lay out the rainbow-coloured supplies, and let the magic unfold. It’s time to start drawing and making this Easter season the most artistic one yet!
What’s Next? More Fun Easter Drawing Activities!
Once you’ve mastered the art of drawing an Easter egg, why not expand your horizons with more Easter-themed projects? From adorable chicks to whimsical bunnies, there’s no end to what you can create. Try crafting 3D paper eggs, constructing an Easter-themed diorama, or even staging an artistic Easter egg hunt by hiding your drawings around the house for a festive scavenger hunt for the whole family. These activities will not only bring more fun but also help to develop those fine motor skills and build confidence in your blossoming artists!
The Easter season is the perfect backdrop to foster a love for art and creativity within your family. And who knows? This could be the start of a new family tradition that everyone looks forward to year after year. The important thing is to remember to enjoy the process and cherish the moments spent with each other. Happy drawing and happy Easter, everyone!
See more great Things to Do with Kids in New Zealand here. For more information see here
Disclaimer
The articles available via our website provide general information only and we strongly urge readers to exercise caution and conduct their own thorough research and fact-checking. The information presented should not be taken as absolute truth, and, to the maximum extent permitted by law, we will not be held liable for any inaccuracies or errors in the content. It is essential for individuals to independently verify and validate the information before making any decisions or taking any actions based on the articles.


