
How to Draw an Adorable Easter Bunny: A Fun Guide for Parents and Kids
Hello, amazing parents and little artists! Easter is around the corner, and what better way to add a personal touch to your celebrations than by learning to draw your very own Easter Bunny? Whether you’re looking to creating greeting cards, decorations, or just want to spend some quality time with your kiddos, this guide is hopping right into your hands with a basket full of easy steps to draw the cutest bunny around.
Don’t worry if you think you haven’t got the knack for drawing. Our guide is perfect for all skill levels, and with a bit of practice, you’ll be drawing bunnies faster than they can hop!
Materials You’ll Need:
- Pencil
- Eraser
- Drawing paper or cardstock
- Colored pencils, markers, or crayons (optional)
Tip: If you’re doing this activity with younger children, you might want to have a washable drawing surface or work area to catch any potential stray marks.
Step-by-Step Guide to Drawing Your Easter Bunny
Step 1: Sketch the Bunny’s Head
Start with a simple circle toward the top of your paper. This will be the head of your Easter Bunny. Don’t press too hard with your pencil – these initial lines are just a guide and will be erased later on.
Step 2: Add the Bunny’s Body
Right under the head, draw a bigger oval shape for the body. This oval doesn’t have to be perfect. Consider it a chubby, fluffy belly that makes your Easter Bunny irresistibly cute!
Step 3: Craft Those Iconic Bunny Ears
On top of the head, draw two long, pointed ovals for the ears of your bunny. You can make them standing straight or have one slightly bent for a more playful look. Inside those ovals, draw another smaller oval for the inner ear detailing.
Step 4: Flesh Out the Bunny’s Face
In the middle of the face circle, draw two small circular eyes. Keep them simple, with a little circle within each eye for a glint that brings your bunny to life. Right below the eyes, add a small triangle nose and draw a curved line on each side to create a smile. Finish the face with three little lines on each side of the nose for whiskers.
Step 5: Give it Arms and Legs
For the arms, draw two oval shapes on either side of the body, starting from the head and extending just past the body. These are your bunny’s paws, so be sure to add little lines at the ends for fingers. For the feet, sketch two larger oval shapes at the base of the body, and don’t forget those toes!
Step 6: Accessorize Your Bunny
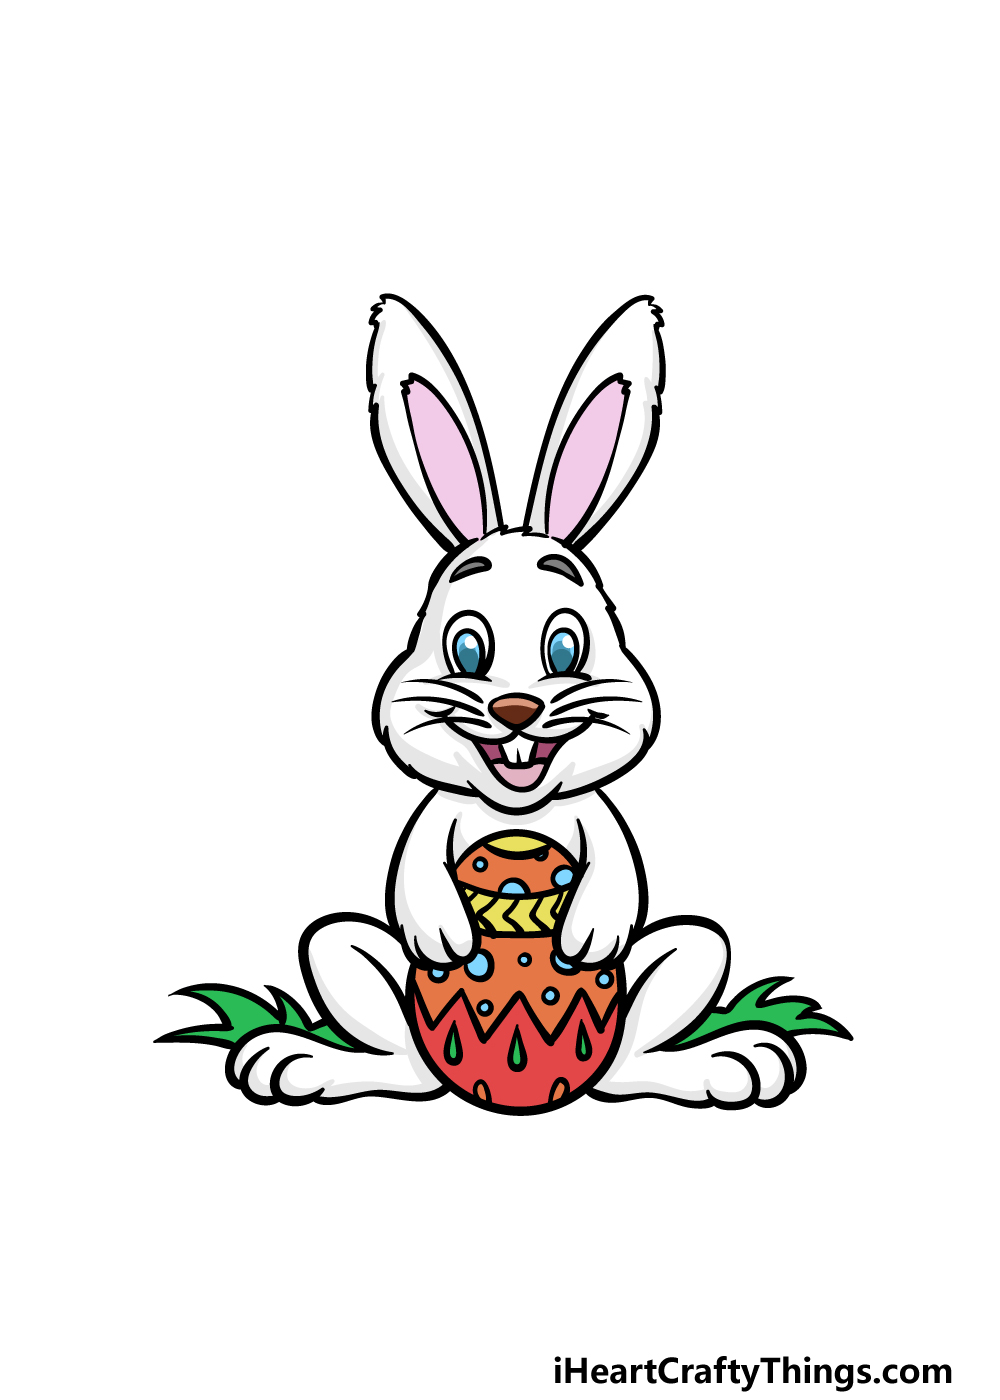
It’s time to accessorize! Does your bunny have a bowtie? A cute vest? Or perhaps it’s holding a painted Easter egg or a basket full of colorful eggs? Add these special touches to give your bunny some personality and Easter spirit.
Pro-tip: Personalize your Easter Bunny by adding features that resonate with you or your child. If your kiddo has a favorite color, use that for the bunny’s clothes or egg. If they love flowers, draw a flower crown on your bunny’s head. The possibilities are endless!
Step 7: Erase and Color
Once you’re happy with your bunny sketch, gently erase any overlapping lines. Now the real fun begins – grab your coloring tools and bring your bunny to life with color! Soft pinks for the inner ears, a variety of pastels for its Easter attire, and bright hues for those Easter eggs will make your drawing pop.
Congratulations, you and your little ones have just drawn the most adorable Easter Bunny! Not only have you created a lovely piece of art, but you’ve also made lasting memories with your family.
Stay tuned because we’re just getting started! In the next section of our guide, we’ll dive into some creative twists and advanced techniques to make your Easter Bunny drawing even more unique. From different poses and expressions to special Easter scenes, you’ll have a whole burrow of bunnies in no time at all.
Drawing together is a fantastic way to bond and celebrate the holiday, and a hand-drawn Easter Bunny adds that special personal touch to your festive decorations. So sharpen those pencils and get ready for more tips and tricks – let’s hop to it!

5 Things Parents Should Know in Preparing to Draw an Easter Bunny
Before diving into drawing, here are five essential tips to ensure a smooth and enjoyable experience for both you and your little ones:
1. Set Up a Kid-Friendly Environment
Creating a space that is both comfortable and conducive to creativity is vital. Make sure the area is well-lit and your child can easily reach all of the materials. Covering the table with newspaper or a disposable tablecloth can help with easy cleanup, especially if using markers or paint.
2. Choose the Right Materials
The quality of your materials can make a big difference. While you don’t need professional-grade supplies, ensuring that pencils are sharp, erasers are clean, and paper is sturdy will help the final artwork look its best. Washable materials are excellent choices for younger children who may still be developing their motor skills.
3. Embrace the Learning Process
Drawing is a process that improves with practice. Encourage your child to embrace mistakes as learning opportunities. Remind them that it’s okay if the bunny doesn’t look perfect on the first try – every attempt is a step forward in their artistic journey.
4. Keep Instructions Light and Fun
While drawing, keep the mood upbeat and lighthearted. Too many rules or a focus on perfection can dampen the fun. Celebrate the effort, laugh together, and enjoy the experience as much as the outcome.
5. Plan for Displaying Artwork
One of the joys of creating art is sharing it. Plan ahead for how you’ll display the finished Easter Bunny drawings. Whether it’s on the refrigerator, in a frame, or as part of an Easter basket, showing off your child’s artwork can boost their confidence and make the activity all the more special.
Next Steps: Creative Twists on Your Easter Bunny Drawing
Now that you’ve mastered the basics, let’s take your Easter Bunny drawings to the next level. Encouraging your child to experiment with different styles and details adds variety and allows their imagination to soar. Here are a few ideas to get you started:
- Different Poses: Draw your bunny hopping, sitting, or doing a playful stance. Motion adds life to your drawings and tells a story.
- Facial Expressions: Change the bunny’s expressions by adjusting the shape of the eyes or the curve of the mouth. A joyful or surprised bunny can be very entertaining to create.
- Easter Scenes: Place your bunny in a scene. Maybe it’s in a garden, hiding eggs, or having an Easter tea party with other bunnies.
- Add Friends: Why stop at one bunny? Draw a whole family of bunnies, each with their own characteristics and accessories.
- Play with Textures: Experiment with different strokes to create fur texture. Show your child how to use light and shadow to make their bunny look more three-dimensional.
Remember that the key to a great drawing experience is to have fun and enjoy the time spent with your children. Use this Easter Bunny drawing activity to foster a sense of creativity and imagination in your kids, and don’t forget to snap a photo of their masterpieces to cherish this moment for years to come. Happy drawing!
See more great Things to Do with Kids in New Zealand here. For more information see here
Disclaimer
The articles available via our website provide general information only and we strongly urge readers to exercise caution and conduct their own thorough research and fact-checking. The information presented should not be taken as absolute truth, and, to the maximum extent permitted by law, we will not be held liable for any inaccuracies or errors in the content. It is essential for individuals to independently verify and validate the information before making any decisions or taking any actions based on the articles.


