
? The Ultimate Easter Drawing Guide for Parents! ?
Hello there, amazing parents! Easter is hopping around the corner, and what better way to celebrate than with a splash of creativity? Are your little ones eager to dive into some artsy fun? Well, you’ve come to the right place! In this egg-citing guide, we’ll hop through the joyful process of drawing and decorating Easter eggs together. So, grab those crayons and let’s get cracking!
Now, we know that drawing can sometimes be a little daunting, but worry not because this tutorial is designed to be egg-ceptionally easy and fun for all ages. Plus, it’s a fantastic way to bond with your kids and nurture their creative spirits. Ready to create some egg-stravagant masterpieces? Let’s begin!
? What You’ll Need:
- Paper: A few sheets of blank, white paper will be the perfect canvas for your drawings.
- Pencils: Start with pencils for sketching your designs. Erasers will also come in handy for those little oopsies.
- Colored pencils, crayons, or markers: To bring your eggs to life in vibrant color.
- Optional: Glitter, stickers, or any other decorative items you might have.
? Step-by-Step Guide to Drawing an Easter Egg
Step 1: Start with the Perfect Egg Shape
Begin by gently drawing an oval shape on your paper. Don’t worry if it’s not perfect – with Easter eggs, a little asymmetry adds character. The oval represents the body of your egg, and this will be the foundation of all the fun to come!
Step 2: Add a Festive Touch with Patterns
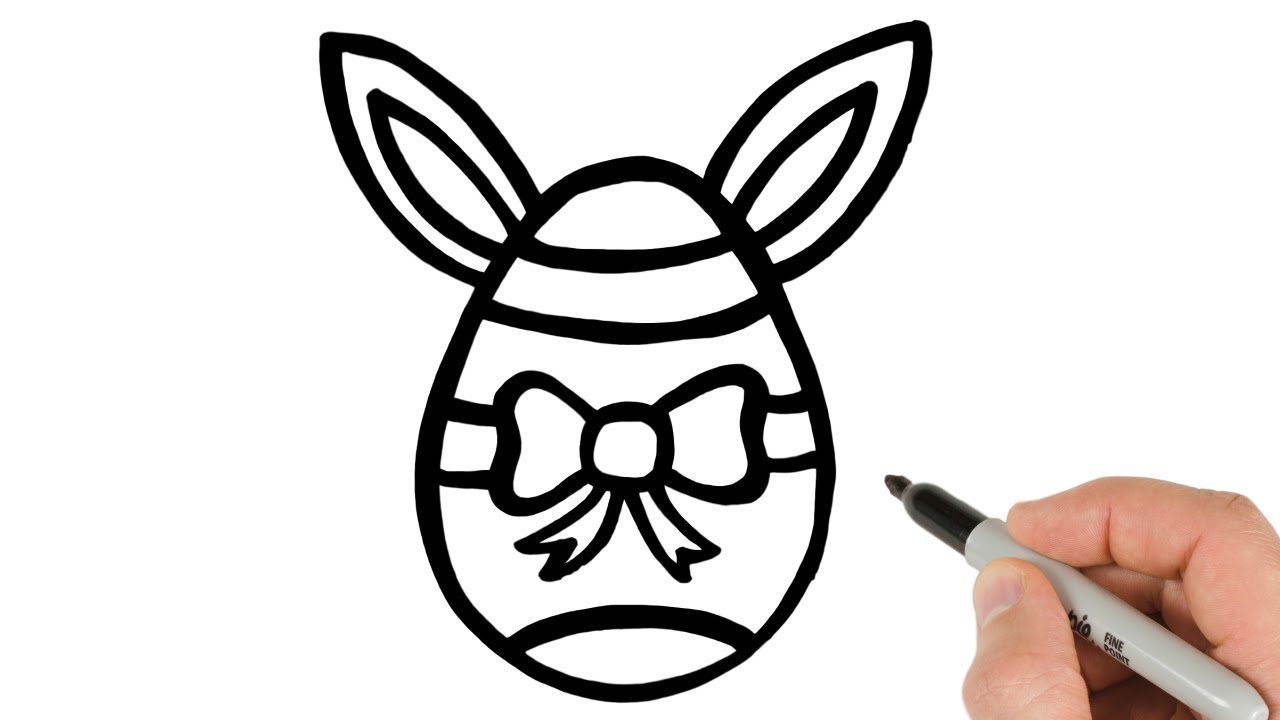
Once you have your egg shape down, it’s time to dress it up! Encourage your kids to let their imagination run wild. Simple stripes, polka dots, and zigzags make great starting points. You can also explore more intricate designs like flowers, hearts, or even little bunny silhouettes for that extra Easter touch.
Step 3: Bring in the Colors
After sketching your patterns, it’s time for color! If using colored pencils or crayons, show your children how to apply different pressures for light and dark shades. For a more striking effect, markers can make those colors pop. This is where your Easter egg starts to shine, so mix and match those colors for a truly vibrant creation.
Step 4: Finishing Touches
To give your Easter egg drawing that final flourish, consider adding some extra elements. Perhaps a little sparkle with some glitter glue, or some cute stickers that complement your design. Anything goes – this is where you and the kiddos can really showcase your personalities!
As you wrap up your festive artwork, remember to let the drawings dry if you’ve used any glue or paint. This will ensure your Easter eggs are smudge-free and ready to display for the whole family to admire.
Crafting Easter eggs with your children is not just about the end result – it’s about the laughter, the bonding, and the memories that you create along the way. These moments are more precious than the prettiest of eggs and will surely be cherished for many Easters to come.
Need more inspiration or tips on how to take your Easter egg drawings to the next level? Stay tuned – we’ve got a basket full of ideas on different decoration techniques, including 3D elements and even digital approaches for the tech-savvy families!
Delving into the world of drawing can open up a whole burrow of imagination and creativity for your little ones. And the best part? You don’t have to be a professional artist to join in the fun. All you need is a bit of time, some basic supplies, and a willingness to embrace the joy of Easter.
So, take a deep breath, let the inspiration flow, and together, let’s make some eggstraordinary Easter artwork. Remember, every egg you and your children design is a reflection of your family’s unique style and love – and that’s what makes each one perfect. Stay creative and keep drawing, because every moment of fun is a new memory in the making. Happy Easter and happy drawing!

5 Things Parents Should Know in Preparing for How to Draw an Easter Egg ??
1. Set Up a Kid-Friendly Workspace
Before beginning, ensure that the drawing area is suitable for children. A comfortable seating arrangement, ample lighting, and a spacious table are key. Cover your workspace with newspapers or a disposable tablecloth to catch any rogue marks or spills, making clean-up quick and easy!
2. Quality Supplies Make All the Difference
While you don’t need professional-grade supplies, using good quality crayons, pencils, and paper can enhance the drawing experience, ensuring vibrant colors and ease of use. Don’t forget a trusty eraser to fix those creative explorations that go outside the lines!
3. Embrace the Learning Opportunity
Drawing with your kids isn’t just about the final product but also the skills they develop along the way. Basic drawing techniques, such as understanding shapes, colors, and patterns, build their artistic abilities and can also help with their motor skills and concentration.
4. Keep the Atmosphere Positive and Encouraging
Remember, the focus should be on fun and creativity. Keep the mood light and affirming. Praise their efforts and creativity, refraining from critiquing their work. Each child’s drawing is unique and deserves a round of applause!
5. Plan for Display and Preservation
Think about where you’ll display the eggs once they’re done. A dedicated art wall, the refrigerator, or frames can immortalize their work. Also, consider how you might want to preserve these pieces, like taking photos or scanning them for a digital keepsake.
Next Steps and Tips for the Egg-squisite Finish:
Textures and Techniques for Wow-Worthy Eggs
Experiment with textures by using sponges to apply paint, or create a mosaic effect with bits of colored paper. Not only do these techniques look amazing, but they also give your child a chance to explore different artistic methods.
Theme It Up
Consider having a theme for your egg drawing activity. Perhaps you could go wild with a jungle theme, sprinkle some fairy dust for a magical motif, or even travel back in time with some prehistoric dinosaur designs.
Boost Creativity with Storytelling
Combine drawing with storytelling for a holistic creative experience. After drawing their Easter eggs, ask your child to tell a story about their egg. Who might live inside it? Where did it come from? This can be an enjoyable writing prompt, too!
Patience is Key
Allow your kids to work at their own pace. Some children may want to spend hours on their masterpieces, while others may complete theirs in a matter of minutes. There’s no rush, and every approach should be celebrated.
Health and Safety Measures
Use non-toxic, child-safe materials, and keep small objects like stickers and glitter out of reach for tiny tots. Ensure that the creative process is safe at every step!
The memories and skills gained from drawing Easter eggs go far beyond the holiday itself. The confidence, creativity, and coordination your child develops during these arts and crafts sessions will egg-splode into other areas of their life. Plus, the fun you have during this artistic adventure is sure to stick with you both much longer than the chocolate from the Easter bunnies. Now that’s something to celebrate!
No matter how your family chooses to draw and decorate your Easter eggs, the most important part is to enjoy the time spent together. Swing those doors open to a world of color, patterns, and joyous laughter as you and your little ones create egg-cellent Easter treasures.
Lastly, take lots of photos and cherish the messes as much as the masterpieces because this special holiday tradition is about the whimsy, the giggles, and those priceless “aha!” moments that sparkle in your children’s eyes. With each stroke of color and each sprinkle of glitter, you’re not just making art – you’re making magic. Happy drawing and Easter cheer to all!
See more great Things to Do with Kids in New Zealand here. For more information see here
Disclaimer
The articles available via our website provide general information only and we strongly urge readers to exercise caution and conduct their own thorough research and fact-checking. The information presented should not be taken as absolute truth, and, to the maximum extent permitted by law, we will not be held liable for any inaccuracies or errors in the content. It is essential for individuals to independently verify and validate the information before making any decisions or taking any actions based on the articles.


