
How to Draw an Easter Bunny: A Step-by-Step Guide for Creative Fun with Your Kids
Welcome, parents and art-loving kiddos! ??? With Easter hopping just around the corner, you might be looking for a fun and creative activity to get into the festive spirit. Drawing an Easter Bunny can be a delightful way to spend quality family time, and we’re here to guide you through each hop – I mean, step! No matter your artistic level, this is the perfect opportunity to create something egg-stra special that can be used for DIY Easter cards, decorations, or a memorable keepsake.
In this guide, we’ll break down the process of drawing an adorable Easter Bunny into simple, manageable steps that even the littlest of artists can follow. So grab your pencils, crayons, and erasers, and let’s hop into this joyful drawing adventure!
Materials You’ll Need:
- Drawing paper or sketchbook
- Pencil
- Eraser
- Colored pencils or crayons (optional)
- Marker or pen for outlining (optional)
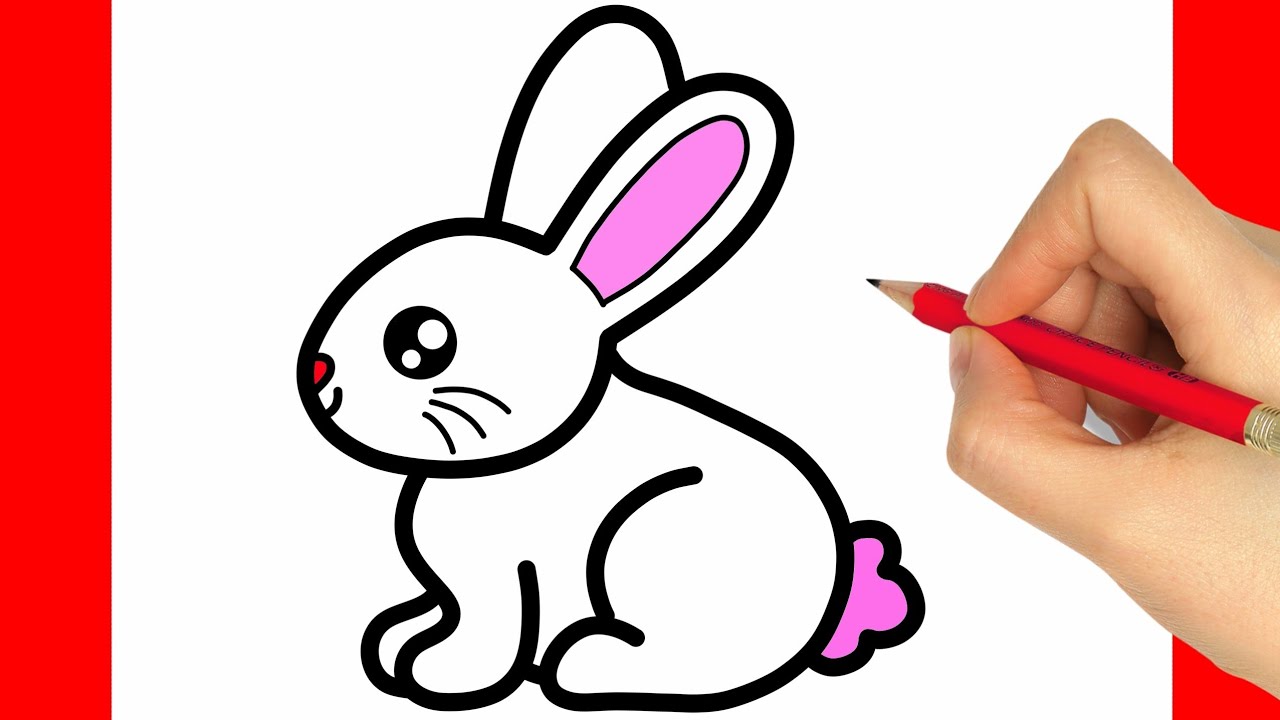
Step 1: Draw the Head Shape
Start by drawing a large oval shape on the paper; this will be the head of your Easter Bunny. Don’t worry if it isn’t perfect—bunnies come in all shapes and sizes, and so can your drawing!
Step 2: Add the Bunny Ears
Above the oval, add two long and slightly curved lines for the ears. Then connect the lines at the top with a softer curve to complete the ear shape. Don’t forget, one of the fun things about Easter Bunnies is that their ears can be floppy or upright, so feel free to get creative!
Step 3: Sketch the Body
Underneath the head, draw a larger oval or a round shape for the bunny’s body. Make sure it’s proportionate to the head, merging smoothly where the neck would be.
Step 4: Draw the Feet and Paws
At the bottom of the body oval, sketch out two large ovals for the feet. Bunnies have big feet, so don’t hold back! For the paws, add two smaller ovals on each side of the body. If you want your bunny to hold something, like a basket or an Easter egg, make sure the paws are positioned correctly.
Step 5: Crafting the Facial Features
Let’s give your bunny some personality! Return to the head and draw two small circles for the eyes, a triangle for the nose, and then add a curved line on either side of the nose for the cheeks. Complete the face with a smile and don’t forget to add some whiskers.
Step 6: Add the Fluffy Tail
On the backside of the bunny’s body, draw a small and fluffy round shape – that’s your bunny’s tail. It can be as fluffy as you like, just use small, quick strokes to create the texture.
Step 7: Personalize Your Easter Bunny
This is where you and your youngsters can add unique details to your Easter Bunny. Think about accessories like a bow tie, a cute vest, or even a little hat. For those keen on adding more festivity, consider drawing Easter eggs around your bunny, or perhaps a basket full of colorful treats.
Drawing is an exploration of imagination, and your Easter Bunny can reflect your family’s creativity! Whether adorned with patterns, bright colors, or even superhero capes, your bunny will be one-of-a-kind. Continue to the next part of this guide for details on final touches and how to bring your bunny to life with color!
Remember, there’s no right or wrong way to draw your Easter Bunny – it’s all about having fun and sharing a wonderful moment with your loved ones. So put on your bunny-drawing hats and let’s continue this artistic Easter journey!

5 Things Parents Should Know in Preparing for Drawing an Easter Bunny
1. Creating the Right Environment
First things first, ensure that the space you choose for this artistic adventure is well-lit and comfortable. A clean, flat surface with enough room for all your materials will set the stage for a stress-free drawing experience. Consider covering the table with newspapers or a disposable tablecloth to make the clean-up process a breeze!
2. Choose Age-Appropriate Tools
For the younger ones, larger, easy-to-grip pencils and crayons are ideal. Older kids might appreciate the precision of finer pencils and the array of colors from a big box of crayons or markers. Remember to be mindful of safety; non-toxic and washable art supplies are always a good bet.
3. Patience and Encouragement Are Key
Drawing can sometimes be challenging, but it’s all about having fun and learning. Encourage your kids to be patient with themselves and praise their efforts, no matter what the outcome looks like. Always highlight the creativity involved rather than striving for ‘perfection’.
4. Embrace the Mess
Art can be messy, and that’s okay! Be prepared for a bit of clutter. Have erasers on hand for pencil mistakes, and if you’re using ink or paint, keep some wet wipes nearby for quick clean-ups. Accepting the mess can make the experience much more enjoyable for everyone involved.
5. Preparation Is Everything
Having everything ready before you start is a great way to ensure the activity goes smoothly. Preparing the materials, clearing the table, and even having a sample or reference image can help keep the process enjoyable and frustration-free.
Drawing with your kids is more than just creating a picture; it’s about the memories you make during the process. So, let those creative juices flow, and most importantly, have an egg-cellent time drawing your very own Easter Bunnies!
Continue to the next part of this guide for details on final touches and how to bring your bunny to life with color!
.
See more great Things to Do with Kids in New Zealand here. For more information see here
Disclaimer
The articles available via our website provide general information only and we strongly urge readers to exercise caution and conduct their own thorough research and fact-checking. The information presented should not be taken as absolute truth, and, to the maximum extent permitted by law, we will not be held liable for any inaccuracies or errors in the content. It is essential for individuals to independently verify and validate the information before making any decisions or taking any actions based on the articles.


