
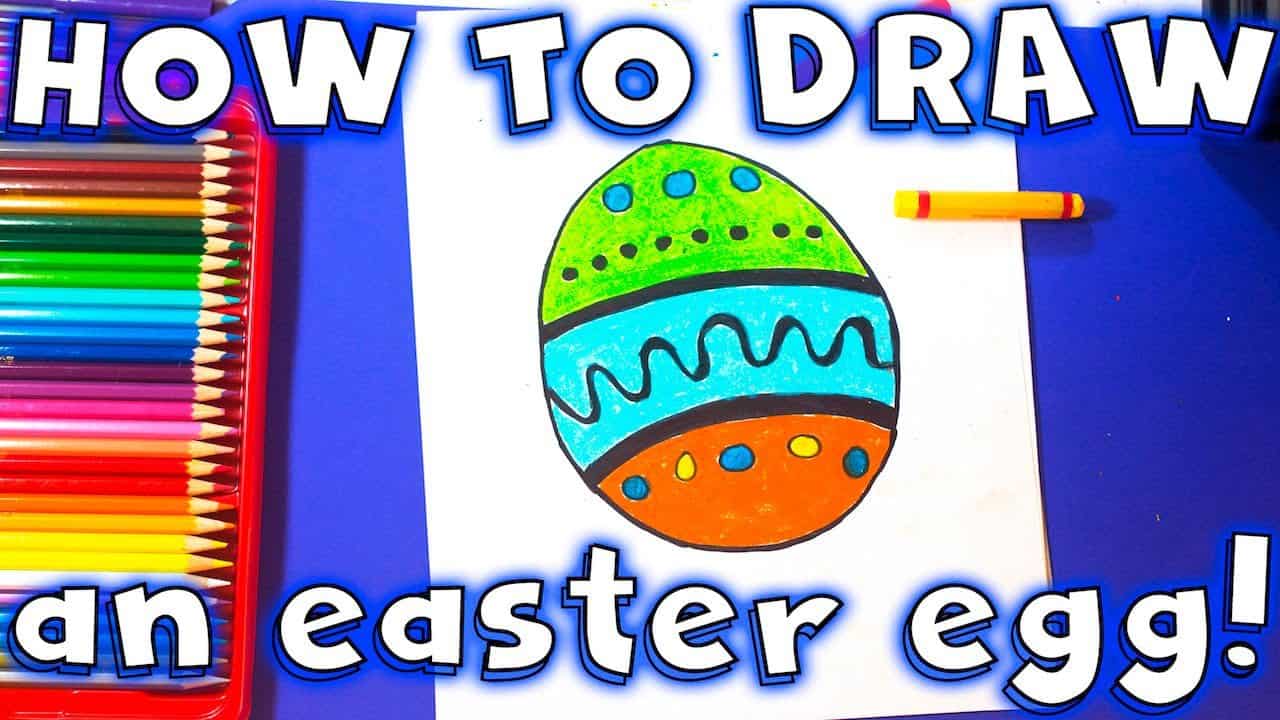
How to Draw an Easter Egg: A Fun Activity for the Whole Family
Hey there, amazing parents and creative kiddos! ? Easter is hopping just around the corner, and what better way to get into the festive spirit than by learning how to draw your very own Easter eggs? Not only is it a fantastic way to bond with your little ones, but it also sparks that artistic flair that’s just waiting to burst forth with color and excitement. So, grab your pencils, crayons, or markers, and let’s embark on a delightful journey into the world of Easter egg artistry!
Preparation: Setting Up for Your Egg-cellent Masterpiece
Before we dive into the drawing part, let’s make sure you’ve got everything you need for an uninterrupted session of creativity:
- Drawing materials: Pencils, pens, or markers are ideal for outlining. You’ll also want some colored tools like crayons, colored pencils, or watercolors for the vibrant part.
- Paper: Regular drawing paper is perfect, but if you’re planning to paint, consider watercolor paper for better results.
- Eraser: For those little oops moments (they happen to the best of us! ?).
- Extras: Feel free to gather stickers, glitter, or anything that inspires Easter fun!
Step 1: Drawing the Basic Egg Shape
Drawing an Easter egg starts with a simple oval, but even simple shapes can sometimes be tricky. Don’t worry, we’ve got a foolproof method right here:
- Start by lightly sketching a vertical line on your paper. This will be your guide to keep the egg’s symmetry.
- At the top of the line, draw a gently curved line for the top of your egg.
- From the ends of that line, bring two curved lines down on either side, following the initial guide, creating the body of the egg. The curves should slowly come closer to each other as they go down.
- Finish with a smaller curved line connecting the ends at the bottom of your egg, and voila! You’ve got your basic egg shape.
If your egg isn’t perfect, that’s okay! Eggs come in all sorts of shapes and sizes, and that’s part of their charm. ?
Step 2: Adding Personality with Patterns and Designs
Easter eggs are known for their colorful patterns and designs. This is where you can let your imagination soar! Here are a couple of tips to create a design that’s uniquely yours:
- Simple Stripes: Start with basic stripes around your egg. They could be horizontal, vertical, or even diagonal. Make them thick, thin, or mix it up!
- Polka Dots and Shapes: Add polka dots of various sizes, stars, or hearts. Remember to space them out evenly for a pleasing, balanced look.
- Themed Imagery: Incorporate tiny images like flowers, bunnies, or chicks into your design. Small stencils can be super helpful if you’re not confident in freehand drawing these details.
- Texture: Get creative with textures! Use lines, cross-hatching, or dotting to add depth and interest to your Easter egg.
While you’re crafting your eggstraordinary designs, keep in mind that sometimes less is more, and the beauty can be in the simplicity of the decoration. ?
Step 3: Bringing Your Easter Egg to Life with Color
Here comes the most thrilling part: coloring! Your Easter egg will truly come to life once you add those lovely springtime hues. When selecting colors, try to choose a harmonious palette that reflects the joy and brightness of the season. Feel free to experiment with blending techniques if you’re using colored pencils or watercolors for a professionally polished look. ?
As you color, pay attention to light and shadow, which can add a three-dimensional effect to your egg. Imagine a light source and how it would highlight and shade different parts of the egg. A lighter touch on the ‘illuminated’ side and a bit heavier on the opposite can make a world of a difference.
Don’t forget to layer your colors for added richness. Starting with a light base and adding layers of color gradually can really make your egg pop. And if you’d like some sparkle or shine, now’s the time to add some glitter or use a metallic pen for those special details. ?
And there you go! By following these simple steps, you’re well on your way to drawing and decorating a basketful of beautiful Easter eggs that are sure to brighten up your home and bring smiles to everyone’s faces. So, keep your spirits high, let those creative juices flow, and have an egg-citing time with this festive art project. Happy drawing, and happy Easter! ??
Stay tuned for more advanced techniques and ideas in part two of our Easter egg drawing guide! We’ll explore more intricate patterns, shading, and even how to turn your drawn eggs into digital art. But for now, enjoy this sweet moment of crafty connection with your family. What’s most important is making memories that will be treasured far longer than any Easter candy. ?
5 Things Parents Should Know in Preparing to Draw Easter Eggs
Creating a colorful Easter egg drawing can be a delightful activity, but a little bit of preparation can make the experience even more enjoyable for everyone involved. Here are five handy tips parents should know before getting started:
- Embrace the Mess: Art can be messy, so be prepared. Lay down some newspaper or a tablecloth to catch any stray marks or spills. If you’re using paint or markers that could stain, make sure the kiddos are in old clothes or aprons. Creativity is wonderfully chaotic; your setup doesn’t have to be!
- Keep It Age-Appropriate: Tailor the activity to the age and skill level of your child. Younger children might enjoy larger and simpler patterns, while older kids can handle more intricate designs. Providing materials they can use with ease ensures a frustration-free art session.
- Gather a Variety of Materials: Different textures and materials can add interest to your child’s artwork. While crayons and markers are great, consider adding stickers, tissue paper, or even leaves for an element of nature. Think outside the box—recycling old magazines or fabric scraps could lead to wonderfully unique Easter eggs.
- Plan for Drying Time: If your family’s creations involve paint or glue, remember to make space for the Easter eggs to dry. Avoid the heartbreak of smudged artwork by having a designated drying spot away from busy hands. This way, your little ones can proudly display their artwork without any mishaps.
- Prioritize Safety: Safety first! Ensure that any art supplies you use are non-toxic and safe for children. If you have really young artists joining in, watch out for small items that could be choking hazards and always supervise closely.
Now that we’ve covered these essential tips, you’ll be all set to have an egg-cepcionally fun time drawing and decorating with your family. The joy of Easter is just a splash of color away! ?
Remember, when it comes to making Easter drawings, it’s not just about the final product; it’s also about the shared experience, the laughter, and the learning along the way. Encourage your children to express themselves freely and to embrace their unique artistic styles. And most importantly, cherish these moments of creative connection!
Now, let’s get those pencils and crayons ready, set your imaginations free, and make some egg-stra special Easter egg masterpieces together. Let the drawing fun begin!
See more great Things to Do with Kids in New Zealand here. For more information see here
Disclaimer
The articles available via our website provide general information only and we strongly urge readers to exercise caution and conduct their own thorough research and fact-checking. The information presented should not be taken as absolute truth, and, to the maximum extent permitted by law, we will not be held liable for any inaccuracies or errors in the content. It is essential for individuals to independently verify and validate the information before making any decisions or taking any actions based on the articles.


