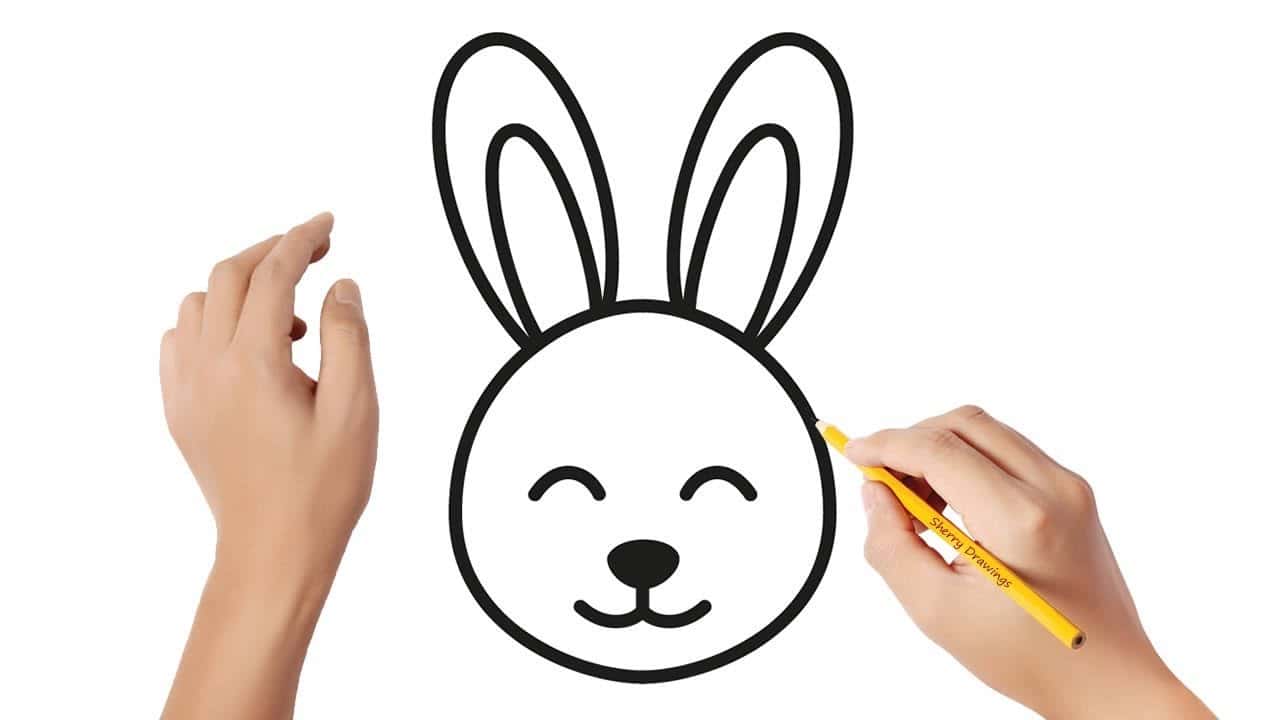
Step-by-Step Guide to Drawing a Delightful Easter Bunny
Hey there, lovely parents and crafty kiddos! ? Are you ready to hop into some festive fun? With Easter on the horizon, there’s no better time to get creative and learn how to draw your very own adorable Easter Bunny. Don’t worry if you’re not the next Da Vinci – this guide is designed for artists of all ages and skill levels. So, grab your pencils, and let’s embark on this artsy adventure together!
Materials You’ll Need
- Pencil
- Eraser
- Drawing paper
- Colored pencils, crayons, or markers (if you wish to color your bunny)
Before we start sketching, make sure you have all your materials at the ready. You might also want a comfortable, well-lit space to create your masterpiece. ?
Step 1: Sketching the Basic Shapes
Every great drawing begins with simple shapes. Start by lightly drawing a large oval for the bunny’s body. Above that, add a smaller circle for the head. Don’t press too hard, as you will want to erase some of these lines later on. These are the building blocks of your Easter Bunny, so take your time to get them just right. ?
Step 2: Adding the Ears and Feet
What’s a bunny without its signature long ears? Draw two long ovals on top of the head for the ears – you can make them floppy or standing straight up, depending on your preference. Next, let’s add the feet. Sketch two larger ovals at the bottom of the body oval. Remember, it’s okay if your drawing isn’t perfect – every bunny is unique!
Step 3: Crafting the Bunny’s Face
Now, for the cutest part: the face! In the center of the head circle, draw two small circles for the eyes. A tiny triangle just below and between the eyes will make a sweet little nose. And let’s not forget the whiskers – add a few light lines on either side of the nose. Give your bunny a happy mouth, and you’re well on your way to having an Easter Bunny full of character!
As you guide your pencil, remember to enjoy the process. This activity is as much about spending quality time together as it is about the final drawing. ?
Step 4: Bringing the Body to Life
With the head done, it’s time to add details to the body. Give your bunny some paws by adding small ovals to the front end of the body oval. To complete the feet, draw in the bottom pads – think of them as little rounded ‘W’s on the larger foot ovals.
Now we’re getting to the tail – a fluffy ball at the back end of the body will do the trick. A few light, curvy lines around the edges can give it that fluffy texture we love.
Step 5: Personalize Your Bunny!
This is where you and your little ones can let your imaginations spring to life! Add a cute bow tie under the chin, some clothes, a patterned Easter egg, or anything else that tickles your fancy. Your bunny, your rules!
Step 6: Final Touches and Coloring
Go over your pencil lines with a darker stroke to define your bunny. Then, carefully erase the extra lines from your initial shapes. Now grab those colorful utensils and bring your drawing to life with colors that make your heart sing. Whether it’s classic pastels or wild, vibrant hues, the Easter Bunny you’ve created will be a joyful reflection of your family’s creativity.
That’s it! You’ve just drawn a charming Easter Bunny, and it’s certain to be as special and unique as your family’s own Easter celebrations. What a perfect decoration to add to your festive home, or a heartfelt, hand-drawn card for loved ones. ?
Don’t forget, Easter is a time for joy, renewal, and togetherness. Crafting with your children not only nurtures their artistic skills but also creates lasting memories. So keep that pencil ready, because the fun doesn’t stop here!
Stay tuned for more detailed tips on shading, creating a background scene, and other ways to enhance your Easter Bunny masterpiece. Keep hopping along this creative trail, where your family’s imagination can bloom right alongside the spring flowers!

5 Things Parents Should Know in Preparing for How to Draw an Easy Easter Bunny
1. Set the Mood for Creativity
Before the pencil hits the paper, it’s essential to create an environment that’s conducive to creativity. Choose a quiet space with plenty of room for you and your child to spread out your drawing supplies. Good lighting is key – natural light is best, but a bright lamp will do just fine on cloudier days. A comfortable seating arrangement will keep the focus on drawing, not on shifting around to get comfy.
2. Emphasize the Fun of the Process
Drawing together isn’t just about the finished product; it’s about enjoying the journey. Keep the atmosphere light and encouraging. If you or your child make a “mistake,” turn it into an opportunity to be creative. Maybe that accidental mark can become a flower in the bunny’s paw or a pattern on an Easter egg. Laughter and smiles are just as important as the artwork itself!
3. Prepare for a Mess
Especially if you’re coloring or painting your bunny, it’s wise to expect a little mess. Have some wipes or a damp cloth handy for quick clean-ups. Covering the table with an old tablecloth or some newspaper can catch stray marks and make tidy-up a breeze. Wearing old clothes or aprons can also prevent any distress over stains.
4. Be Ready to Offer Guidance
While the goal is to let children unleash their creativity, they may occasionally ask for help or guidance. Be prepared to offer tips without taking over. Show them how to hold the pencil for different lines, or suggest looking at a picture of a bunny as a reference. Assisting them in discovering solutions will boost their confidence and creative thinking skills.
5. Have a Gallery Plan
Decide beforehand what you’ll do with the drawings once they’re complete. Will they be displayed on the fridge? Made into cards for family members? Knowing their artwork will be shared and appreciated gives kids a sense of pride and may inspire even more enthusiasm during the drawing process.
With these tips in mind, you’re all set for a fabulous drawing session. Remember, every artist is different, and every bunny will have its own character. Enjoy this special time with your child, and have a very hoppy Easter!
See more great Things to Do with Kids in New Zealand here. For more information see here
Disclaimer
The articles available via our website provide general information only and we strongly urge readers to exercise caution and conduct their own thorough research and fact-checking. The information presented should not be taken as absolute truth, and, to the maximum extent permitted by law, we will not be held liable for any inaccuracies or errors in the content. It is essential for individuals to independently verify and validate the information before making any decisions or taking any actions based on the articles.


