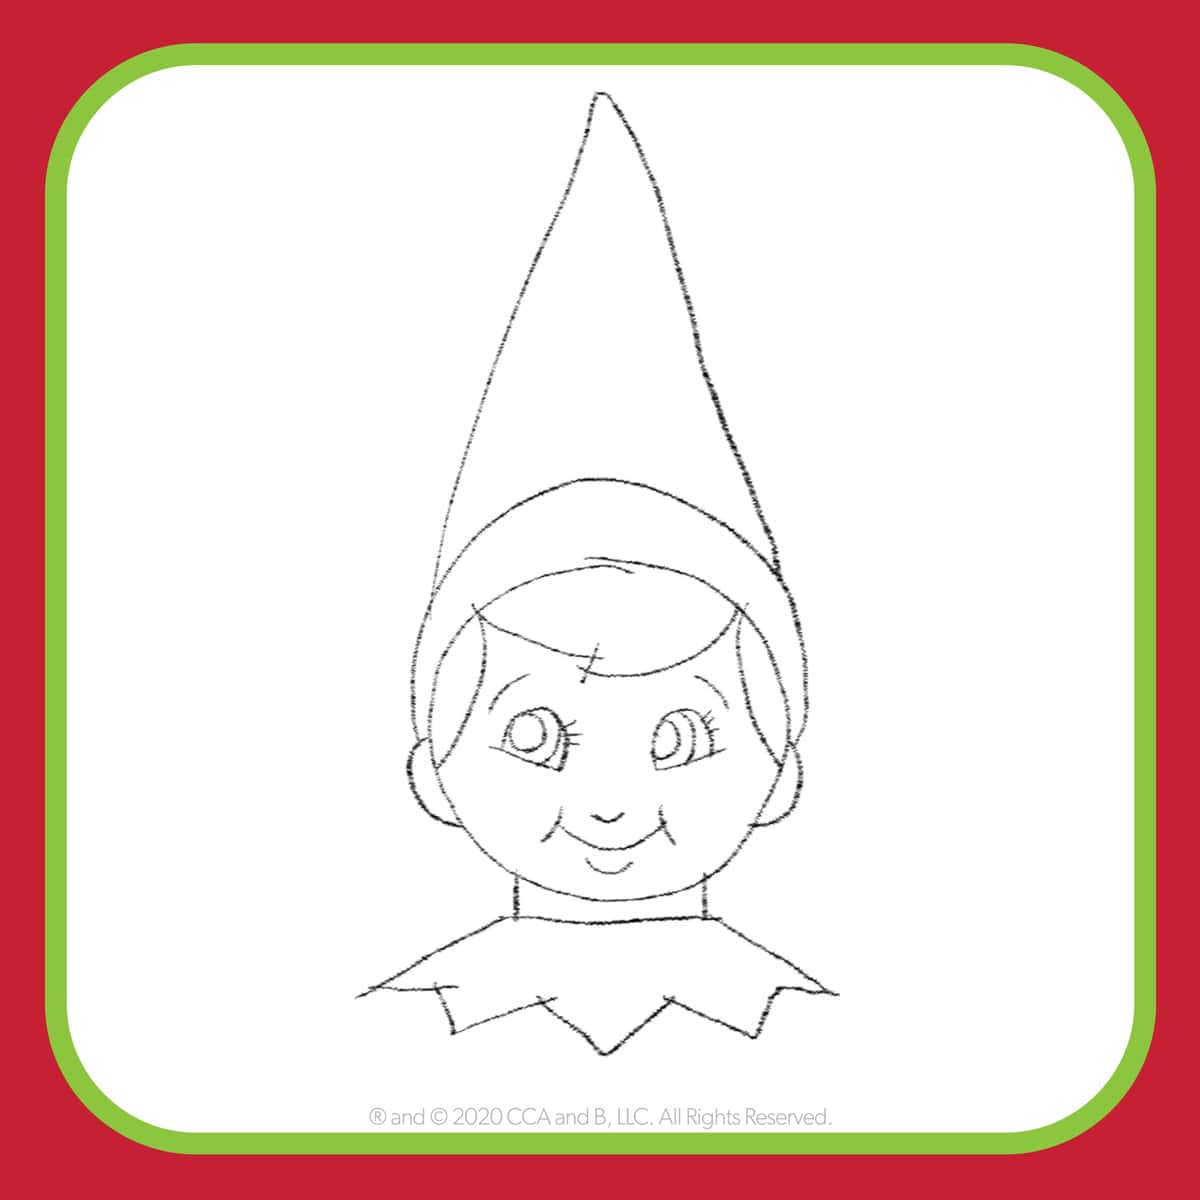
Embrace the Magic: Your Family’s Guide to Drawing the Cutest Elf!
Hello, creative moms, dads, and little artists! Do you feel that? That’s the tinkling of magic in the air, inviting you and your kiddos to embark on an enchanting artistic adventure. Today, we’re going to learn how to draw an elf, and not just any elf—a wonderfully charming little creature that could jump straight out of a storybook!
Drawing is an amazing way to bond with your children, spark their imagination, and teach them important skills like patience, attention to detail, and creativity. And what could be more magical than creating a world of fantasy right on your drawing pad? Elves are perfect subjects: they’re fun, often easy to draw, and can be customized in so many whimsical ways!
Materials You’ll Need to Draw Your Elf
- Drawing Paper: Any type of paper will do, but a nice sketch pad can make the experience feel extra special.
- Pencils: A good quality HB pencil is great for sketching, but having a variety of pencils can give your elf drawing more depth.
- Eraser: For those little oopsies that might happen along the way—no stress, just erase!
- Colored Pencils or Markers: To bring your elf to life with a splash of color once you’re done sketching!
- Imagination: The most important tool of all—get ready to sprinkle some creativity on that paper!
Step-by-Step Instructions to Draw Your Elf
Okay, gather your little ones around, make sure everyone’s comfy, and let’s get started on our jolly little elf. We’ll take it step by gentle step, no rush—this is all about enjoying the process together!
Step 1: Sketch the Elf’s Head
Begin with a simple circle in the middle of your paper. The circle will become the head of your elf. Make sure not to press too hard with your pencil, as some lines will be guides and may need to be erased later on.
Step 2: Add the Body and Limbs
Just below the head, draw a smaller oval for the body. Elves are whimsical creatures, so their proportions can be exaggerated—small bodies and big heads are totally okay! Then, add lines for the arms and legs. Elves are often depicted as lithe and nimble, so feel free to make these lines a little curved or playful.
Step 3: Sketch the Elf’s Ears and Facial Features
No elf is complete without pointy ears! On each side of the head, draw a pointed ear sticking out. Then, in the center of the face circle, sketch two eyes, a small nose, and a happy, curvy elf smile. Emphasize the sparkle in their eyes with little twinkles, because elves are always full of joy and mischief!
Step 4: Design the Elf’s Clothing
Time to dress up your elf! Elves are known for their unique style. Draw a pointy hat sitting on top of your elf’s head, a tunic for the body, and don’t forget those cute, curly-toed shoes. You can add patterns, belts, or buckles to make your elf’s outfit pop.
Remember, every step of this journey should be sprinkled with giggles and smiles. Don’t worry if the shapes aren’t perfect—what’s important is the shared moments and the stories you create about your elf while drawing.
Are you ready for the next part of our elf-drawing adventure? Let’s add some personality to your elf and bring them to life with colors! Stay tuned as we delve into the finishing touches in the next section of this drawing guide.

5 Essential Tips for Parents Preparing to Draw an Elf with Their Kids
1. Create a Conducive Drawing Environment
Before you and your children sit down to draw, find a quiet, well-lit space where the family can work comfortably without distractions. Ensure the table and seating are suitable for children and provide support for their small hands as they draw.
2. Keep Drawing Supplies Accessible and Organized
Have all drawing materials laid out and easily reachable for kids. Organizing pencils, erasers, and markers in separate containers can help children learn to manage their art supplies and keep the workspace tidy, making the drawing experience pleasant and stress-free.
3. Encourage Freedom of Expression
Remind your kids that there’s no “right” way to draw an elf; the goal is to have fun and be creative. Encourage them to add personal touches to their elf, whether it’s in the outfit, hairstyle, or even giving the elf unique magical powers. Seeing their imagination come to life will be incredibly rewarding!
4. Use Positive Reinforcement
Praise your children’s efforts, creativity, and concentration throughout the drawing process. If they get frustrated, remind them that practice makes progress, not perfection. Celebrate their finished artwork and perhaps even display it proudly in your home.
5. Be Patient and Join in the Fun
Drawing with your kids is a shared activity, so make sure you’re part of the fun! Try drawing your own elf alongside them. This not only shows your commitment to the time together but also reinforces that it’s a learning process for everyone—grown-ups included!
Adding Color and Personality to Your Elf
With our whimsical elf sketches ready, it’s time to dive into a world of color and character! This is where the elf really comes to life and where your family’s artistry shines. So collect those colorful markers or pencils and let’s infuse your drawing with vibrance!
Step 5: Choose a Color Palette
Elves are often associated with the colors of nature, so greens, browns, reds, and golds are great choices. However, feel free to let your children pick their favorite colors—even neon or pastel shades can make for a fun and unique elf!
Step 6: Color with Care
Show your kids how to color within the lines for a clean look, or encourage them to experiment with different techniques like shading or blending. Remind them that elves are fantastical beings, so there’s room for artistic liberties—it’s all about having fun and being creative together!
Step 7: Add Personality with Details
Lastly, add distinctive details to your elf. Does your elf have freckles? Stripes on its tunic? A belt with an embellished buckle? Perhaps a petal collar or leaf-shaped buttons? These small touches make your elf truly one-of-a-kind, just like every member of your family.
And voilà, your elf is ready to join the annals of family art projects! You’ve now not only created a charming elf together but crafted memories that will last a lifetime. So next time you hear the call of a creative adventure, remember: drawing together is much more than the paper and pencil; it’s about the magic that happens when families create, giggle, and imagine together.
See more great Things to Do with Kids in New Zealand here. For more information see here
Disclaimer
The articles available via our website provide general information only and we strongly urge readers to exercise caution and conduct their own thorough research and fact-checking. The information presented should not be taken as absolute truth, and, to the maximum extent permitted by law, we will not be held liable for any inaccuracies or errors in the content. It is essential for individuals to independently verify and validate the information before making any decisions or taking any actions based on the articles.


