How to Draw the Perfect Easter Egg: A Step-by-Step Guide for Parents
Hello there, crafty parents! Easter is hopping around the corner, and we know you’re on the hunt for fun, family-friendly activities. Whether it’s for an art project or to spruce up your Easter decorations, drawing Easter eggs can be a delightful way for you and your little ones to unleash your creativity. Today, we’re rolling out a simple step-by-step guide on how to draw the perfect Easter egg that’s sure to add a burst of color and joy to your holiday celebrations!
Why Drawing Easter Eggs is Egg-cellent for Your Family
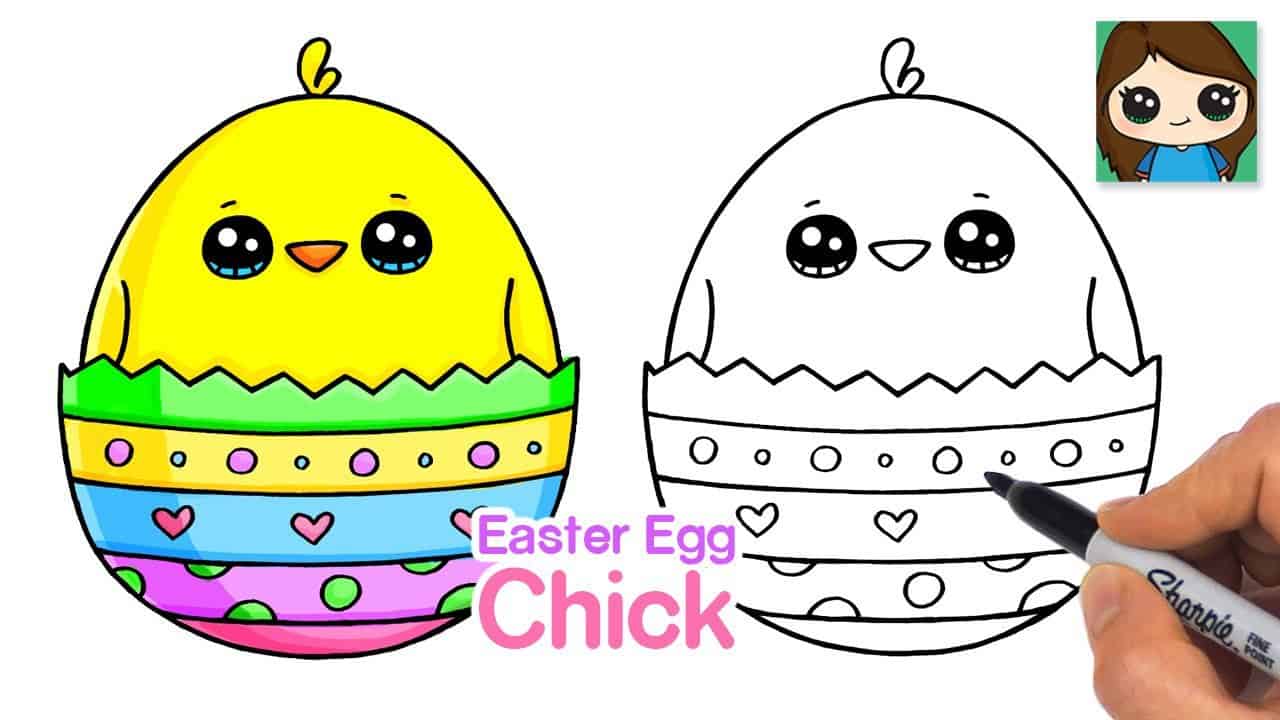
Drawing together is more than just a fun pastime; it’s a wonderful way to bond and develop a whole basket of skills. For kids, it helps with hand-eye coordination, fine motor skills, and color recognition. For the whole family, it’s a great opportunity to share stories, laugh, and create long-lasting memories. Plus, personalized Easter eggs bring an extra special touch to your holiday décor!
Materials You’ll Need
Before we begin, let’s scramble up some basic materials you will need:
- Pencil: For sketching the egg shape.
- Eraser: To correct any oops-a-daisy lines.
- Drawing paper or cardstock: A sturdy surface ideal for coloring.
- Colored pencils, markers, or crayons: For bringing your egg to life with color.
- Ruler (optional): If you want to create straight lines or patterns.
- Decorating materials (optional): Like stickers, glitter, or sequins for that extra sparkle.
Step 1: Sketching the Egg Shape
Let’s crack on with your drawing:
- Hold your pencil correctly. Make sure you and your youngsters are holding your pencil in a comfortable grip. This makes it easier to control and move your hand as you draw.
- Start with an oval shape. Using a light touch, sketch an oval on your paper. Don’t worry if it’s not perfect – real eggs come in all shapes and sizes! This oval will be the base for your Easter egg.
- Adjust the shape. Sometimes, eggs are a little more rounded or elongated. Feel free to adjust the shape at this point. Remember, it’s your egg, your rules!
Step 2: Outlining the Easter Egg
Now that we have our egg shape:
- Strengthen the lines. Go over your initial oval sketch with a firmer hand to create a smooth, clear outline of your Easter egg.
- Clean it up. Use your eraser to remove any unnecessary sketch lines, making your outline neat and tidy.
Step 3: Adding Patterns and Designs
This is where the magic happens – adding designs to your egg!
- Think about your design. Will your egg have stripes, polka dots, zigzags, or flowers? Perhaps a mix? Discuss ideas with your kids for a design that will make everyone smile.
- Start drawing the patterns. Using your pencil, lightly sketch your chosen patterns on the egg. If you’re using a ruler, now it’s the time to bring those straight lines into play.
- Consider symmetry. Many Easter egg designs are symmetrical, meaning they’re the same on both sides. This can be a fun way to teach your kids about symmetry and balance!
Right now, you’re on your way to creating a beautiful Easter egg masterpiece with your family! Remember, the key is to enjoy the process and embrace whatever unique designs come from your combined imaginations. Keep reading for more tips on how to personalize and finalize your Easter egg drawing!
And hey, why not take a photo of your family’s creations and share them with us? We’d love to see the brilliant designs you come up with. Happy drawing, and stay tuned for more tips in the next section of our guide!

5 Things Parents Should Know in Preparing to Draw Easter Eggs
Before embarking on this egg-citing drawing adventure, here are five handy tips to get your family ready:
1. Set Up a Designated Drawing Area
Find a comfortable spot with plenty of light and space. A kitchen table covered with old newspapers or a plastic tablecloth makes for an easy-to-clean workspace. Ensuring that your little artists have ample room to work will make the drawing experience more enjoyable and less messy.
2. Choose Age-Appropriate Tools
If your kiddos are younger, you might opt for washable markers or chunky crayons that are easier for small hands to grip. For older children who can handle finer details, colored pencils or fine-tip markers might be the better choice. Tailoring your materials to your children’s ages ensures that they can participate fully and safely.
3. Prepare for Accidents
Even the most careful little bunnies can have spills or smudges. Keep wet wipes or a damp cloth nearby to take care of any slip-ups promptly. This will keep spirits high and stress low, allowing kids to enjoy the process without worrying about making a mess.
4. Embrace Individuality
Your children’s Easter eggs don’t need to look like they hopped straight out of a magazine – in fact, it’s better if they don’t! Each child has a unique style, and their Easter eggs will reflect that. Encourage them to express themselves and praise their efforts and creativity.
5. Make It Educational
Turn the fun of drawing Easter eggs into an opportunity for learning. You can talk about primary and secondary colors, practice shapes, and even slip in lessons about symmetry and patterns. This activity isn’t just for crafting; it’s also a wonderful teaching moment for young minds.
Continuing Your Easter Egg Drawing
With those tips in your basket, it’s just about time to add color and personalization to your egg. This next part of the guide is all about bringing those designs to life, blending colors, and making sure your Easter egg is a reflection of your child’s wonderful imagination.
Step 4: Coloring Your Easter Egg
Now, pick out those delightful colors from your stash:
- Choose your colors. Whether opting for pastel shades or bold hues, decide on a color palette that reflects the joy of Easter. Encourage your kids to pick their favorites and think about how colors work together.
- Fill in the patterns. Using the colors you’ve selected, gently fill in your designs. You can experiment with patterns like hatching or cross-hatching for texture or try blending shades for a gradient effect.
- Be mindful of pressure. When using colored pencils, the harder you press, the more intense the color will be. Encourage your children to use a mix of different pressures for varied coloring results.
As you and your loved ones tuck into this part of the process, remember that there’s no rush. Take your time and savor these sweet moments of creative collaboration.
Step 5: Adding Final Touches
Let’s hop to the finishing touches:
- Add shading. To give your egg some dimension, choose a slightly darker shade than your base color to add shading on one side, creating the illusion of depth.
- Apply highlights. Using a white pencil or a light source color, add highlights on the opposite side to make your egg seem shiny and three-dimensional.
- Embellish with decorations. Now’s the time to bring out those optional glitter pens, stickers, or sequins. A little sparkle gives your Easter egg that extra special ‘wow’ factor!
Through every step, keep cheering on your little artists and make each stroke of the pencil a joyful one. And remember, every egg that’s a little different is just another reason to celebrate the wonderful creativity in your family.
Drawing Easter eggs is about more than just the final product; it’s about the laughter, the shared stories, and the merriment of a family creating something together. As you prepare your materials, remember to keep it simple, stress-free, and fun. This isn’t just a moment to draw; it’s a moment to make memories.
When your eggs are all drawn and colored, don’t put those pencils away just yet! There are endless ways to extend the fun. Consider creating an Easter egg hunt with your drawings, or using them to decorate a special corner of your home. You could even mail them to loved ones as a special Easter greeting. The possibilities are as limitless as your imagination!
Now, grab those art supplies and get ready to design some eggs-traordinary Easter eggs with your kiddos. And don’t forget, the most important part is to have a hopping good time together!
See more great Things to Do with Kids in New Zealand here. For more information see here
Disclaimer
The articles available via our website provide general information only and we strongly urge readers to exercise caution and conduct their own thorough research and fact-checking. The information presented should not be taken as absolute truth, and, to the maximum extent permitted by law, we will not be held liable for any inaccuracies or errors in the content. It is essential for individuals to independently verify and validate the information before making any decisions or taking any actions based on the articles.


