
Dive Into DIY: Crafting the Ultimate Balloon Stress Ball for Your Little Ones!
Hey there, wonderful parents! Are you looking for a fun activity that will not only bring endless joy to your kiddos but also help in squeezing away a bit of stress? Look no further! Making a balloon stress ball can be a whimsical adventure for the whole family. Let’s kick off this crafting journey together and create something that your little ones can squish, squeeze, and cherish!
Why Balloon Stress Balls Are a Hit with Kids and Parents Alike
Nothing spells F-U-N quite like a vibrant, squishy stress ball. Perfect for strengthening little fingers, calming pre-dinner jitters or just providing a sensory toy that can travel with you anywhere, these homemade wonders offer a world of benefits. Plus, parents, you’ll get kudos for being the coolest on the block by turning simple, everyday items into magical stress busters!
The Simple Supplies You’ll Need
- Balloons: Standard size, durable balloons work best for this project. Choose your child’s favorite colors for that personal touch!
- Flour, Rice, or Play Dough: Decide on a filler that works for you. Each of these provides a different texture and squeeze experience. Flour and rice are common choices, but play dough may hold up better to enthusiastic squishing.
- A Funnel: This is a must-have for mess-free transfer of your chosen filler into the balloon.
- A Spoon or Scoop: You’ll need this to shovel your filler into the funnel.
- Empty Bottle: This simple household item makes it much easier to fill the balloon — an empty water bottle works wonders.
Step-by-Step Instructions for Balloon Stress Ball Bliss
Are you ready to get hands-on with your little helpers? Here’s a step-by-step guide that will lead you to the promised land of stress ball perfection.
- Preparation Is Key: Assemble all your materials on a clean, flat surface. Make sure it’s okay to get a little messy — because let’s face it, with kids, it’s always a possibility!
- Balloon Prep: Stretch out the balloons a bit. This will make the filling process smoother and you can get more filler in for a fuller stress ball.
- Choose Your Filler: Talk with your kids about what they would like inside their stress ball. Once decided, fill your empty bottle with the chosen material using the spoon or scoop.
- Attach the Balloon: Take the neck of the first balloon and stretch it over the mouth of the bottle. Turn the bottle upside down and shake gently until all the filler has transferred into the balloon.
- Release Air and Tie Off: Once the balloon feels nice and full (though not over-stuffed), release any trapped air by gently squeezing the balloon – not too much to force filler out! When you’re happy with the firmness, tie the end of the balloon in a knot.
- Snip and Double Up: For extra safety and durability, cut the excess neck off the first balloon and stretch a second balloon over the first. This ensures no accidental spillages and adds a burst of color!
Voilà! You now have a fantastic, handmade balloon stress ball that’s bound to be the new favorite toy around the house. Remember to supervise younger children during play, as even the heartiest balloons can be a choking hazard if broken.
Customizing Your Stress Balls
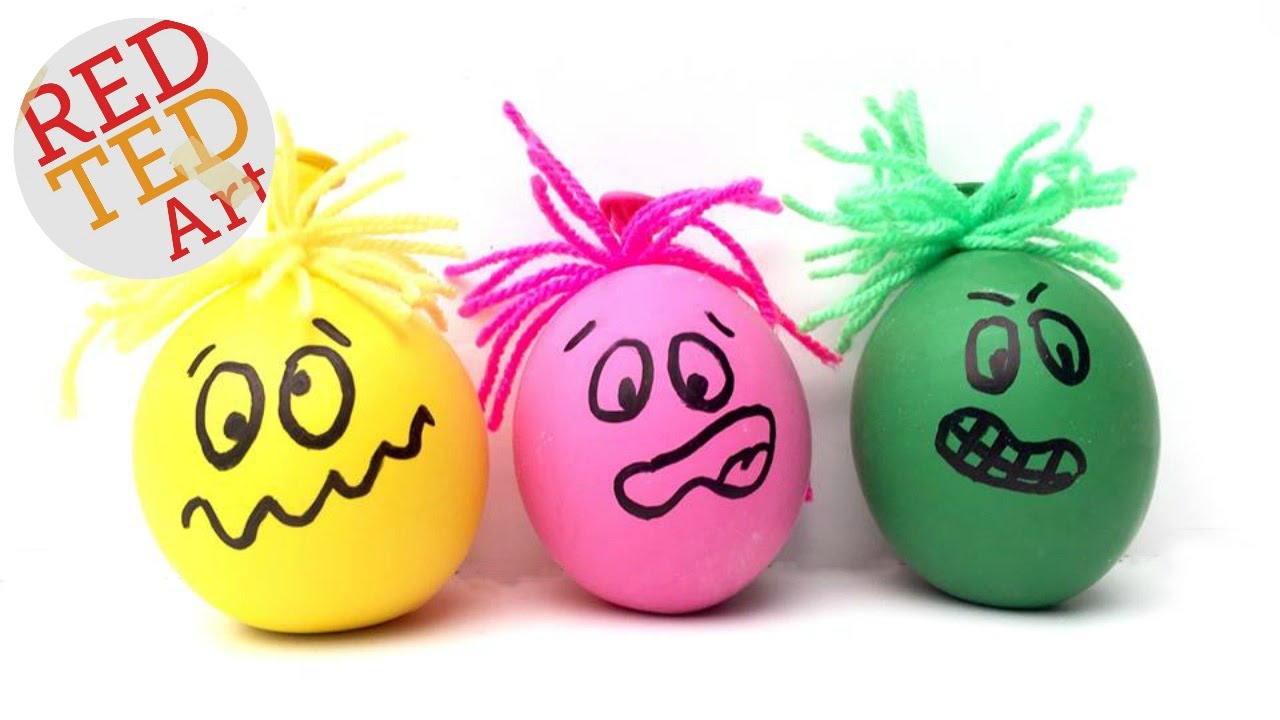
Let your creativity soar! Encourage your children to customize their stress balls with permanent markers. Doodling happy faces, hearts, or their favorite animals on the surface can add a unique touch to each creation. Just make sure the ink is dry before playtime to avoid smudges.
Making a balloon stress ball is more than an entertaining afternoon diversion. It’s an opportunity to learn and grow together, weaving in lessons about textures, colors, and even a bit of manual dexterity. Plus, it’s an incredible way to introduce mindfulness and stress management techniques to your little ones.
Ready for more crafty tips and innovative ways to enhance your kids’ playtime? Stay tuned as we continue to explore the joys of homemade toys that foster imagination, relieve stress, and create memorable moments with your family!

5 Essential Tips for Crafting Perfect Balloon Stress Balls with Your Little Ones
Hello amazing parents! You’re about to embark on a joyful crafting voyage that will sail you right into the heart of fun and relaxation. Balloon stress balls are not just delightful toys, but also a fantastic way to bond with your children. Before you start, here are five essential tips to ensure your balloon stress balls are nothing short of perfect!
1. Balloon Selection: The Foundation of Your Stress Ball
Selecting the right balloons is crucial to the success of your stress balls. Opt for high-quality latex balloons that are flexible and have a thicker wall. These types of balloons are less likely to pop during the filling process and can withstand the enthusiastic squeezes from your little stress-busters. Additionally, consider getting balloons in various colors and sizes to mix things up!
2. Filler Choices: Tailoring the Sensory Experience
Every stress ball filler offers a unique texture and feel. Flour gives a softer squeeze, while rice provides a more granular, stimulating sensation. For a super squishy experience, consider using play dough or even a slime mixture. It’s important to involve your children in this decision, as it can vary depending on personal tactile preferences.
3. The Mess-Free Funnel Hack
A DIY funnel can save the day! If you don’t have a traditional funnel, simply snip the bottom off a plastic bottle, creating a homemade alternative that works wonders. No matter what, be sure to have a workspace that can handle a little mess – you can lay down newspaper or a washable tablecloth for easy cleanup.
4. The Importance of Double Ballooning
A single balloon can be vulnerable to punctures and early wear-and-tear. Double up your balloons by snipping off the filled balloon’s neck and carefully stretching a second balloon over it. This enhances durability and provides peace of mind when your kids give their new toy a hearty squeeze.
5. Engaging the Kids in the Craft
Last but not least, make this activity about togetherness and shared creativity. Engage your kids in every step of the process, from choosing fillers to drawing on the final product. You can talk about colors, practice counting while measuring filler, or let them be head balloon-stretcher. This not only leads to a great crafting session but also stimulates fine motor skills and cognitive development.
With these tips in mind, get ready to turn your crafting day into an extraordinary memory with your kids. Enjoy every giggle and every sprinkle of flour – after all, it’s these little moments that make parenting so incredibly rewarding. Let the stress-balling begin!
Stay tuned for more exciting DIY projects and activities to keep those tiny hands busy and those big imaginations running wild!
See more great Things to Do with Kids in New Zealand here. For more information see here
Disclaimer
The articles available via our website provide general information only and we strongly urge readers to exercise caution and conduct their own thorough research and fact-checking. The information presented should not be taken as absolute truth, and, to the maximum extent permitted by law, we will not be held liable for any inaccuracies or errors in the content. It is essential for individuals to independently verify and validate the information before making any decisions or taking any actions based on the articles.


