
Fly High with Fun: The Ultimate Guide to Making Your Own Kite!
Hey there, wonderful parents and crafty guardians! Are you looking for a super fun activity that you can do with your kiddos that’s not only a blast but also teaches a little bit about science and art? Look no further! Making a kite is an awesome project that can spark creativity and provide endless hours of entertainment. Here’s an easy-to-follow guide that will help you create a soaring masterpiece with your family!
Why Making a Kite Is a Breezy Way to Bond
Making a kite is a fabulous way to spend quality time together as a family. It’s not just about arts and crafts; it’s about creating memories that will float up, up, and away, just like your soon-to-be-made kite. Plus, it’s an opportunity to introduce kids to basic principles of physics, weather, and aerodynamics in an enjoyable way. Who knew learning could be this much fun?
Materials Needed to Start Your Kite Adventure
- Lightweight craft paper or rip-stop nylon: This will be the face of your kite, catching the wind just right.
- Two wooden dowels or bamboo sticks: For a sturdy frame that’s light as a feather.
- String: To tie everything together and for the kite’s bridle and tail.
- Scissors, ruler, and a pencil : For precise measuring and cutting.
- Glue or tape : To create a bond that holds steadfast against the wind.
- Ribbon or fabric strips : For a tail that dances gracefully in the sky.
Step-by-Step Guide to Crafting Your Perfect Kite
Every kite has its day, and today is yours! Follow these simple steps to get your kite soaring.
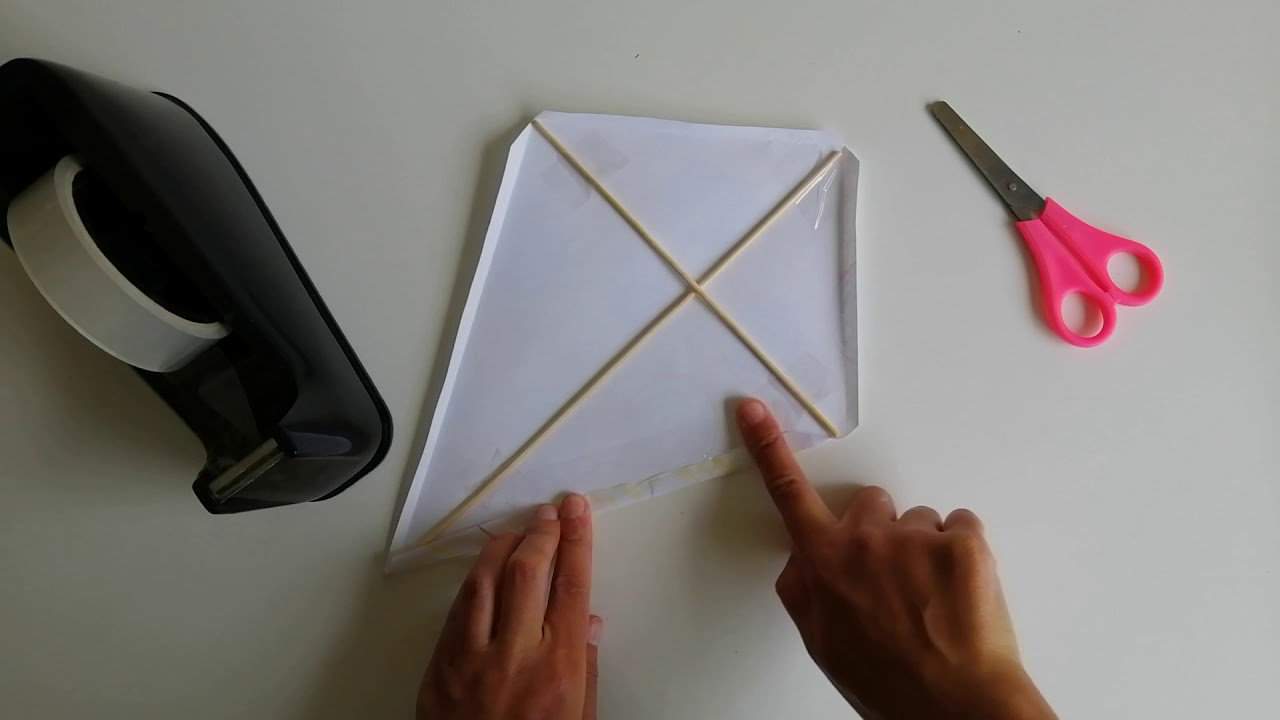
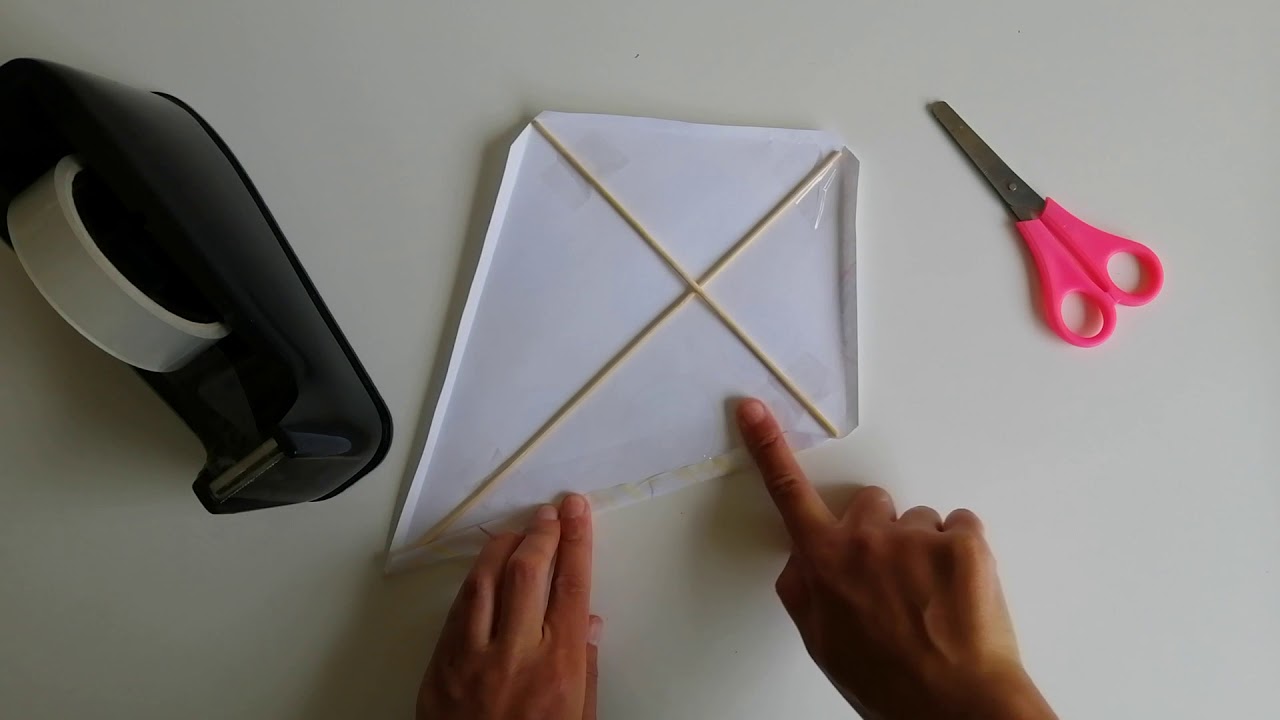
1. Measure and cut your materials
Start by laying out your craft paper or nylon. Then, place the wooden dowels in a cross-formation on top of the paper. Make sure one stick is vertical and the other is horizontal to create the classic kite shape we all love! Measure and mark the spots where you’ll cut the dowels for a perfect fit.
2. Assemble the frame
Once the dowels are cut, lay them back on the paper in the cross shape. Glue or tie them together at the center. This will be the backbone of your kite, so ensure it’s secure!
3. Cut out your kite
Now, it’s time to cut the paper or nylon into a kite shape, leaving an extra inch around the frame for the edges. It’s all in the details, so make those edges as neat as you can!
Dear kite masters-in-the-making, in this bout of crafty joy, we’ve started on an adventure that’s both delightful and educational. Remember, making a kite is more than an activity; it’s a doorway to sky-high smiles and heartwarming family memories.
Join us in the next section as we continue with bracing our frame, crafting the perfect bridle, and adding a whimsical tail that not only stabilizes our kite but also adds a burst of personality to it. Get ready to be blown away by the fun of it all!
Keep your spirits and your soon-to-be-finished kites high because in the world of wind-swept fun, the sky is truly the limit! Let’s get ready to add some color to that big blue canvas above us one kite at a time. Stay tuned, friends!
5 Things Parents Should Know When Preparing to Make a Kite
4. Selecting the Right Location and Time
Creating a kite is only half the fun; choosing where and when to fly it makes your adventure complete. Opt for a wide-open space like a park or a beach, where there is plenty of room and less risk of your kite getting snagged in trees or power lines. A slightly windy day (with winds around 5-25 mph) is ideal for kite flying. Avoid stormy weather, not just for safety reasons, but also because strong winds can break your kite.
5. Encouraging Creativity and Personalization
One of the best parts of making a kite is the chance to customize it. Encourage your children to draw their designs or choose colors for their kite, and incorporate their contributions into the final product. This will not only make the kite special, but it will also give children a sense of ownership and pride in their creation.
6. Preparing for Some Trial and Error
Kite making can be an unpredictable endeavor, and it’s essential to prepare your little ones for the ups and downs, literally! If at first, the kite doesn’t soar, take it as a learning experience. Check the bridle arrangement, make adjustments to the tail, and ensure the kite’s face is tight and secure. Resilience in kite flying often leads to success and joy.
7. Understanding the Science Behind Kite Flying
As you build your kite, it’s a golden opportunity to teach your children about the science of flight. Discuss how the wind interacts with the kite, what provides lift, how the tail helps stabilize it, and why the kite tilts and dives. A little learning can go a long way in enhancing the kite-flying experience.
8. Prioritizing Safety
While kite making and flying are relatively safe activities, it’s still crucial to remember a few key safety tips. Always fly kites away from roads, power lines, and airports. Make sure kids are aware of their surroundings when running with kites to avoid any trips or falls. If the kite gets caught at a height, it’s better to let it go than to try and retrieve it from a dangerous spot.
Continuing Your Kite Making Journey
And with that, future kite flyers, we’ve armed ourselves with knowledge and are well-prepared for a whirl of kite-making fun! As we move forward, we’ll be diving into the intricacies of attaching the bridle, customizing the tail, and, finally, the thrilling moment of the maiden flight!
The excitement of kite flying is at our fingertips, so let’s continue to learn and laugh as we steer our creations through their paces in the boundless dance floor of the sky. The adventure doesn’t end here; we have plenty more to explore, from decorated tails fluttering like streamers to the exhilarating tug of the string as our kite catches the breeze.
Let’s cherish this journey that’s not just about crafting a kite, but about weaving a tapestry of joyous moments in the sunlit skies. Every knot tied and every color chosen is a stroke on the canvas of our family’s story. So here’s to catching the wind in our sails and dreaming big—up, up we go into the world of our handmade kites!
See more great Things to Do with Kids in New Zealand here. For more information see here
Disclaimer
The articles available via our website provide general information only and we strongly urge readers to exercise caution and conduct their own thorough research and fact-checking. The information presented should not be taken as absolute truth, and, to the maximum extent permitted by law, we will not be held liable for any inaccuracies or errors in the content. It is essential for individuals to independently verify and validate the information before making any decisions or taking any actions based on the articles.


