
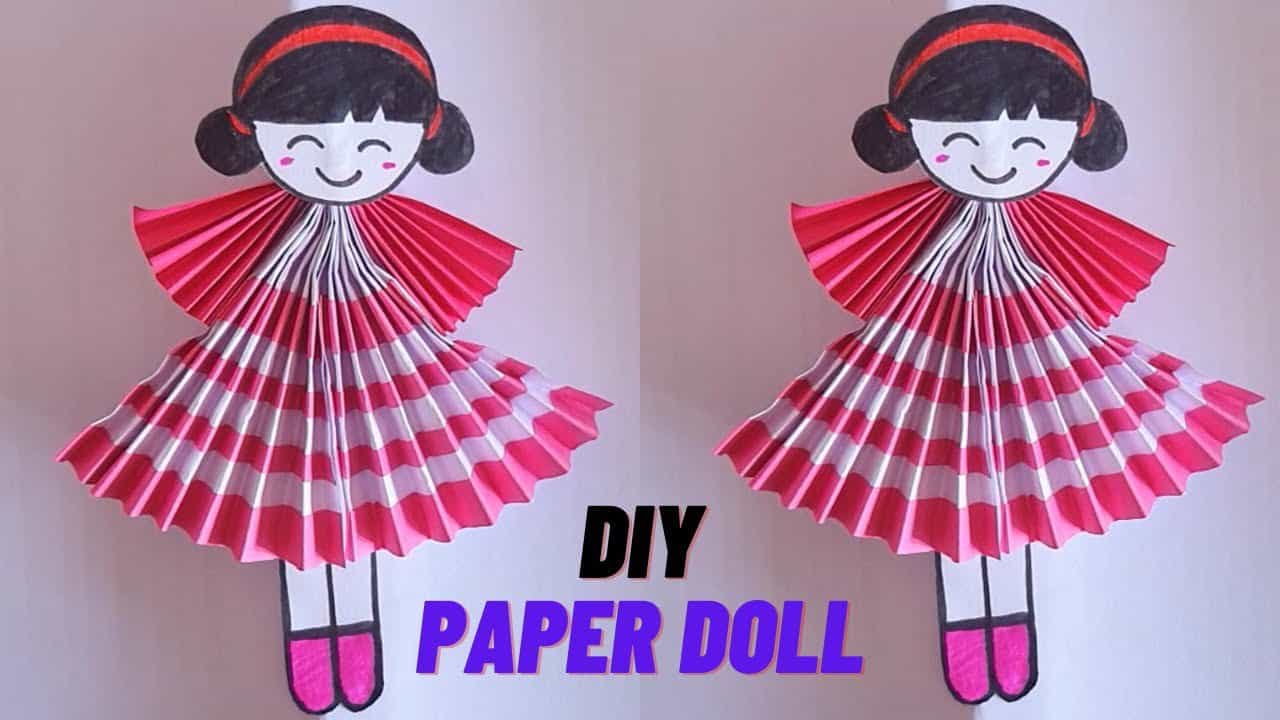
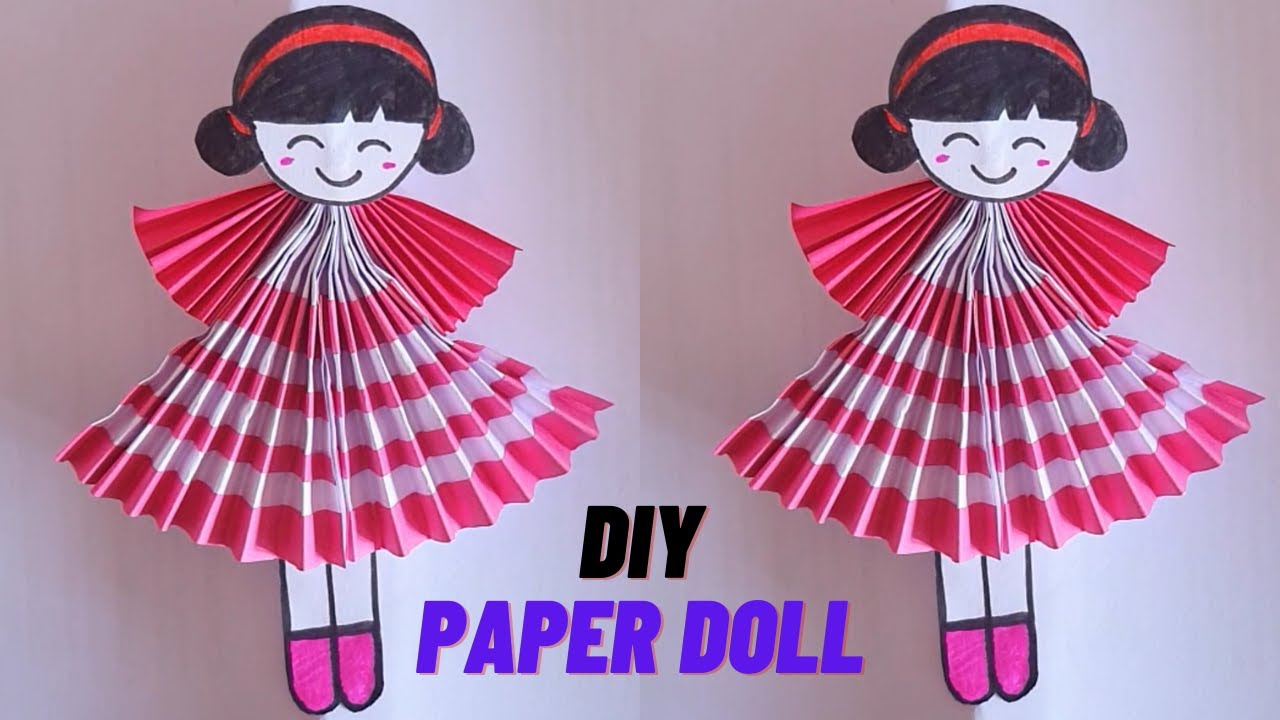
Crafting Joy: Create Your Own Paper Dolls!
Are you looking for a delightful and creative activity to share with your little ones? Look no further! Making paper dolls is a timeless craft that is not only fun but also encourages imagination and fine motor skill development. Whether it’s a rainy afternoon or a weekend project, this guide will walk you through the simple steps of crafting your very own paper dolls. So grab your supplies, and let’s dive into the joy of paper crafting!
Supplies You’ll Need to Get Started
Before we begin, let’s make sure you have everything you need. The great news is that making paper dolls doesn’t require any fancy equipment. Here’s a quick checklist of the basic supplies:
- Cardstock or sturdy paper: This will be the body of your dolls, so choose colors or patterns that excite you and your child!
- Scissors: For cutting out your dolls and clothes. Safety scissors are perfect for little hands.
- Pencils and markers: To draw and decorate your dolls. You can also use crayons or colored pencils.
- Glue or double-sided tape: To stick clothes and accessories onto your dolls.
- Optional embellishments: Think stickers, glitter, fabric scraps, or anything else you might want to decorate with!
Drawing Your Paper Doll
Now, let’s get to the fun part! Follow these steps to create the basic shape of your paper doll:
- Start by choosing a piece of cardstock or thick paper. If you’re feeling adventurous, you can start with a blank page and freehand your design, or you can find a template online to trace.
- Sketch out the silhouette of your doll on the paper using a pencil. You can include as much or as little detail as you want. A simple outline is perfectly fine!
- Once happy with your design, use your scissors to carefully cut out the doll shape. If your children are helping, make sure they’re safe and supervised, especially with younger crafters who might need a helping hand.
- After your doll is cut out, it’s time to make it unique! Draw the face and hair, and don’t forget to add some distinct features or accessories like hats or glasses. Encourage your child to name their doll and invent a story for them.
Creating the Paper Doll’s Wardrobe
Once you have your doll, it’s time to think about fashion! This part of the process really sparks creativity, so encourage your children to dream up all sorts of outfits and styles. To create a wardrobe for your paper doll, here’s what to do:
- Decide on a few outfit styles. Will your paper doll be a superhero, a princess, or maybe a rock star? You can make as many outfits as you want, the sky’s the limit!
- Using the same cardstock or paper, start sketching out clothing pieces. Remember, you’ll want these to be easily attachable to your doll, so including little tabs on the sides of the clothes can be very helpful.
- Cut out the clothes, making sure to cut around the tabs as well. These tabs will fold over the doll’s body, so you can switch out outfits without needing glue or tape every time.
- Decorate your outfits! Use markers, glitter, fabric, or anything else you can think of to make each piece of clothing stand out.
Creating paper dolls with your children is an amazing way to encourage their creative thinking and improve fine motor skills. Plus, it’s a wonderful opportunity for you to bond and share in the joy of making something from scratch. As you move on to the next steps, remember that the most important part is to have fun and let those creative juices flow!
Stay tuned as we continue to unfold more tips and tricks to make your paper doll-making experience even more exciting. We’ll explore advanced decoration techniques, ideas for organizing an imaginative play session, and how to create a paper dollhouse. Crafting a paper doll is just the beginning of a wonderful adventure in creativity and imagination for both you and your child!
Five Things Parents Should Know Before Making Paper Dolls
Embarking on the paper doll crafting journey is exciting, but a little prep can go a long way. Here are five handy tips to ensure a smooth and enjoyable craft experience:
1. Safety Comes First
Always prioritize safety when crafting with young children. Choose age-appropriate scissors and keep any sharp or small objects out of reach of tiny fingers. Supervise their cutting or opt for pre-cut templates to ensure a secure crafting environment.
2. Embrace the Mess
Creative activities can get messy and that’s perfectly okay! Set up your craft area on a surface that’s easy to clean or cover it with newspaper or a craft mat. Keep wipes or a damp cloth handy for quick clean-ups.
3. Plan for Variations in Attention Spans
Younger children might have shorter attention spans, so plan your crafting session accordingly. Break up the activity into manageable chunks and give them breaks when needed. This keeps frustration at bay and maintains the joy of crafting.
4. Prep Is Key
Having all your supplies laid out before you start will help keep the process running smoothly. Pre-cut templates and have a variety of decorations at the ready. This way, when inspiration strikes, you and your kids can jump straight into the fun!
5. Encourage Expression
There’s no right or wrong way to make a paper doll. Encourage your child to express themselves through their doll’s designs. Applaud their creativity and individuality, even if it means dolls have purple hair or wear polka-dotted pants with striped shirts!
With these tips in mind, you’re now fully equipped to start your paper doll crafting adventure! Remember to share in the excitement, laugh through any mishaps, and cherish the memories you’re making with your little ones. Let’s keep the creativity flowing!
Advanced Decoration Techniques for Your Paper Doll
When you’ve mastered the basics of paper doll crafting, you might want to explore some advanced techniques to add an extra sparkle to your creations:
- Use clear sticky tape to laminate outfits post-decoration for added durability.
- Textured fabrics like felt or lace can bring a new tactile dimension to your doll’s wardrobe.
- Create 3D accessories such as hats and handbags using folded or layered paper shapes.
- Reusable sticky tack can be an alternative to tabs for outfit changes if you’re looking for a less permanent option that doesn’t tear.
- Get inspired by the seasons or holidays and create themed wardrobes for your doll—think Halloween costumes or summer beach gear!
Organizing an Imaginative Play Session
Once you and your children have created a paper doll collection, set the stage for a fun play session. Create backdrops from leftover cardstock, build a paper dollhouse, or use shoeboxes to construct various doll scenes. Encourage your kids to craft storylines for their doll characters and let the play-acting begin!
Not only is this an extension of the craft activity, but it also helps in developing language skills and narrative thought as they invent dialogues and plots for their paper doll’s adventures.
Remember, the journey of creating paper dolls is just as special as the finished product. Enjoy every moment, snap a few pictures, and make beautiful memories. Happy crafting!
See more great Things to Do with Kids in New Zealand here. For more information see here
Disclaimer
The articles available via our website provide general information only and we strongly urge readers to exercise caution and conduct their own thorough research and fact-checking. The information presented should not be taken as absolute truth, and, to the maximum extent permitted by law, we will not be held liable for any inaccuracies or errors in the content. It is essential for individuals to independently verify and validate the information before making any decisions or taking any actions based on the articles.

