
Introduction
Hello, creative parents and crafty kids! Have you been on the lookout for a fun and easy DIY project to tackle with the little ones? Look no further! In this step-by-step guide, we’re diving into the whimsical world of homemade spinners. Perfect for a rainy day activity or a hands-on learning experience, making a spinner is not only enjoyable but can also enhance your child’s motor skills and imagination. So grab your crafting hats, and let’s spin our way into an exciting homemade creation!
Why Create Your Own Spinner?
Making a spinner might seem like a simple activity, but it’s packed with benefits for your children. It encourages them to think creatively, strengthens their fine motor skills, and offers a wonderful opportunity for family bonding time. Plus, it turns into a personalized toy they can proudly show off!
Materials Needed
- Cardstock or heavy paper
- Markers, crayons, or paint
- A round object for tracing (like a cup or a lid)
- Scissors
- Toothpick or paper clip
- A small bead (optional for smoother spinning)
- Glue or tape
- Pencil with eraser (for the base of the spinner)
Step-by-Step Guide to Making Your Very Own Spinner
Step 1: Tracing and Cutting
Start by placing your round object onto the cardstock and trace a perfect circle. Once your circle is traced, let the kids unleash their inner artists by coloring or painting their designs on the circle. After the artwork is complete, use the scissors to cut out the circle.
Step 2: Creating the Spinner Arrow
To craft the arrow that will spin, you can either draw and cut out an arrow shape from the same cardstock or use a paper clip as a more durable alternative. If you’re using paper, decorate it to match your spinner.
Step 3: Assembling the Spinner
Once you have your circle and arrow, it’s time to assemble. Place the arrow in the center of the circle. If you’re using a toothpick, carefully pierce it through the center point of the arrow and then the spinner. Add a small bead before pushing the toothpick into the eraser for smoother operation. If you’re using a paper clip, unbend it to form an arrow and tape it to the center of the spinner.
There you have it – your very own DIY spinner!
The fun doesn’t stop here. Keep reading for more expert tips on how to enhance your spinner and make game time even more exhilarating!
Stay tuned, as the next section of our guide will walk you through advanced customization of your spinner, including how to add numbers for games and lessons, creating themed spinners for holidays, and troubleshooting common spinner-making mishaps. We’ll help you turn this simple craft into a versatile learning tool and a source of never-ending fun.
So, keep those creative juices flowing and gear up for more spinner magic. Your kids will not only have a blast turning their personal visions into reality but also learn the joy of crafting something from scratch. Stick around for more spinner inspiration!
Remember, the beauty of DIY is in the uniqueness. Every spinner you and your children create will be a one-of-a-kind toy infused with love, laughter, and a little bit of spinner science. So, let’s continue our crafting journey together! Keep your scissors close, your imaginations open, and get ready for more spinning excitement in the next part of our guide!
Five Things Parents Should Know in Preparing for Spinner Crafting
Embarking on a DIY spinner-making adventure can be a delightful experience for the whole family. Here are five essential tips to ensure that your crafting session goes off without a hitch:
1. Safety First
Before you get started, make sure that the work area is safe for everyone involved. Scissors and pointed objects like toothpicks will be used, so it’s important to supervise children closely. Clear off a suitable workspace and ensure that all materials are within reach, so little hands aren’t tempted to go searching through drawers and cupboards unsupervised.
2. Creative Environment
Creativity flows best in a positive and stimulating environment. Play some fun background music or stories to ignite the imagination and set the scene for an afternoon of crafting! Encourage your kids to come up with their own ideas and praise their effort and originality throughout the process.
3. Quality Materials
Good quality materials can make the difference between a spinner that works well and one that doesn’t. Thick cardstock, a durable toothpick or paper clip, and reliable scissors will go a long way in creating a spinner that lasts. If possible, invest in these materials ahead of time to avoid any frustration during the craft.
4. Process Over Perfection
It’s normal for things not to go perfectly on your first try, and that’s okay! Emphasize the importance of learning and having fun over creating the perfect spinner. Every misstep is an opportunity to learn and grow, which is invaluable for children’s development.
5. Plan for Clean-Up
It’s easy to focus on the excitement of crafting and forget about the aftermath. Have a quick cleanup plan ready! Keep a small box or bin nearby for scraps and have cloth or wipes at the ready for any spills, especially if paint is involved. Involving your kids in the clean-up is a good practice, teaching them responsibility and care for their crafting space.
With these five tips in mind, you’re all set for a successful DIY crafting session. Making spinners at home is not just about creating a toy; it’s about creating memories, enhancing skills, and caring for your child’s development in a playful and engaging manner. So, let the fun begin!
Finding the Fun in Functionality: Spinner Games and Educational Twists
Who knew a simple spinner could be so much more than a toy? With a dash of creativity, you can transform your DIY spinner into an educational tool or a game-show style spinner for endless amusement!
Spinner Games
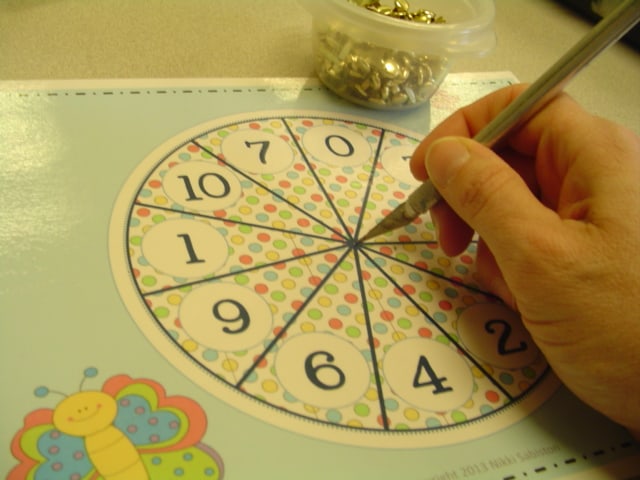
Games have a way of sneaking in learning through play. Add numbers, colors, or words to the sections of your spinner to create a makeshift roulette for learning and fun. Assign different chores, activities, or trivia questions to each section for a variety spinner that keeps everyone on their toes!
Educational Twists
For an educational twist, use your spinner for math exercises (like quick multiplications or division), for teaching probability, or to decide the order in which stories are read or homework is done. The randomness of the spinner’s decision can alleviate the pressure some kids feel when facing these tasks, making them more willing to engage.
These engaging activities can also strengthen decision-making skills, cognitive abilities, and understanding of randomness and probability without your child even realizing they’re learning.
So there you have it, folks – the starting point for your spinner-crafting journey. With a dash of preparation and a sprinkle of imagination, your next crafting session with your kids could spin into hours of entertainment and meaningful educational experiences. Let the crafting, learning, and laughter begin!
Keep in mind that the joy derived from these activities lies in the process as much as it does in the end product. Happy spinning!
See more great Things to Do with Kids in New Zealand here. For more information see here
Disclaimer
The articles available via our website provide general information only and we strongly urge readers to exercise caution and conduct their own thorough research and fact-checking. The information presented should not be taken as absolute truth, and, to the maximum extent permitted by law, we will not be held liable for any inaccuracies or errors in the content. It is essential for individuals to independently verify and validate the information before making any decisions or taking any actions based on the articles.


