
DIY Fun: How to Make a Stress Ball for Kids and Grownups Alike
Hello, fabulous parents and craft enthusiasts! Looking for a fun and therapeutic activity to enjoy with your little ones or just something to keep your restless hands busy? You’re in the right place! I’ll guide you through every squishy step of making your very own stress ball – it’s easier than you think, and it’s also incredibly satisfying. Let’s get those creative juices flowing and dive into a world of squishable stress-busting!
What You’ll Need:
- Balloons (preferably with a thick skin)
- Flour, rice, or fine play sand for filling
- A funnel or a DIY paper funnel
- A spoon or something similar to push the filling through the funnel
- Scissors
- (Optional) Permanent markers, yarn, fabric scraps, or other decorations
All set with the materials? Fabulous! Let’s roll up our sleeves and get into the nitty-gritty of stress ball crafting!
Step-by-Step Guide to Making a Stress Ball:
Step 1: Prep Your Balloon
Before we start, make sure you’re using balloons that are sturdy enough to handle the filling and the inevitable squeezing they’ll undergo. Once you have your perfect balloon, give it a good stretch – kind of like a morning yoga session for the balloon. This makes it less likely to rip and easier to fill.
Step 2: Choose Your Filling
What’s a stress ball without the delightful squishiness factor? Flour, rice, and fine play sand are the usual suspects, but feel free to get creative! Each filling has a different feel, so choose based on the type of squish you’re going for.
Step 3: Filling Time!
Insert the narrow end of a funnel into the balloon’s neck. If you don’t have a funnel, don’t get your crafty spirits down! Make one by rolling a piece of paper into a cone and securing it with tape. Start spooning your chosen filling into the funnel and gently shake or tap it through into the balloon. If it gets clogged, use your spoon or a pencil to push the filling down. A handy tip: keep the balloon void of air by pinching it just below the funnel.
Step 4: Closing the Balloon
This part is crucial. Once you’ve filled the balloon to the desired size (don’t overfill, as we don’t want any explosive mishaps), pinch the neck of the balloon and slowly release any trapped air. Then carefully knot the balloon. If you’re a balloon-tying newbie, do not fret – this might take a practice try or two, but you’ll get the hang of it!
Step 5: Cut and Double Up
For extra durability and to prevent any spillage, cut the mouthpiece off a second balloon and wrap it around the filled balloon. For those with an eye for aesthetics or simply looking for a fun craft twist, this is a great opportunity to add another color layer!
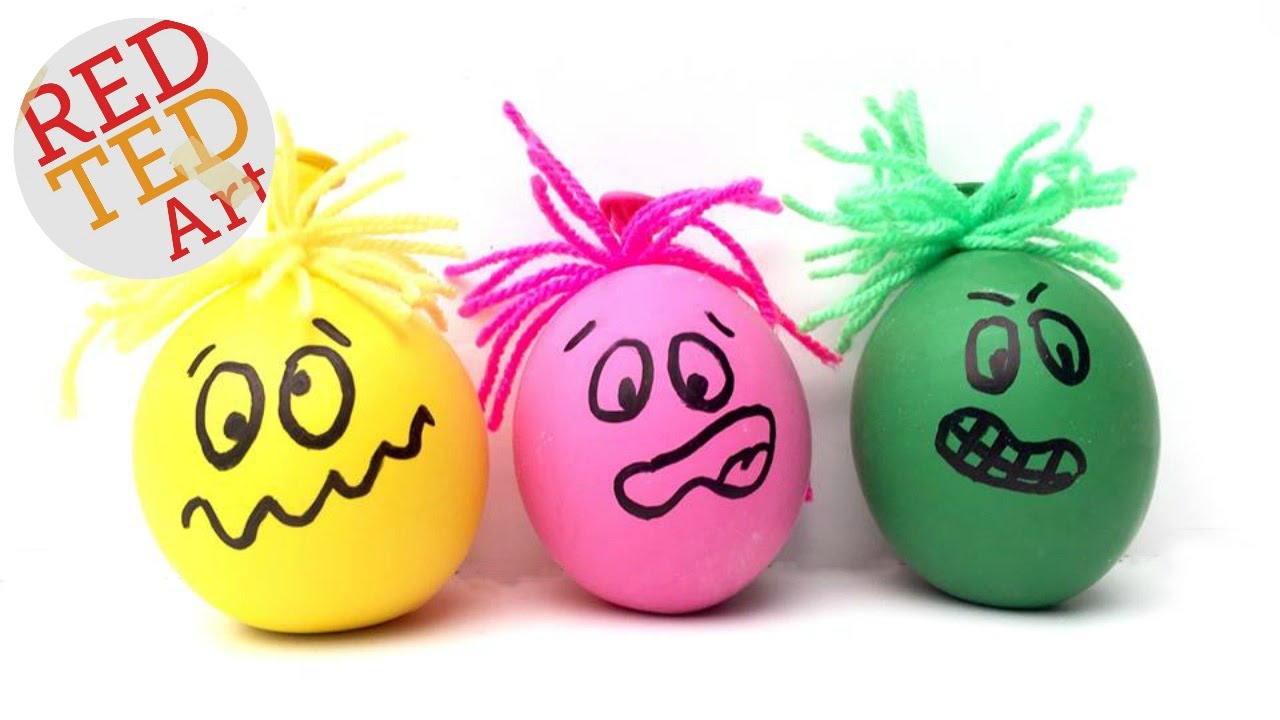
Step 6: Decorate Your Stress Ball (Optional)
Now for the cherry on top! Grab your markers, yarn, or fabric scraps and turn that stress ball into a mini work of art. Give it a cute face, some hair, or a patterned shirt – let those creative energies flow!
There we have it, folks – you’ve just made a stress ball! These squishy companions are not only perfect for stress relief but can also be wonderful sensory toys for children, helping with concentration and fine motor skills. Plus, making them can be a fabulous bonding experience. Stay tuned for more stress-busting crafts and creative inspiration!
Let’s recap: a stress ball is a fantastic tool for both kids and adults to manage stress, improve focus, and strengthen hand muscles. It is also a joyful craft that nurtures creativity and provides a hands-on sensory experience. And the best part? You just made one from the comfort of your own home with simple supplies. So next time you’re feeling a pinch of stress, give your homemade stress ball a good squeeze!

DIY Fun: How to Make a Stress Ball for Kids and Grownups Alike
Hey there, wonderful parents and craft lovers! Are you on the hunt for a delightful activity that merges fun with relaxation, both for your kiddos and yourselves? Look no further! I’m thrilled to walk you through the joyously squishy process of creating a homemade stress ball. It’s super simple, mega rewarding, and oh-so-fun. So, let’s not wait another minute – ready, set, craft!
Before We Begin: 5 Things Parents Should Know
- Safety First: Always supervise your kids during this craft, especially when working with small objects and scissors.
- Choose Non-toxic Materials: Pick balloon brands that are non-toxic and fillings that are safe in case of accidental breakage.
- Abundant Supplies: Have extra materials on hand. Sometimes, the first stress ball is just practice!
- Prep for Mess: Lay down a tablecloth or newspaper to catch any filling spillage during the crafting process.
- Embrace Creativity: Decorations aren’t just fun – they allow your child to express their personality through their creations!
Ready, Set, Gather Your Materials:
- Balloons (durable and thick-skinned are best)
- Your choice of filling: Flour, rice, or fine play sand
- A funnel, or make your own with paper and tape
- A spoon for guiding the filling
- Scissors for snipping and shaping
- Decorations (think permanent markers, glitter, yarn – the sky’s the limit!)
With your crafting kit assembled, let’s jump into making stress balls that are sure to bring smiles and sighs of relief!
Creating Your Stress Ball: A Step-by-Step Guide
Step 1: Stretch it Out
Balloons can be finicky. Stretch them out a bit to ensure they don’t pop prematurely. This is akin to getting your balloon ready for its big performance!
Step 2: Pick a Filling
The heart of your stress ball is its filling. Flour for a soft squish, rice for a grainy texture, or sand for a heavier feel — the choice is yours!
Step 3: Fill ‘Er Up!
Secure the balloon neck on your funnel and commence filling. Tap and shake to settle the contents, but remember, patience is key to avoiding blockages and spills.
Step 4: Knot Like a Pro
Once filled to your satisfaction, let out any excess air and tie a knot. A little struggle here is normal, but practice makes perfect!
Step 5: Durability Doubled
Cut the neck off another balloon and carefully stretch it over the filled one. This adds strength and color – two birds, one stone!
Step 6: Make it Yours
Time to give your stress ball a personality. Dive into your decoration box and let your and your kiddo’s imagination run wild!
Congratulations! You’ve just made a stress ball. Not only is it a trusty sidekick for those high-pressure moments, but it’s also a fantastic sensory plaything for the children. The making process itself encourages motor development, focus, and, most importantly, connection.
Remember, a stress ball is more than just a squeezable friend; it’s the product of love, creativity, and family fun. The next time life throws a curveball your way, just reach for your stress ball and give it a hearty squeeze!
There you have it – a comprehensive guide to creating the ultimate stress-reliever that’s bound to be a hit with both the young and young-at-heart. Now, whenever the need arises, you have the power to turn a moment of tension into an opportunity for fun and learning. Happy crafting!
See more great Things to Do with Kids in New Zealand here. For more information see here
Disclaimer
The articles available via our website provide general information only and we strongly urge readers to exercise caution and conduct their own thorough research and fact-checking. The information presented should not be taken as absolute truth, and, to the maximum extent permitted by law, we will not be held liable for any inaccuracies or errors in the content. It is essential for individuals to independently verify and validate the information before making any decisions or taking any actions based on the articles.


