
DIY Fun: How to Make a Stress Ball with Balloons for Kids and Parents
Hey there, amazing parents and crafty kids! Are you ready to dive into a world of squishy, squeezy fun? Today, we’re bringing you a super easy and incredibly satisfying DIY project that’s not only a blast to make but also perfect for those moments you need a little stress-relief. We’re talking about homemade stress balls made with balloons! ?
Stress balls are not just a great way to deal with anxiety and tension; they’re also a fantastic sensory tool to help kids with concentration and calmness. Plus, making these together can be a beautiful bonding activity that sparks creativity and gives you a personalized stress reliever you can be proud of. So, let’s get started and turn those ordinary balloons into your very own handmade stress-busters!
Materials You’ll Need
- Balloons (preferably thick, good-quality ones)
- Your choice of filling: flour, rice, or fine sand
- A funnel or a homemade paper cone
- A spoon or something to help push your filling through the funnel
- Scissors
- Permanent markers (optional, for decoration)
Gather up these materials, and let’s turn those frowns upside down with some stress-busting craft time!
Step-by-Step Guide to Creating Your Stress Ball
Step 1: Prepping Your Balloon

5 Things Parents Should Know Before Making Stress Balls with Balloons
1. Safety First!
Before you start, ensure the crafting area is safe for everyone participating. Keep a close eye on small pieces like balloon fragments that could pose a choking hazard for little ones. And remember to supervise the filling process — flour, rice, or sand should not be inhaled or ingested.
2. Choosing the Right Balloons
Thicker balloons are more durable and less likely to pop during the making and subsequent squishing of your stress balls. You can even double up the balloons for extra strength. Bright and colorful options make the process more enjoyable, and clear balloons can provide a neat peek at the inside contents.
3. The Mess Factor
Crafting can get messy, especially with powdery or small-grain fillings. Be prepared with a clean workspace and materials like trays or tablecloths to catch any spills. It’s also a good idea to have a vacuum or broom nearby for the inevitable cleanup.
4. Filling Alternatives
While our guide suggests flour, rice, or sand, you can also use other fillings like play dough, fine beads, or lentils. Feel free to experiment with different textures to see which one makes the most satisfying stress ball for you and your kids.
5. Customization & Creativity
Encourage your kids to express their creativity by decorating the balloons after they’re filled. Permanent markers, stickers, or glued-on felt pieces can turn these stress balls into animals, emojis, or whatever your child’s imagination conjures up!
Let’s Begin!
Now that you’re all set, here’s the step-by-step guide to making your very own stress balls!
Step 1: Prepping Your Balloon
Take your chosen balloon and stretch it out a bit. This will make the balloon more pliable and easier to fill. If you’re doubling up the balloons for extra durability, place one balloon inside the other before you start filling. Be careful not to tear the balloons while stretching.
Step 2: Filling the Balloon
Attach the funnel to the mouth of the balloon, ensuring it’s secure. Slowly begin spooning your chosen filling into the funnel. Occasionally tap the funnel or use a pencil to push the filling through if it gets clogged. Fill the balloon until it reaches the desired size and squishiness.
Step 3: Tying the Balloon
Once the balloon is filled, pinch its neck just above the filling to keep it from spilling out. Carefully release any trapped air before tying a knot in the balloon’s neck. Make sure the knot is tight to prevent any spills.
Step 4: Trimming the Excess
If there’s a lengthy piece of balloon leftover after tying, use scissors to trim off the excess. You want to leave just enough so the knot remains secure but doesn’t have too much slack, which can lead to a potential tear.
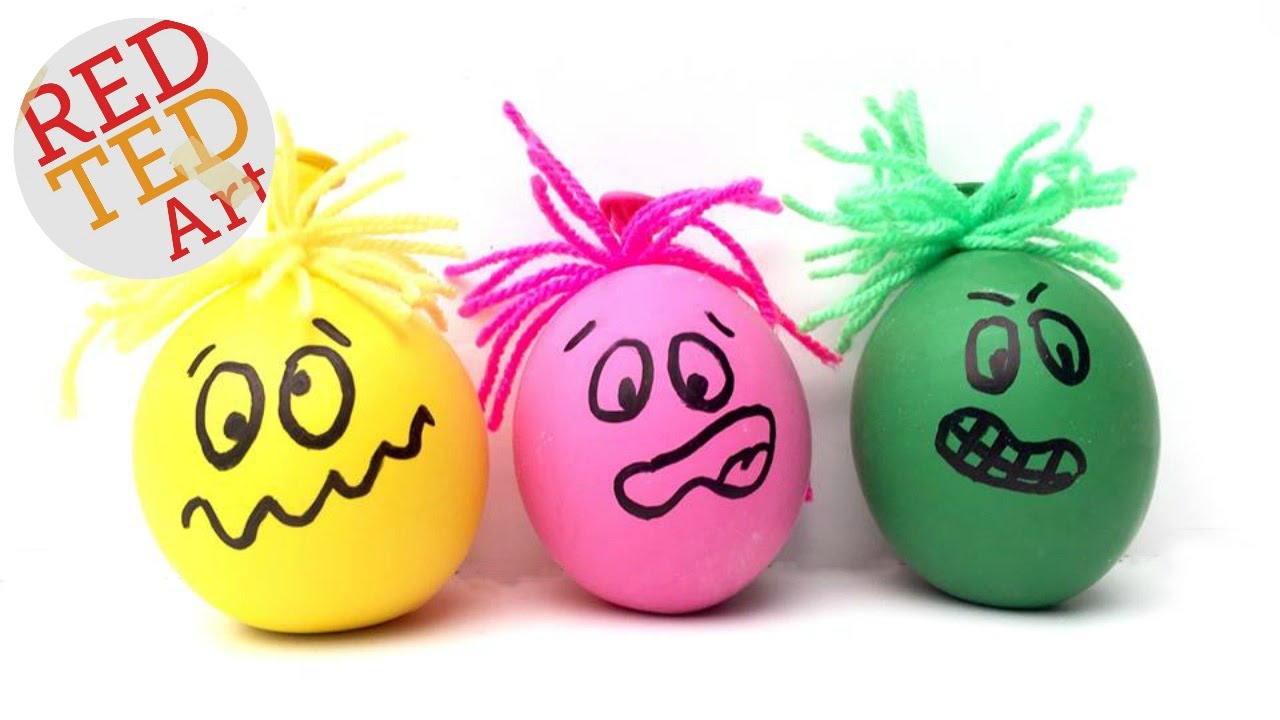
Step 5: Personalizing Your Stress Ball
Now for the fun part — customizing your stress ball! Using permanent markers, create faces, patterns, or doodles. Make each stress ball unique, reflective of you or your child’s personality or favorite colors!
Well done, crafty folks! You’ve now created an adorable, squeeze-worthy stress ball that’s not only a tool for relaxation but also a testament to your creativity and bonding time spent with your kiddos. Remember, the goal is to have fun and infuse a dose of calm into your busy life — and you’ve done just that!
Congratulations on your splendid new homemade stress balls. May they bring you and your little ones moments of peace and play, whenever you need it. Now go ahead, give that stress ball a satisfying squish – you’ve earned it!
See more great Things to Do with Kids in New Zealand here. For more information see here
Disclaimer
The articles available via our website provide general information only and we strongly urge readers to exercise caution and conduct their own thorough research and fact-checking. The information presented should not be taken as absolute truth, and, to the maximum extent permitted by law, we will not be held liable for any inaccuracies or errors in the content. It is essential for individuals to independently verify and validate the information before making any decisions or taking any actions based on the articles.


