
DIY Magic: How to Make Cute Cement Planter Pots with Your Kids
Hey there, lovely parents and craft enthusiasts! Are you looking for an exciting and creative project to share with your children? How about making adorable cement planter pots that are perfect for your home or garden! This engaging activity not only nurtures your child’s artistic abilities but also offers a great learning experience in gardening and care for plants. Roll up your sleeves because we’re about to dive into the fun world of DIY cement planters!
The Joyful Benefits of Making Cement Pots with Kids
Before we get our hands dirty, let’s chat about the benefits! Crafting with cement can teach kids about the use of different materials and the importance of precision and patience. Additionally, this project promotes motor skills and gives you a perfect opportunity for some quality bonding time. Once the pots are ready and the plants are tucked in, children will also learn about the responsibility of caring for their newly potted green friends.
What You’ll Need for Your Cement Planter Pots
- Mixing Bowl: Use an old bowl for mixing cement, as it will get messy.
- Cement: Ready-mix cement is perfect for this project and easily available at your local hardware store.
- Water: For mixing with the cement.
- Gloves: To keep your and your little helper’s hands clean and safe.
- Molds: You can use old containers, plastic bottles, or anything with the shape you desire.
- Sticks or Spoons: For stirring the cement mix.
- Non-stick Spray or Cooking Oil: To coat the molds for easy removal.
- Sandpaper: To smooth the edges post-curing.
- Decorative Elements: Such as paints, tiles, or stones to decorate your pots.
- Protective Masks: Cement dust isn’t friendly to our lungs, so mask up, especially the kiddos!
- Protective Sheets or Newspapers: Keep your workspace tidy by covering the surface.
Let’s Get Started On Your Cement Planter Pots
Step 1: Preparing the Workspace
First things first, let’s lay out those protective sheets or newspapers on your working surface. Ensure your workspace is well-ventilated and wide enough for pots of different sizes. Don your gloves and masks to protect from the cement mix’s dust and texture.
Step 2: Mixing the Cement
Follow the instructions on your ready-mix cement package to get the right consistency. Generally, you want a mixture that’s not too runny but pourable—think the texture of a thick milkshake. Careful not to add too much water at once; it’s easier to add more than to fix a mixture that’s too watery! Once you’re happy with the consistency, let it sit for a brief moment while you prepare the molds.
Step 3: Preparing the Molds
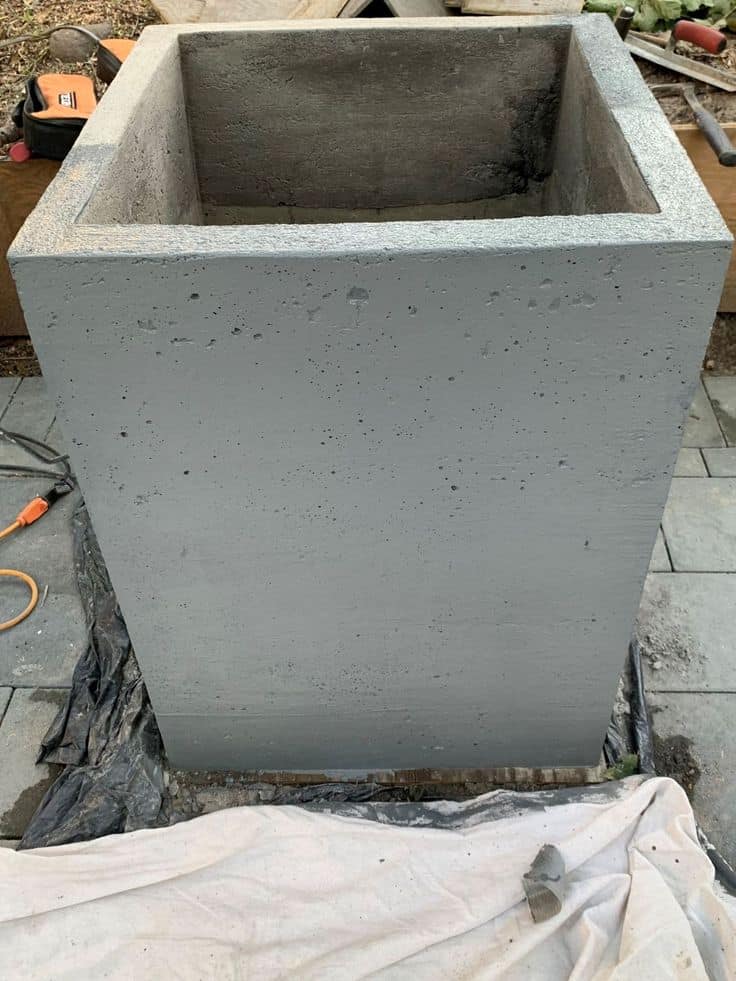
Choose your molds and apply a generous coat of non-stick spray or cooking oil. If you’re planning to make a pot with a space for a plant, put a smaller container coated in oil into the larger one. To keep it from floating up when you pour the cement, weigh it down with stones or sand.
Step 4: Filling the Molds
Carefully pour the cement into your prepared molds. Gently tap the sides of the molds to remove any air bubbles. If you’re using a container within a container to create the space for the plant, now is the time to position it.embre Remember, you can also add decorative touches like imprints or etchings before the cement sets.
Stay tuned as this is just the beginning, and I can’t wait to continue this journey with you, crafting not just cement pots but memories and learning experiences that will last a lifetime. Let those creative juices flow and brace yourself for the next steps where we uncover the secrets to perfecting your DIY cement planter pots!
Create Lasting Memories: Crafting Cement Planter Pots with Your Kids
Welcome all wonderful parents and little master crafters! Looking to sprinkle a touch of creativity and hands-on fun into your family time? Making charming cement planter pots together could be your next big indoor adventure! It’s more than just a craft; it’s a way to inspire your child’s imagination, introduce them to the basics of botany, and add a personalized dash of green to your living space. Are you ready to explore the splendid mix of DIY and family fun? Let’s craft our way into making the chicest little homes for your plants!
5 Key Tips for Parents When Preparing for Cement Planter Crafting
Before we march into the craft zone, let’s equip ourselves with some pro tips! Take note, because this will transform your crafting experience from good to fantastic!
- Safety First: Safety goggles and masks are a must when handling dry cement powder. Ensure your space is airy to keep those tiny lungs safe.
- Double-Check Your Cement: Make sure you’ve got a quick-setting concrete mix. It’s the most user-friendly for beginner plant pot enthusiasts!
- Embrace the Mess: It’s going to be messy, and that’s okay! Lay down those old clothes and prep the area with disposable covers. A messy day is a fun day, right?
- Simple Shapes to Start: Especially for young ones, begin with simple molds. Old yogurt pots or cartons can make perfect starters.
- Patience Is Key: Cement takes time to cure. Make sure there’s a ‘dry zone’ where your pots can sit undisturbed for a day or two.
Gathering Your Magical Supplies
It’s time to assemble the potion ingredients, or rather, the DIY supplies, for your crafting session:
- Budget-friendly: Cement is super cost-effective, making this a wallet-friendly activity for endless designs!
- Mixing Tools: An old spatula or spoon, something that won’t be missed if it takes on a new life in the service of art!
- Creativity Enhancers: Think pebbles, mosaic tiles, or even shells for that touch of whimsy in your finished pots.
- Garden Goodies: Select some seeds or cute succulents to plant in your new pots – gardening is about to get personal!
- A Spot for Splatters: Choose a spot where splashes of cement won’t ruin your interiors. Outdoors or the garage can work perfectly!
Cementing Your Success: The Step-by-Step Guide
With our tools and tips at the ready, let’s dive into the nitty-gritty! Our method is as simple as mix, mold, pour, and personalize. Does it get any easier?
Step 1: Crafting Corner Set-Up
Lay down those old shirts or sheets, open the windows for ventilation, and get into the most comfortable crafting clothes you own—things are about to get messy and fun!
Step 2: Mix It Up
The consistency of pancake batter – that’s your goal for the cement mix. Add water little by little, and let your kids stir until it feels just right.
Step 3: Mold It Your Way
Use cooking spray inside your mold for easy pot removal later. Pro tip: A bit of creativity here can lead to some truly unique shapes!
Step 4: Pouring Party
Gently pour the cement into your molds, tapping them to release air bubbles. It’s a good time to add in any glass beads or decorative pieces.
Hold on to this excitement, because we’re just at the tip of the creativity iceberg! Keep following along as we go step-by-step, ensuring each cement planter pot you and your little builders craft is an expression of fun, love, and the spirit of DIY!
See more great Things to Do with Kids in New Zealand here. For more information see here
Disclaimer
The articles available via our website provide general information only and we strongly urge readers to exercise caution and conduct their own thorough research and fact-checking. The information presented should not be taken as absolute truth, and, to the maximum extent permitted by law, we will not be held liable for any inaccuracies or errors in the content. It is essential for individuals to independently verify and validate the information before making any decisions or taking any actions based on the articles.


