
Create Lasting Memories: Making Cement Planters With Your Kids
Welcome to the Delightful World of DIY Cement Planters!
Hello, crafty parents and plant enthusiasts! Are you looking for a fun and creative activity to do with your little ones? Well, you’ve come to the right place! Making cement planters is not just a rewarding DIY project but also a fantastic way to introduce your children to the joys of gardening and crafting. Let’s roll up our sleeves and dive into the magical process of creating these sturdy and chic plant homes!
Why Cement Planters?
Cement planters are the perfect addition to any home or garden. They’re durable, weather-resistant, and incredibly versatile. The best part? You can tailor them to the size, shape, and color that suit your space! Plus, working with cement offers a hands-on experience that sparks creativity in both you and your kids.
Gather Your Supplies
Before we get into the nitty-gritty, let’s make sure we have everything we need. Here’s your shopping list:
- Cement mix – You can find this at any hardware store. Look for a mix that’s suited for crafting, which will give you a smoother finish.
- Water – For mixing with the cement, so it reaches the right consistency.
- A large mixing bowl – This will be used to mix the cement. Make sure it’s one you don’t mind getting messy!
- A stir stick – A paint stirrer or an old wooden spoon works perfectly.
- Molds – These can be anything from purchased silicone molds to repurposed household items like old containers or boxes for unique shapes.
- Sandpaper – For smoothing out any rough edges after your planter dries.
- Rubber gloves – Cement can be harsh on the skin, so protect those hands!
- Non-stick cooking spray or vegetable oil – This will help your planter come out of the mold easily once it’s set.
- Decorative elements (optional) – Think about adding pebbles, tiles, paint, or anything else to personalize your planter.
Setting Up Your Crafting Station
Creating with cement can be a bit messy, so set up your crafting station outside or in a well-ventilated area with plenty of space. Cover your work surface with a plastic sheet or newspapers to catch any spills. Now, dress for the occasion! Wear old clothes and if working with kids, consider aprons or smocks to protect their outfits.
Let the Fun Begin: Mixing It Up!
Follow the instructions on your cement mix package to get the right consistency; it should resemble a thick cake batter. Here’s where the kids can get their hands dirty (while safely gloved, of course)! Allow them to help with the mixing – it’s like baking a cake that turns into stone! Remember: move quickly once it’s mixed, as cement can start setting within minutes.
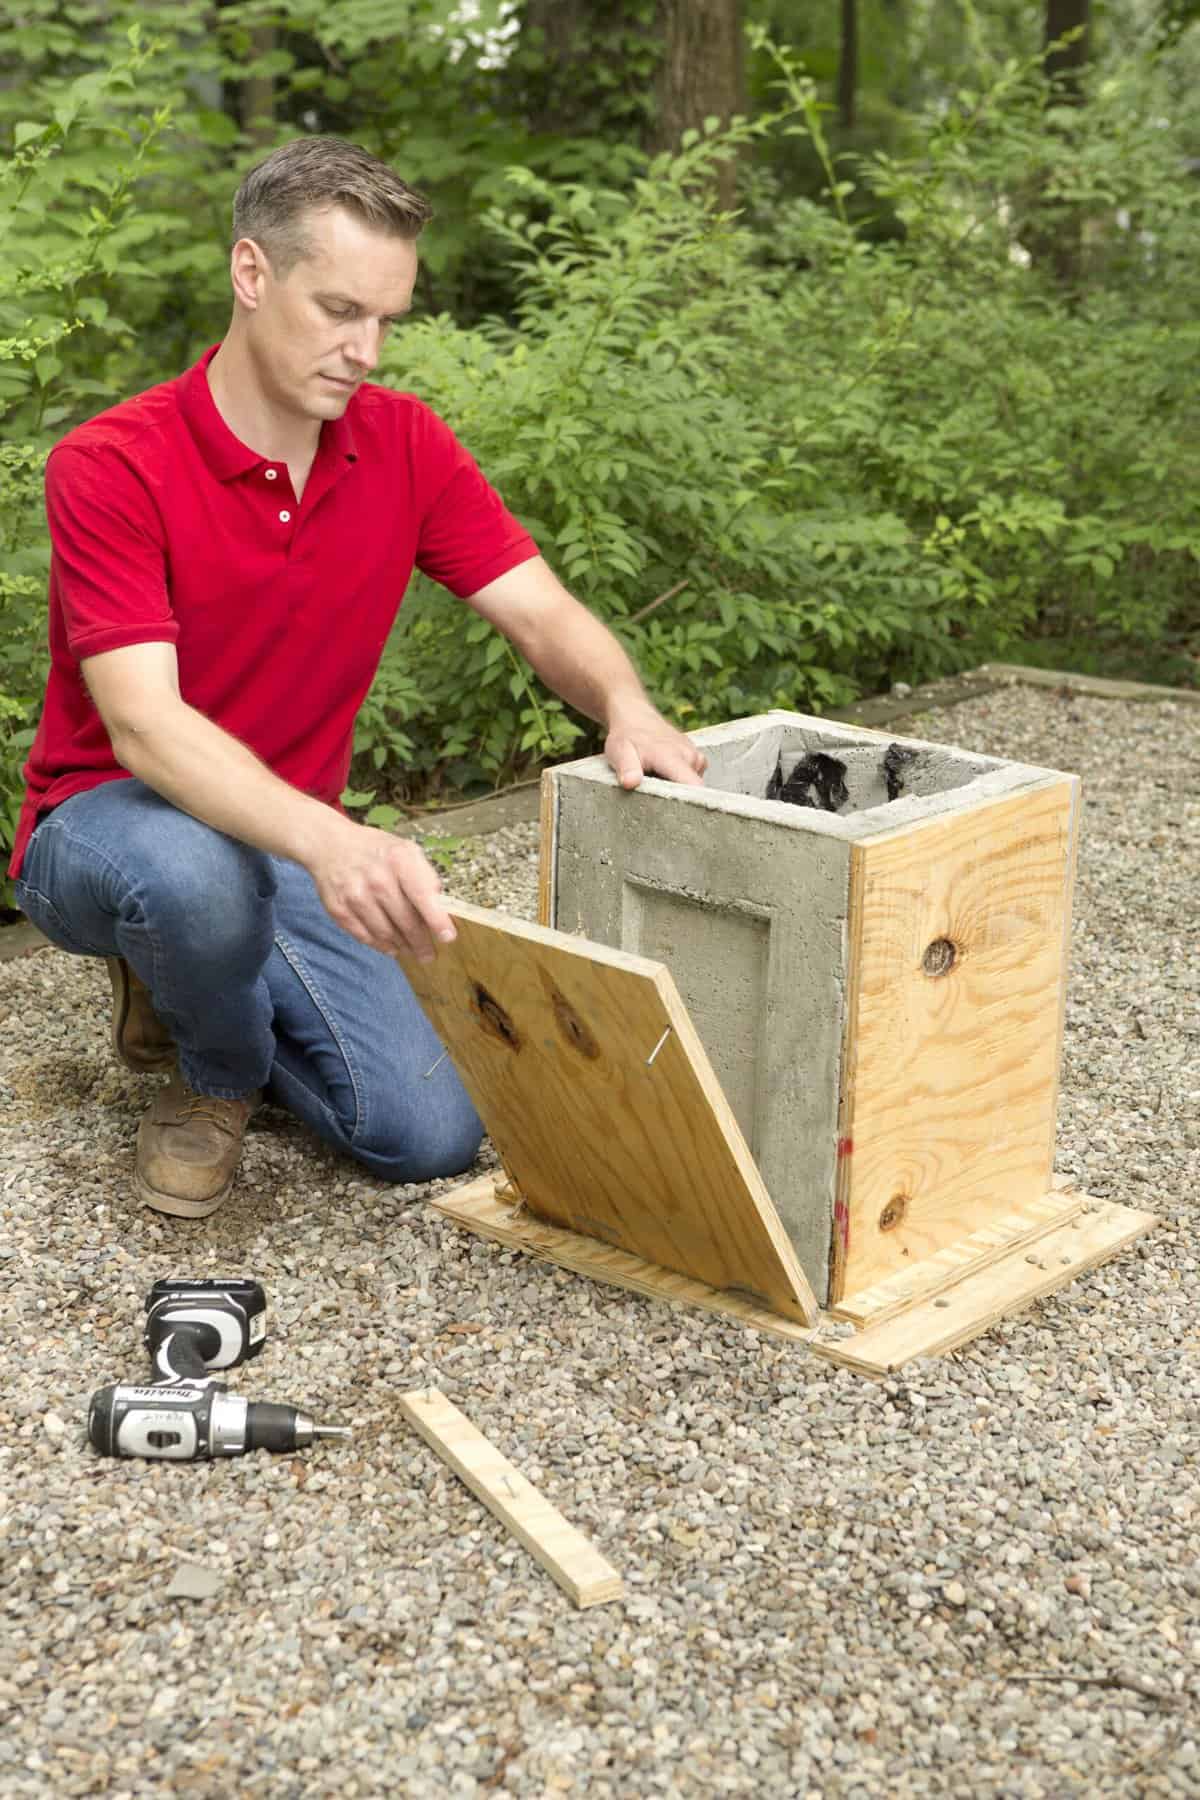
Molding Your Masterpieces
Once your cement is mixed, it’s time to get it into the molds. If you’re using non-traditional molds, lightly coat them with the non-stick spray or oil. Then, pour or scoop your cement into the molds, tapping them gently to release any air bubbles and even out the tops. If you’d like to create drainage holes for plant health, now’s the time to press small objects like dowels or pencils through the wet cement where you’d like those holes to be.
Encourage your kids to get imaginative with decorations. Embed small stones, glass beads, or other ornaments into the wet cement – this can be their personal touch!
Playing the Waiting Game: Curing Your Planters
Patience is key! Cement planters need time to set and cure. Depending on the size of your planters and the temperature and humidity where you live, it may take 24 to 48 hours for smaller planters and up to a week for larger ones. During this wait time, keep your planters in a cool, dry area away from direct sunlight to prevent cracking.
Wrapping Up and Smoothing Out
When your planters are fully cured, it’s time to remove them from their molds. This should be a moment of excitement for you and your little ones – there’s nothing quite like the reveal! If you applied non-stick spray or oil, they should come out with ease. Immediately check for rough spots which are normal – a bit of sanding will make everything smooth as butter.
However, this is just the tip of the iceberg! There’s so much more you can do to perfect your cement planters, from painting and sealing to planting and decorating. Remember, safety is paramount, especially when crafting with kids. Always supervise closely, ensure gloves are worn, and keep your work area tidy to avoid any slip-ups.
Now that you know the basics, gather your supplies and get ready to embark on a memorable DIY adventure with your family. Stay tuned, because in the next section, we’ll discuss painting and sealing your planters, choosing the right plants, and ideas for displaying your creations around your home and garden.
Creating these cement planters isn’t just about adding beauty to your home; it’s about the laughter, the teamwork, and the pride that comes with making something together. So what are you waiting for? Let’s make some magic with cement!
5 Essential Tips for Parents Preparing to Make Cement Planters
1. Safety First: Gear Up Appropriately!
Before you start, it’s crucial to gear up for safety. Cement can be caustic, so ensure everyone wears rubber gloves to protect their skin. Protective eyewear can also be useful to safeguard against any accidental splashes. When it comes to clothing, old long-sleeved shirts and pants can protect skin from cement splatters. Safety should always be your top priority, especially when involving children in the project.
2. Choose the Right Work Area
Selecting an appropriate area for this craft is important. Ideally, you want a space that’s well-ventilated, like an outdoor patio or garage with doors open. A level surface is key to making sure your planters don’t set at an angle. Remember that cement dust can be harmful if inhaled, so keep your work area well-ventilated and choose a spot where a little mess won’t cause stress.
3. Timing is Everything
Cement doesn’t wait for anyone – once you mix it, it begins to set. Prepare all your molds and tools before mixing so you can work efficiently. Go over the steps with your kids in advance, so they know what to expect. Make sure to start your project at a time when you have a clear schedule, as cement planters require continuous attention until they’re poured.
4. Embrace the Mess
Accept that this will be a messy project and prepare accordingly. Lay down plenty of newspaper or drop cloths, and have a bucket of water or a hose ready for quick clean-ups. Don’t fret about cement spills – they are part of the fun and learning process. Teach your children that it’s okay to get messy sometimes, especially when creating something beautiful!
5. Patience is a Virtue
Cement takes time to cure, so prepare to wait. Use this as an opportunity to teach your children the value of patience. Discuss what plants you might want to pot in your new planters or how you’ll decorate them once they’re dry. You can check on the planters together each day, making it part of your daily routine, and celebrate each sign of progress.
Painting and Personalizing Your Cement Planters
Once your planters are fully cured and smooth, the real fun begins. Painting and personalizing your cement planters is a wonderful way to add character to your creation. Use acrylic paint for vibrant colors or sealers to achieve a more raw, natural look. Encourage your children to express themselves with patterns or handprints – this is their chance to leave a signature mark! Consider sealer sprays that are suitable for cement to protect your painted designs from the elements.
Choosing the Right Plants
Not all plants are suitable for cement planters, so do a little research with your youngsters. Succulents and cacti are popular choices as they require minimal watering, which suits the porous nature of cement. However, if you’ve added drainage holes, you can explore a wider variety of plants. Engage your kids in selecting the plants, teaching them about different species and how to care for them.
Beautifying Your Space with Your New Planters
Now you have these gorgeous, homemade cement planters – it’s time to decide where they’ll shine best. Indoors by a sunny window, on the front porch, or nestled in your garden, these planters can enhance any space. Let your children help decide on their placement, giving them a sense of ownership and pride in the project’s final display.
As you embark on this creative journey, remember that it’s not only about the destination but also about the wonderful memories you create along the way. Whether it’s the tiny handprints on a planter or the shared laughter after an accidental spill, these are the moments that make DIY projects with your kids so special. Enjoy every step of the process, and you’ll end up with more than just a beautiful garden accessory – you’ll have a treasure trove of joyful experiences.
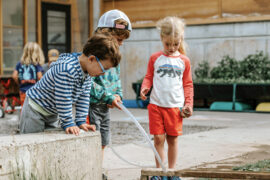
See more great Things to Do with Kids in New Zealand here. For more information see here
Disclaimer
The articles available via our website provide general information only and we strongly urge readers to exercise caution and conduct their own thorough research and fact-checking. The information presented should not be taken as absolute truth, and, to the maximum extent permitted by law, we will not be held liable for any inaccuracies or errors in the content. It is essential for individuals to independently verify and validate the information before making any decisions or taking any actions based on the articles.


