
Ultimate Guide to Whipping Up the Perfect Buttercream Icing: A Parent’s Kitchen Adventure!
Welcome to the sweet and sumptuous world of buttercream icing! If you’re a parent looking to impress at the next birthday bash or just want to add a dash of delicious to your family’s dessert night, you’re in the right place. Making buttercream icing is not just about mixing sugar and butter; it’s a delightful kitchen adventure that can sprinkle some joy into your baking routine. So, roll up your sleeves, and let’s dive into the creamy, dreamy art of buttercream success!
What You’ll Need: Simple Ingredients for Fabulous Buttercream
Before we whisk away, let’s gather our ingredients. The beauty of buttercream lies in its simplicity. You’ll need:
- Unsalted Butter: The key player in our icing, providing richness and structure.
- Powdered Sugar: Also known as confectioners’ sugar, for that silky-smooth sweetness.
- Milk or Heavy Cream: Choose your creamy partner to adjust the consistency.
- Pure Vanilla Extract: For an irresistible hint of classic flavor.
- Salt: Just a pinch to balance the sweetness and enhance the flavors.
Don’t forget your trusty mixer (stand or handheld), a set of measuring cups and spoons, a silicone spatula for scraping down the sides, and let’s not overlook the most important tool: your enthusiasm for creating something delightful!
Step-by-Step: Crafting Your Buttercream Dream
Alright, let’s jump into the nitty-gritty of making your buttercream. Follow these steps for a smooth experience:
- Room Temperature Butter: This is crucial! Make sure your butter is at room temperature before you begin. It should be soft to the touch but not melting.
- Beat the Butter: Start by beating the butter on medium speed for about 2 minutes or until it’s creamy.
- Gradually Add Sugar: Slowly add the powdered sugar, one cup at a time, beating on low to incorporate. This helps avoid sugar clouds poofing up in your kitchen.
- Scrape Down the Sides: Don’t leave any butter or sugar behind! Use your spatula to scrape the bowl to ensure everything mixes evenly.
- Add the Cream and Flavor: Once the sugar is incorporated, stream in your milk or cream and the vanilla extract. Now’s the time for a pinch of salt, too!
- Whip It Up: Increase to medium-high speed and beat until the icing is light, fluffy, and ready to spread or pipe – about 3 to 5 minutes.
The method is simple, but the magic happens as the ingredients combine to form an icing that’s as smooth as a cloud and as tasty as a dream.
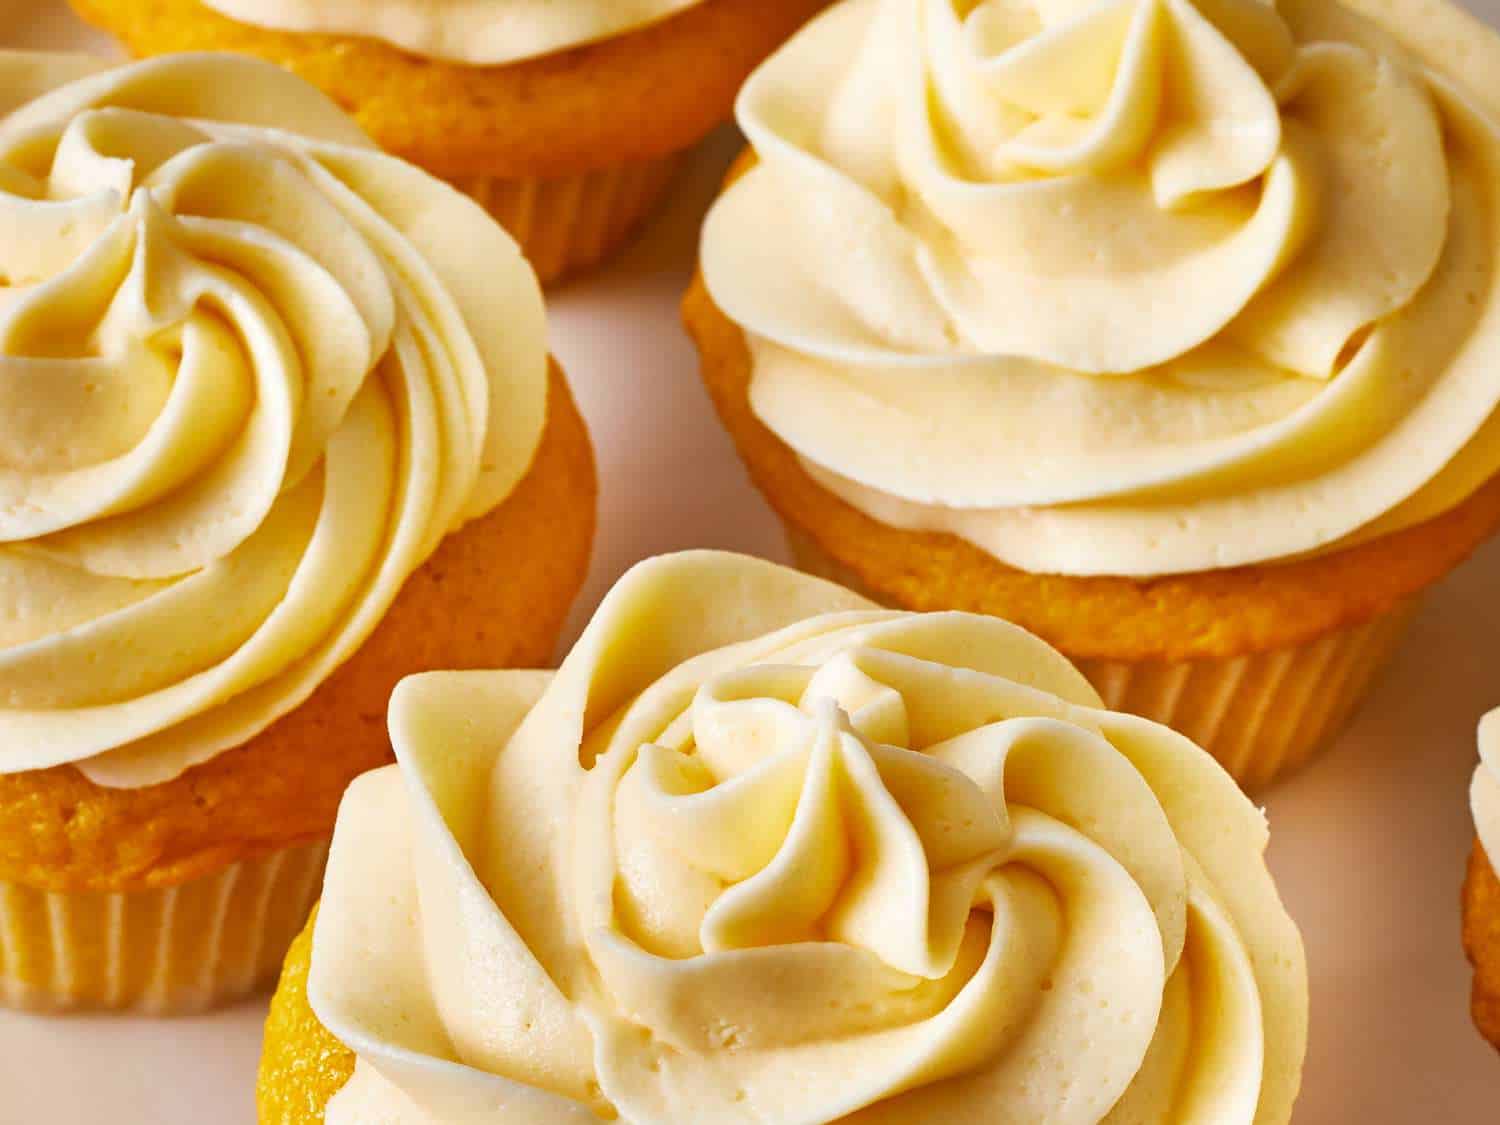
Color Me Curious: Adding Pizzazz to Your Buttercream
If you or your little one has a favorite color or if you’re theme-matching for an event, introducing colors to your buttercream can elevate your cake or cupcakes from excellent to extraordinary. Here’s a nifty tip for you: Always use gel or paste food coloring rather than liquid. The concentrated color means you won’t be tinkering with the consistency of your icing, keeping it perfect for those Instagram-worthy swirls and rosettes.
Remember, when it comes to food coloring, a little goes a long way. Start with a toothpick’s dip and gradually increase until you reach your desired hue.
And hey, why stop at colors? Sprinkle in some joy with chocolate chips, crushed cookies, or even a dash of cinnamon for a flavor twist that’ll have your family swooning for more.
Whether you’re a first-timer or a seasoned pro looking for a foolproof refresh, making buttercream icing is a rewarding and fun activity that not only yields delicious results but also creates lasting memories in the kitchen. So go ahead, give it a whirl, and let the sweet times roll. Stay tuned for more in-depth tips on mastering buttercream techniques in the second part of this guide.
Your journey to becoming the ultimate buttercream champion has just begun, and with a little practice, you’ll be whipping up indulgent, spreadable masterpieces that earn the oohs and aahs of all your taste testers. Now, isn’t that a treat? Keep smiling, because there’s nothing quite like the taste of homemade buttercream to bring joy to the heart and tummy!
Five Things Parents Should Know Before Making Buttercream Icing
As we embark on this frosted journey together, there are a few pearls of wisdom to keep in mind:
- Patience Is a Virtue: Rome wasn’t built in a day, and the perfect buttercream takes a little time too. Rushing might lead to lumpy icing or overbeating, which can make it too runny. Take your time; it’s worth the wait!
- Quality Matters: Since there are so few ingredients, using high-quality butter and pure vanilla extract can make a world of difference to the end product. Your taste buds will thank you!
- Measure Accurately: Baking is a science, and precision is key. Ensure that measurements are spot on to balance flavors and textures perfectly. This is also a great opportunity to get the kids involved and practice math skills!
- Temperature Is Key: Your ingredients should be at room temperature to blend together seamlessly. Cold butter won’t cream well, and hot butter is a no-go for obvious melty reasons.
- Get Creative: Once you’ve nailed the basics, don’t be afraid to experiment with different flavors or colors. Your kitchen can become an icing lab where the little ones can discover their inner food scientists!
Decision Time: Which Buttercream is Best?
Did you know there are different types of buttercream frosting? From American to Swiss to Italian, each has its own texture and sweetness level. American buttercream is the simplest and most forgiving, great for those new to the game, while Swiss and Italian are for the more daring types who don’t mind working with sugar syrup and egg whites.
For today, let’s stick with American buttercream as our trusty sidekick. It’s straightforward, child-friendly, and absolutely delicious.
The Perfect Consistency: A Balancing Act
Achieving the right consistency is like finding the Goldilocks zone – it has to be just right. If your buttercream is too stiff, it could tear your delicate cakes or cupcakes, too thin and it won’t hold its shape. Add your milk or cream gradually and mix thoroughly before deciding if you need more. It’s always easier to add liquid than to correct an overly softened icing.
Preserving the Masterpiece: Storage Tips
Let’s face it, there’s a chance you’ll have leftover icing (although it’s so good, there may not be any!). Buttercream stores wonderfully in the refrigerator for up to a week or in the freezer for a few months. Just make sure to let it come to room temperature and give it a good whip before using to bring back that fluffy texture.
Ready to wield your whisk? May your bowls be sturdy and your icing smooth! Dive in and enjoy the sugar-dusted thrills of creating buttercream icing that your family will rave about. With these tips, you’re set to write your own sweet success story – one delightful dollop at a time. Let the buttercream bonanza begin!
See more great Things to Do with Kids in New Zealand here. For more information see here
Disclaimer
The articles available via our website provide general information only and we strongly urge readers to exercise caution and conduct their own thorough research and fact-checking. The information presented should not be taken as absolute truth, and, to the maximum extent permitted by law, we will not be held liable for any inaccuracies or errors in the content. It is essential for individuals to independently verify and validate the information before making any decisions or taking any actions based on the articles.


:max_bytes(150000):strip_icc()/174347-QuickandAlmostProfessionalButtercreamIcing_003-4x3-e983b995de184f9981222f2e96b4a62f.jpg)