
Ultimate Guide to Making Easy Slime at Home!
Hey there, wonderful parents and crafty kids! Ready to dive into the gooey, squishy world of slime-making? You’re in for a treat! Slime has taken the world by storm, and it’s the perfect activity for a fun-filled afternoon of family bonding. Making slime is not only a blast, but it also sparks creativity and teaches the basics of science—all in the comfort of your kitchen. Our awesome guide will walk you through making the easiest slime ever, with household ingredients and no fuss! So, roll up those sleeves, and let’s get slimy!
Why Slime, You Ask? Before we jump into the nitty-gritty, let’s talk about why slime is such a fantastic activity. It’s tactile, which means it’s an awesome sensory experience for little hands. It also encourages the development of fine motor skills and can be a calming activity for kids who need a little stress relief. Plus, it’s just so satisfying to stretch, squish, and poke!
What You’ll Need to Make Basic Slime
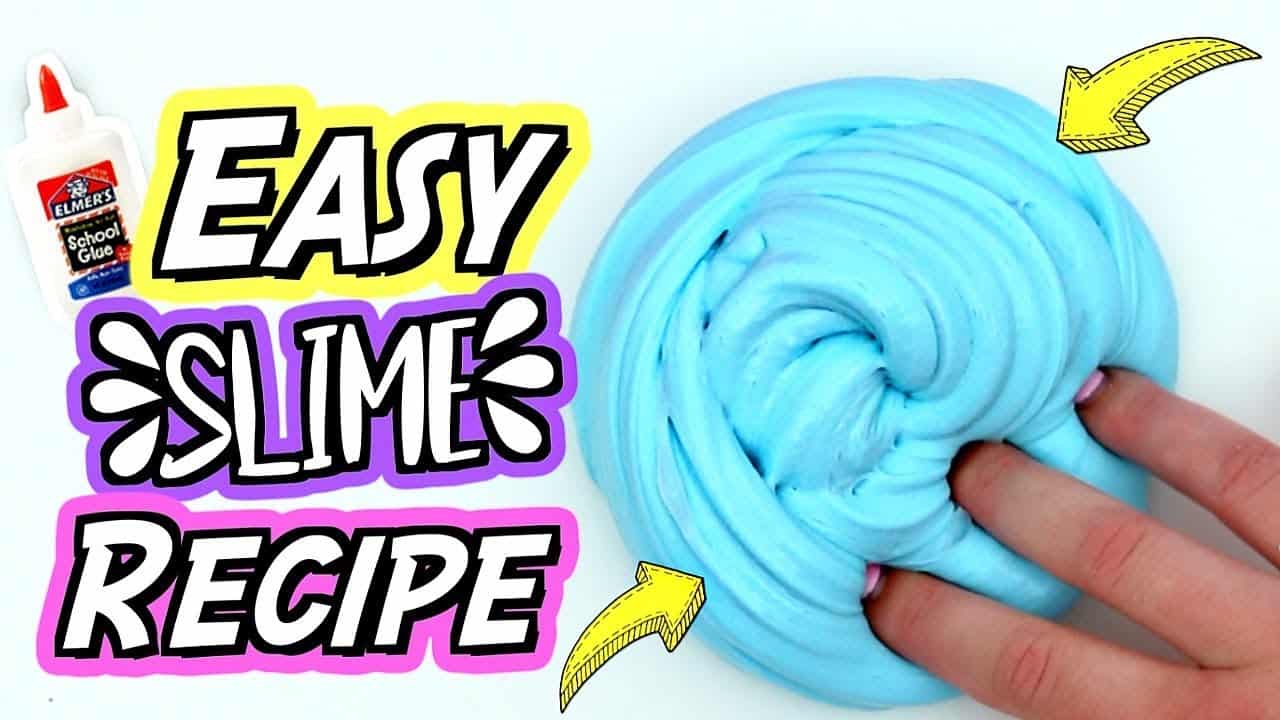
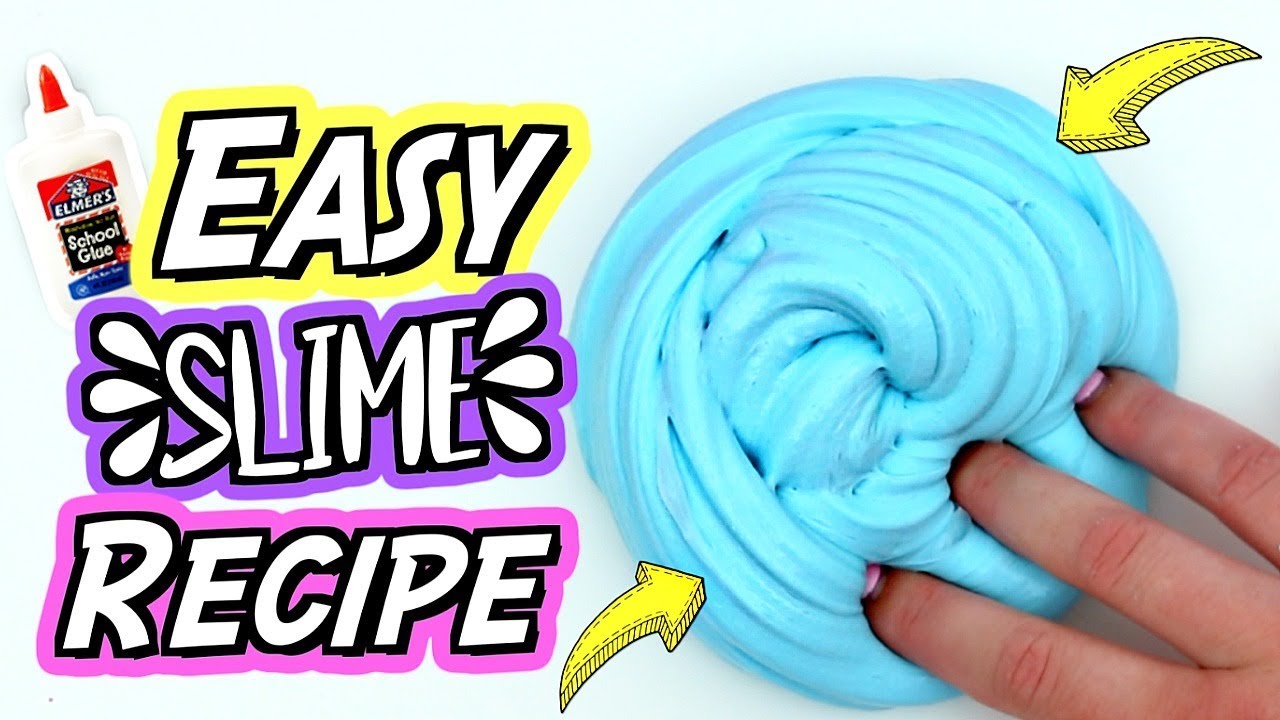
- Glue: The base of most slime recipes. Clear or white school glue works best.
- Baking Soda: A key ingredient that helps to firm up the slime.
- Contact Lens Solution: This must contain boric acid and sodium borate for the slime to form.
- Food Coloring: Totally optional, but definitely adds to the fun with cool colors!
- A Mixing Bowl: To blend your ingredients together.
- A Stirring Utensil: A spoon or spatula will do just fine.
Easy Peasy Slime Recipe
Now, let’s get to the magic part—making the slime! Follow these simple steps, and you’ll be the slime master of your home in no time.
- Start by pouring 1/2 cup of glue into your mixing bowl.
- Add a drop or two of food coloring if you’re looking to make your slime pop!
- Stir in 1/2 teaspoon of baking soda and mix thoroughly.
- If you’re feeling fancy, you can add some glitter, small beads, or even a dash of scented oils.
- Finally, add 1 tablespoon of contact lens solution to the mix.
- Start stirring! You’ll notice the mixture beginning to thicken. Keep mixing until it becomes harder to stir and starts to gather around the utensil.
- When the slime begins to form, take it out of the bowl and start kneading with your hands. It will be sticky at first, but as you work it, the slime will become more cohesive and less sticky.
- If your slime is still stickier than you’d like, add a tiny bit more contact lens solution and knead. Be careful not to add too much, or your slime will become rigid.
Voilà! You’ve created your very own batch of homemade slime! Go ahead and stretch, pull, and squish to your heart’s content. Enjoy the interesting texture and the cool colors you’ve created.
Storage and Clean-Up Tips
No need to worry about slime getting everywhere—cleanup can be a breeze with the right tips. When you’re done playing, store your slime in an airtight container so it doesn’t dry out. If slime does get on clothes or fabric, white vinegar will help dissolve it right away. Always make slime on an easily cleanable surface, or lay down newspapers or a plastic sheet for quick and easy cleanup.
Safety Note: While slime is tons of fun, it’s important to remember that it’s not edible. Always keep an eye on younger children when they’re making and playing with slime, to ensure they don’t try to taste it. Wash hands thoroughly after handling slime, especially before eating!
There you have it, folks! You and your kids are now well-equipped to enter the fantastic world of slime-making. This simple recipe is just the beginning. Continue reading for more awesome recipes, like fluffy slime, glow-in-the-dark slime, and even edible slime. Get ready for an ooey-gooey adventure that will keep you and your little ones entertained for hours on end!
But wait—there’s more! In the next section, we’ll explore some fun variations on the basic slime recipe, learn about the science behind slime, and give you tips for throwing a slime-themed party. Stick around to become a true slime connoisseur!
Five Critical Preparations for Slime Making: A Parent’s Checklist
Before you jump into the fun world of slime, take a moment to read through this essential checklist to ensure a seamless experience:
- Safety First: Always choose a non-toxic glue for your slime recipes. Be vigilant about the safety of the additional ingredients like borax or contact lens solution, ensuring they are kept out of reach from little ones who might be tempted to explore with their mouth rather than their hands.
- Prep Your Space: Designate a ‘slime zone’ in a well-ventilated area. This can be a corner of the kitchen table covered with wax paper or a disposable tablecloth. Keep paper towels or a damp cloth on hand for quick cleanups of little spills.
- Gather Your Materials: Have all your ingredients and tools ready to go. This includes measuring cups, spoons, bowls, and any creative mix-ins like glitter or food coloring. This helps to keep the slime making process stress-free and fun for everyone involved.
- Dress for Mess: Even with the forethought, slime making can get messy. Have kids wear old clothes or aprons, and roll up your sleeves. Slime easily washes off skin, but can be tricky on fabrics, so be sure you’re all dressed appropriately for the mess.
- Establish Rules: Clearly communicate the rules beforehand. This includes not eating slime, keeping it away from hair and furniture, and what to do in case of a spill. Establishing these guidelines ensures everyone enjoys the slime adventure without any unnecessary mishaps.
With your preparations complete, it’s time to get into the science and creativity of slime making! As you embark on this gooey journey, remember, the process itself is part of the fun. So even if your first batch doesn’t come out perfect, you’re learning and laughing together, and that’s what truly matters.
By following these steps, not only will you create some out-of-this-world slime, but you’ll also create memories that will stick much longer than slime on your furniture. Now, let’s get ready for some slippery science and delightful DIY!
Stretching Further: Variations and Experiments with Slime
Once you’ve mastered the basic slime recipe, the options for customization and experimentation are almost infinite! Add foam beads for a crunchy texture, or use iron filings and magnets to explore the properties of magnetic fields with your slime. Dive into thermochromic pigments that change color with temperature or just explore different scents and colors. The world of slime is your oyster – or rather, your stretchy, squishy stress ball!
So, whether you’re planning a rainy-day activity or a slime-themed birthday bash, rest assured that with these tips and tricks, you’re all set to go. You’re not just making slime; you’re making joy in a bowl. Get ready to mix, match, and be mesmerized by the simple wonders of slime!
See more great Things to Do with Kids in New Zealand here. For more information see here
Disclaimer
The articles available via our website provide general information only and we strongly urge readers to exercise caution and conduct their own thorough research and fact-checking. The information presented should not be taken as absolute truth, and, to the maximum extent permitted by law, we will not be held liable for any inaccuracies or errors in the content. It is essential for individuals to independently verify and validate the information before making any decisions or taking any actions based on the articles.


