
DIY Slime Glue: Your Ultimate Guide to Homemade Fun
Hey there, awesome parents and guardians! Are you ready to dive into the wonderful world of slime with your kids? I can see those nods! Making slime at home is not just an incredibly fun activity, but it’s also a fantastic opportunity to teach your little ones about science, creativity, and patience. Plus, what’s better than those endless giggles and the cool squish between your fingers? So, let’s get started with a simple, joy-filled guide on how to make glue for slime that’s both kid-approved and parent-friendly!
What Makes Slime So Special?
Before we roll up our sleeves, let’s chat about what makes slime the superstar of craft activities. Slime is a non-Newtonian fluid, which means it can act like both a solid and a liquid. Squeeze it, and it feels solid; let it rest in your hand, and it oozes like a liquid! This unique characteristic is not just fascinating for kids but teaches them about basic physical properties in the most delightful way.
The Slime Ingredients Spotlight
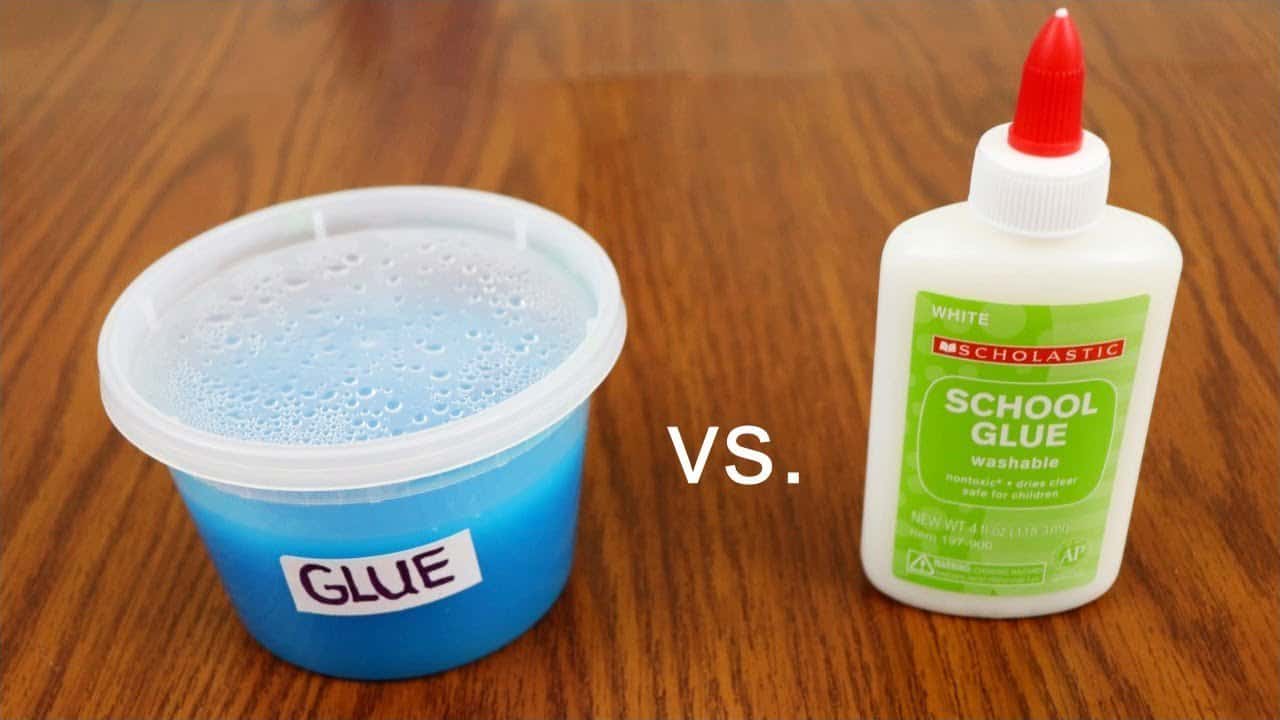
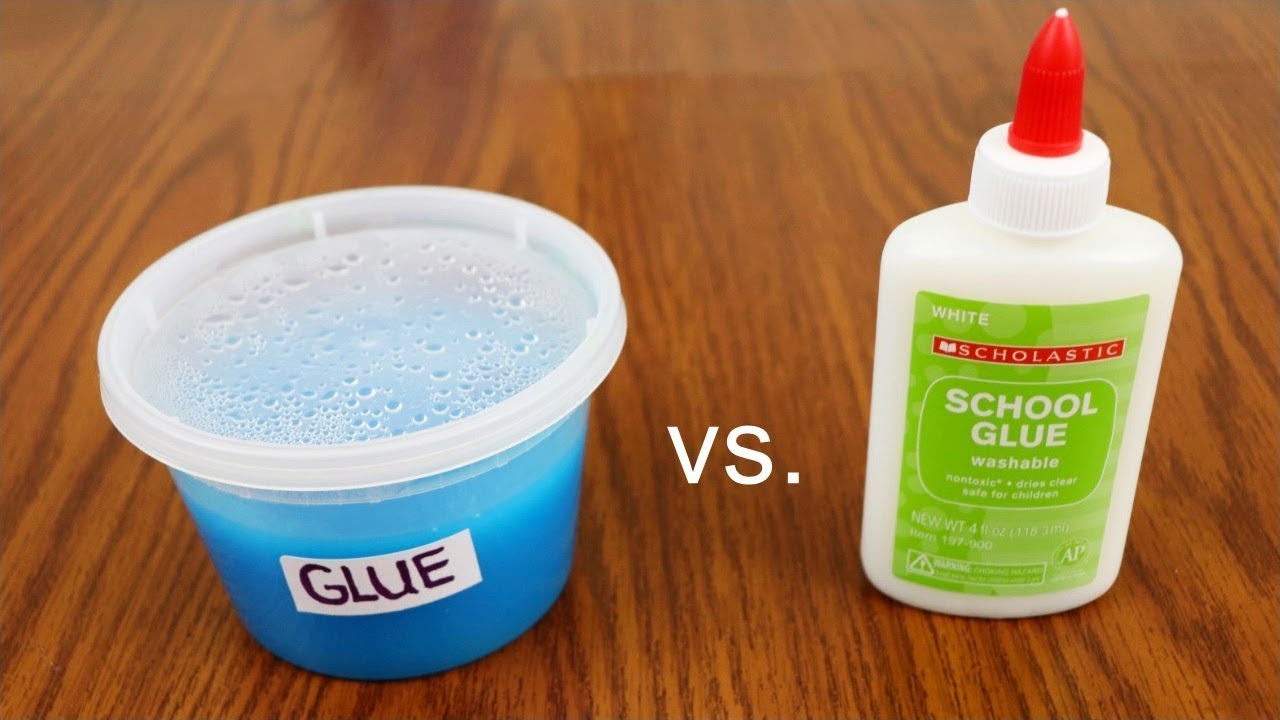
- Glue: The backbone of any slime recipe – it’s what gives slime its gooey texture.
- Borax or Contact Lens Solution: These act as activators that turn the glue into slime by creating cross-links between the glue’s protein molecules.
- Water: Often used to adjust the consistency and help mix ingredients evenly.
- Food Coloring and Glitter: Optional but oh-so-fun additions that bring sparkle and color to your homemade slime.
Step-by-Step Guide to Making the Perfect Slime Glue
Now, let’s get to the fun part: making your very own slime glue. It’s easier than you think, and you probably have most of these ingredients lying around your home!
Homemade Slime Glue Recipe
Before starting, make sure you have the following:
- Washable PVA glue (white or clear, depending on your preference)
- Borax or contact lens solution (containing boric acid)
- Warm water
- Measuring cups or spoons
- Mixing bowl and a spoon or spatula
- Food coloring (if you want to add a splash of color)
Follow these steps, and you’ll be on your way to homemade slime success:
- Start with a cup of PVA glue in a mixing bowl.
- If desired, stir in the food coloring until you reach the hue of your dreams.
- In a separate container, dissolve a teaspoon of borax into a cup of warm water. If you’re using contact lens solution, skip this step.
- Slowly add the borax solution or contact lens solution to the glue, stirring continuously.
- Watch as the mixture begins to form slime! The more you stir, the thicker it becomes.
- Once the mixture pulls away from the sides of the bowl and starts feeling like slime, it’s time to knead it with your hands.
Voilà! You’ve just created your own batch of slime glue, ready for hours of enchantment and play. Remember to store it in an airtight container to keep it from drying out – we want that magical slime experience to last as long as possible!
Kneading is a crucial step in achieving that perfect slime texture. It works out any lumps and ensures the activator is evenly distributed. Fear not if the slime feels too sticky after all your hard kneading; just add a touch more activator. But do so sparingly – too much activator can make the slime hard, and we’re aiming for the ultimate squish factor!
There you have it, friends! With this simple guide, you’re well on your way to earning the title of “Supreme Slime Master” in your household. Keep reading, as in the next section, we’ll discuss how to troubleshoot common slime dilemmas, and explore creative ideas to take your slime-making adventure to new heights of excitement and creativity.
Five Things Parents Should Know Before Making Slime Glue
1. Safety First
Whenever you embark on a DIY slime adventure, safety should be your top priority. Ensure that the workspace is clean, and all materials are non-toxic and safe for children’s use. Always supervise your kids during the process, especially when dealing with chemicals like borax or contact lens solutions that contain boric acid. Make sure little hands are washed thoroughly after the slime session!
2. Allergies and Sensitivities
Be aware of any allergies or skin sensitivities your children might have. The ingredients used in making slime glue, such as PVA glue or borax, can sometimes cause reactions. Consider wearing gloves or looking for hypoallergenic alternatives if sensitivities are a concern.
3. Trial and Error is Key
Don’t expect perfection on the first try. Making slime glue can be as unpredictable as it is fun. The ratios of glue to activator, the type of activator used, and even the humidity in the air can affect the outcome. Embrace the mess and view each batch as an experiment and a learning experience for you and your children.
4. Customization is Part of the Fun
One of the joys of making slime is the ability to customize it. Encourage your kids’ creativity by having a variety of food colorings, glitters, and even scent oils or beads on hand. However, introduce these extras one at a time to prevent the slime from becoming too brittle or runny.
5. Storage Solutions
Slime doesn’t last forever, but with proper storage, you can extend its life for quite a bit. An airtight container is crucial to prevent the slime from drying out. Consider date labeling your creations, as homemade slime tends to have a shorter shelf-life than store-bought varieties.
Common Slime Glue Troubleshooting Tips
Making slime glue might seem intimidating, but with a bit of know-how, you can quickly become a pro. Here are some quick tips to keep in mind:
- If your slime is too runny, add a bit more activator—a little at a time until reaching the desired consistency.
- Should the slime be too rubbery, kneading in a little warm water can help soften it.
- Keep in mind that temperature and weather can influence the slime’s texture. Warm hands and warm environments can make the slime stretchier.
- If the slime sticks to your hands, rub a bit of oil, like baby oil or cooking oil, onto them before kneading the slime.
- To remove slime from clothing or fabric, scrape off as much as possible, then pre-treat and launder as usual. Vinegar can help dissolve slime if necessary.
Take Your Slime to the Next Level
Now that you’ve got the basics down, it’s time to level up your slime game. Why not try adding some fun mix-ins for different textures and effects? Here are a few suggestions:
- Use glow-in-the-dark paint for a slime that lights up the night.
- Insert tiny foam beads for a crunchy, textural experience.
- Swirl in multiple food colorings to create a marbled or galaxy effect.
- Include magnetic powder for a slime that moves and reacts to magnets.
- Experiment with thermochromic pigment that changes color with temperature!
Sharing the experience of making slime strengthens the bond between you and your kids while nurturing their curiosity and creativity. So, gather your materials, roll up your sleeves, and get ready for some seriously sticky fun!
And remember, no matter how your slime turns out, the most important outcome is the laughter and memories you’ll create together. So happy sliming, and may your days be filled with oodles of stretchy, squishy joy!
See more great Things to Do with Kids in New Zealand here. For more information see here
Disclaimer
The articles available via our website provide general information only and we strongly urge readers to exercise caution and conduct their own thorough research and fact-checking. The information presented should not be taken as absolute truth, and, to the maximum extent permitted by law, we will not be held liable for any inaccuracies or errors in the content. It is essential for individuals to independently verify and validate the information before making any decisions or taking any actions based on the articles.


