
Mess-Free Fun: A Parent’s Guide to Making Glue Slime at Home
Welcome to the wonderful world of gooey, stretchy, and utterly delightful slime-making—a hands-on science experiment that doubles up as a sensory play activity for kids of all ages! If you’re a parent seeking creative ways to keep your little ones entertained, you’ve probably noticed that homemade glue slime has taken the world by storm. Fear not; making slime at home is not only easy, it’s also a fantastic way to bond with your children and spark their curiosity. Let’s dive into the nitty-gritty of how to whip up some homemade slime with just a few simple ingredients!
What You Need to Know Before You Start
Before we get into the thick of things (quite literally), there are a couple of safety notes and preparation tips you should keep in mind:
- Always supervise your kids: Slime-making is safe, but it should always be done under adult supervision, especially with younger children around.
- Choose the right space: Pick an area that is easy to clean, such as a kitchen table with a plastic tablecloth or a tiled floor.
- Wear old clothes: Slime can get messy, so ensure that everyone is wearing something they don’t mind getting a little sticky.
- Check for allergies: The basic slime recipe uses common household items, but it’s crucial to make sure no one is allergic to any of them.
- Gather all your materials first: Have everything you need at hand to make the process smooth and enjoyable.
Materials You’ll Need
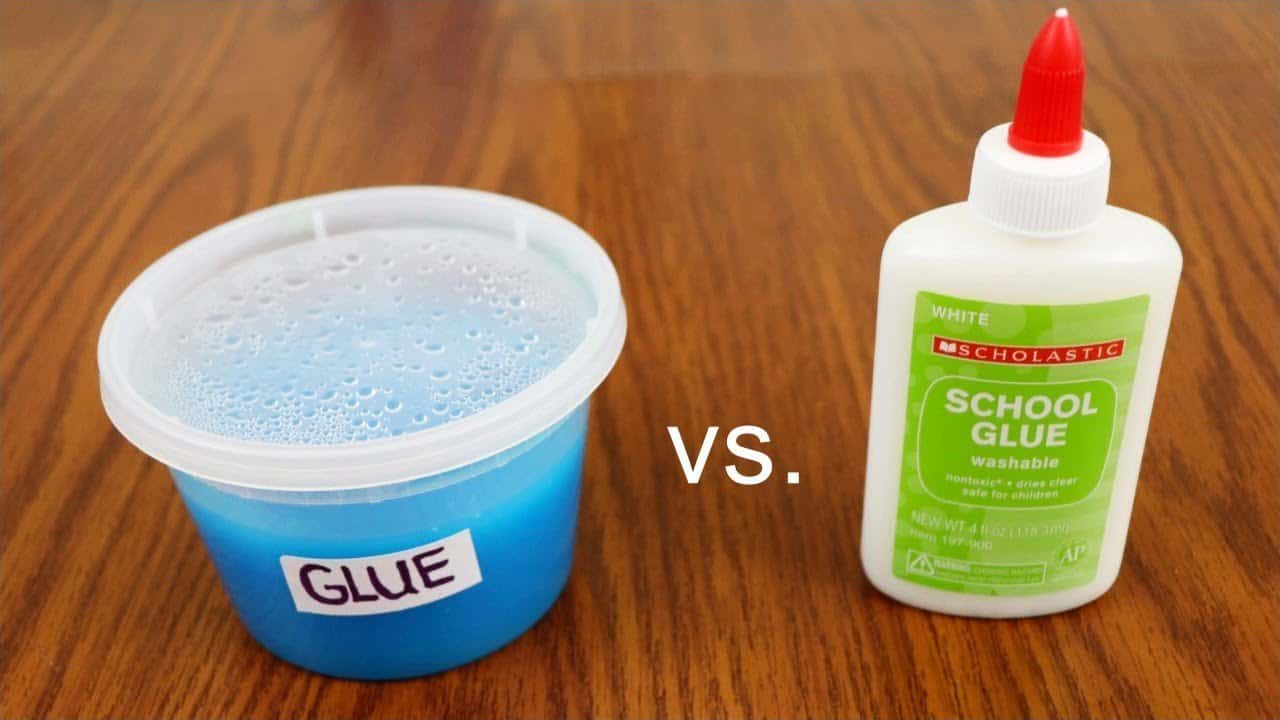
- White or Clear PVA School Glue
- Baking Soda
- Contact Lens Solution (containing boric acid and sodium borate)
- Food Coloring (if you want colored slime)
- Glitter, Beads, or Other Add-ins (optional)
- A Bowl for Mixing
- A Mixing Spoon or Spatula
- Measuring Cups and Spoons
Step-by-Step Guide to the Perfect Slime
1. Pour Your Glue
Begin by pouring a cup of PVA glue into your mixing bowl. This will be the base for your slime, and the amount you use will dictate how much slime you’ll end up with. Feel free to adjust depending on how much you’d like to make.
2. Add a Splash of Color
Now it’s time to personalize your creation! Add a few drops of food coloring to the mix. Whether you’re going for ocean blue, princess pink, or monster green, this is where your slime starts to come to life. Stir the coloring well into the glue until you achieve a consistent shade.
3. Mix in Baking Soda
Add a half teaspoon of baking soda to your glue mixture. This will help thicken the slime and give it the right texture. Mix the baking soda in thoroughly to avoid any clumps.
Stay tuned for the next steps in this slime-tastic journey, where we’ll talk about the magical activator and how to achieve the perfect slimy consistency. Get ready to roll up your sleeves and create the squishiest, stretchiest, and most sensational slime ever!
4. The Magic Activator: Contact Lens Solution
Here comes the science part that transforms a simple liquid into fabulous slime! Slowly add your contact lens solution to the mixture. Start with a tablespoon and mix it in well. The contact lens solution contains boric acid and sodium borate, which will react with the glue and turn it into slime. Keep adding the solution, mixing in between, until the slime begins to form and pull away from the sides of the bowl.
5. Time to Get Hands-on
Once the slime has started to firm up, it’s time to dive in with your hands. Knead and work the slime to really bring it together. Don’t worry if it’s a bit sticky at first—that’s part of the fun! Kneading the slime helps to improve its consistency. If it feels too sticky, add a little more contact lens solution, but be careful not to overdo it, or your slime might become rubbery.
Tips for Slime Success
Before we continue, let’s pause for some pro tips to ensure your slime experience is as smooth as the slime itself:
- Keep a bowl of soapy water nearby to clean sticky fingers easily.
- If the slime starts to stick to your hands, rubbing a little bit of any basic oil onto your hands can help prevent this.
- Store your slime in an airtight container to keep it fresh and squishy for playtime to come.
- Don’t dispose of slime down the sink, as it can clog your drains. Instead, throw it away in the trash.
- Creativity is key! Encourage your kids to experiment with different colors, add-ins, and amounts.
Remember, part of the fun of making slime is the trial and error. It’s a great teaching moment for kids to learn consistency, measurements, and patience!
Customizing Your Slime
Who says slime has to be simple? With these creative twists, your children can make their slime extra special:
- Add glitter for a sparkling effect that will dazzle in the light.
- Mix in small foam beads for a crunchy texture that adds an auditory element to slime play.
- Use glow-in-the-dark paint for a slime that lights up the night.
- Drop in a few scents, like vanilla or lavender oil, for a sensory experience that goes beyond touch.
- Incorporate small plastic toys or confetti for an eye-catching surprise inside the slime.
Slime Safety and Clean-Up
An important part of making slime is the clean-up afterward and ensuring safety at all times. Here are a few reminders:
- Non-toxic PVA glue is recommended for kid-friendly slime making.
- Always wash hands before and after playing with slime to prevent the spread of germs and chemicals.
- Keep slime and its ingredients away from pets, as ingestion could be harmful.
- If slime gets on clothes or fabric, soaking in warm soapy water will do the trick.
- Remember that although slime is non-toxic, it’s not meant to be eaten, so keep an eye on toddlers who may be tempted to taste it.
There you have it—making glue slime at home is a wonderful and easy activity that kids love and that can be spiced up in a multitude of ways. It encourages creativity, allows for sensory exploration, and even sneaks in a little bit of science learning, too. With this guide in hand, you and your children are all set to become master slimeologists!
See more great Things to Do with Kids in New Zealand here. For more information see here
Disclaimer
The articles available via our website provide general information only and we strongly urge readers to exercise caution and conduct their own thorough research and fact-checking. The information presented should not be taken as absolute truth, and, to the maximum extent permitted by law, we will not be held liable for any inaccuracies or errors in the content. It is essential for individuals to independently verify and validate the information before making any decisions or taking any actions based on the articles.


