
“`html
DIY Heat Bags: A Warm Comfort for Your Family
Hey there wonderful parents! Are you looking for a fun and functional DIY project to enjoy with your kids, or perhaps something soothing for those little aches and pains? Well, you’re in luck! Today, we’re diving into the cozy world of making your own heat bags – a snuggly solution that’s just a few stitches away!
What You’ll Need
Before we get stitching, let’s make sure we have all our cozy crafting components ready:
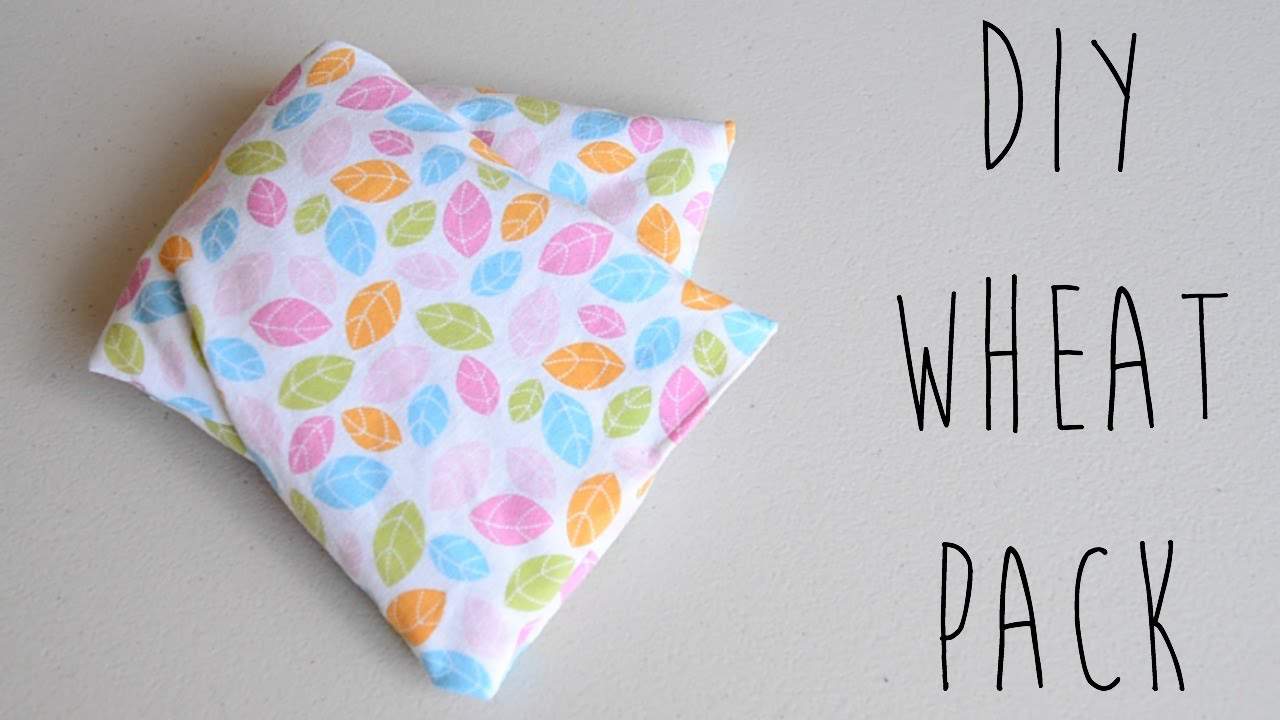
- Natural fabric: Cotton or flannel works wonderful wonders for your skin! Choose a fun pattern to add that personal touch.
- Filling: Uncooked rice is the most popular choice, but other grains like wheat, barley, or even dried beans can also do the trick!
- Thread: Good quality sewing thread will ensure your heat bag lasts through many warm snuggle sessions.
- Needle or sewing machine: Whatever you’re more comfortable with, both will get the job done.
- Scissors: For cutting your fabric to the perfect cuddle size.
- Funnel or spoon: This will help pour your filling without spilling the beans (or rice)!
- Lavender or chamomile (optional): If you fancy a scent-sational heat bag, adding some dried herbs can be a delightful detail.
Selecting Your Fabric
Let’s begin our craft by choosing the right fabric. Natural fibers are essential as they are heat-resistant and won’t melt in the microwave – safety first, crafters! And since this project is all about comfort and care, pick a pattern or color that brings joy to your heart – after all, happiness is handmade!
Cutting Your Fabric
Now that you have your fabric, lay it out on a flat surface and decide the size of your heat bag. A standard size is around 20x30cm (8×12 inches), but you can get creative! Want a tiny one for tiny hands or a large one for a big hug? Go for it! Remember to leave a seam allowance of about 1.5cm (about ½ inch) around the edges.
Cut two pieces of fabric to your chosen size – these will be the front and back of your cozy creation.
Assembling Your Heat Bag
With your fabric pieces cut, place them right sides together – we’re going to sew them nice and snug. If you’re using a sewing machine, stitch around the edges with a straight stitch, leaving about a 5cm (2 inch) gap unsewn for turning and filling. If you’re sewing by hand, a backstitch will give you the strength you need for a bag full of warmth.
Once three and a half sides are stitched, carefully turn your bag right side out. Ironing the edges will give you a crisp, professional look – because DIY doesn’t mean do-it-sloppy!
“`
DIY Heat Bags: A Warm Comfort for Your Family
Hey there wonderful parents! Are you looking for a fun and functional DIY project to enjoy with your kids, or perhaps something soothing for those little aches and pains? Well, you’re in luck! Today, we’re diving into the cozy world of making your own heat bags – a snuggly solution that’s just a few stitches away!
What You’ll Need
Before we get stitching, let’s make sure we have all our cozy crafting components ready:
Natural fabric: Cotton or flannel works wonderful wonders for your skin! Choose a fun pattern to add that personal touch.
Filling: Uncooked rice is the most popular choice, but other grains like wheat, barley, or even dried beans can also do the trick!
Thread: Good quality sewing thread will ensure your heat bag lasts through many warm snuggle sessions.
Needle or sewing machine: Whatever you’re more comfortable with, both will get the job done.
Scissors: For cutting your fabric to the perfect cuddle size.
Funnel or spoon: This will help pour your filling without spilling the beans (or rice)!
Lavender or chamomile (optional): If you fancy a scent-sational heat bag, adding some dried herbs can be a delightful detail.
Selecting Your Fabric
Let’s begin our craft by choosing the right fabric. Natural fibers are essential as they are heat-resistant and won’t melt in the microwave – safety first, crafters! And since this project is all about comfort and care, pick a pattern or color that brings joy to your heart – after all, happiness is handmade!
Cutting Your Fabric
Now that you have your fabric, lay it out on a flat surface and decide the size of your heat bag. A standard size is around 20x30cm (8×12 inches), but you can get creative! Want a tiny one for tiny hands or a large one for a big hug? Go for it! Remember to leave a seam allowance of about 1.5cm (about ½ inch) around the edges.
Cut two pieces of fabric to your chosen size – these will be the front and back of your cozy creation.
Assembling Your Heat Bag
With your fabric pieces cut, place them right sides together – we’re going to sew them nice and snug. If you’re using a sewing machine, stitch around the edges with a straight stitch, leaving about a 5cm (2 inch) gap unsewn for turning and filling. If you’re sewing by hand, a backstitch will give you the strength you need for a bag full of warmth.
Once three and a half sides are stitched, carefully turn your bag right side out. Ironing the edges will give you a crisp, professional look – because DIY doesn’t mean do-it-sloppy!
See more great Things to Do with Kids in New Zealand here. For more information see here
Disclaimer
The articles available via our website provide general information only and we strongly urge readers to exercise caution and conduct their own thorough research and fact-checking. The information presented should not be taken as absolute truth, and, to the maximum extent permitted by law, we will not be held liable for any inaccuracies or errors in the content. It is essential for individuals to independently verify and validate the information before making any decisions or taking any actions based on the articles.


