
Ultimate Guide to Making Play Dough at Home: Safe, Easy & Fun!
Welcome, creative parents! ? Are you looking for ways to stimulate your child’s imagination while also keeping their hands busy? Look no further! Making play dough at home is not only super easy and affordable but also a fantastic opportunity to bond with your little ones. In this guide, we’ll walk you through the simple steps to creating non-toxic, homemade play dough that’s perfect for hours of fun and play.
The Joy of Homemade Play Dough
Play dough has long been a staple in the world of childhood playtime. It sparks creativity, enhances motor skills, and quite frankly, it’s just plain fun. By making it at home, you can customize the colors, fragrances, and even textures. Plus, you’ll have the peace of mind knowing exactly what’s in it – making it a safe option for children of all ages. Let’s roll up our sleeves and dive into the world of DIY play dough!
Simple Ingredients, Endless Possibilities
Before we begin, let’s make sure we have all the ingredients you’ll need:
- Flour – The base of your play dough, providing structure and body.
- Salt – Acts as a preservative, so your play dough stays fresh longer.
- Cream of tartar – Helps with elasticity and extends the life of your play dough.
- Water – Hydrates the mixture for that pliable, doughy texture.
- Vegetable oil – Adds moisture and ensures your play dough doesn’t dry out.
- Food coloring or natural dyes – To get those vibrant colors that kids love.
Optional ingredients for extra fun:
- Glitter – For that magical sparkle.
- Essential oils – A drop or two for a pleasant scent and sensory experience.
- Alum – An additional preservative, if you don’t have cream of tartar.
Step-by-Step Instructions to Making Your First Batch of Play Dough
Now that you’ve got your ingredients, let’s start the fun part – making the play dough!
- Mix 1 cup of flour, 1/4 cup of salt, and 2 tsp of cream of tartar in a mixing bowl.
- In a separate container, combine 1 cup of water with a few drops of food coloring or natural dye until you achieve your desired color.
- Pour the colored water into the dry mixture, along with 1 tbsp of vegetable oil.
- Stir the mixture until it starts to form a sticky dough.
- Turn the dough out onto a flour-dusted surface and knead it, adding small amounts of flour if it’s too wet.
- Continue kneading until you have a smooth, non-sticky dough.
- If you want to add glitter or essential oils, now is the time! Fold them into the dough until evenly distributed.
And voilà! You’ve made your first batch of homemade play dough! Now, let’s make sure we store it properly so it can be used over and over again.
Storing Your Play Dough for Lasting Fun
Homemade play dough can last for months if stored correctly. Here’s how:
- Place the play dough in an airtight container or wrap it in plastic wrap.
- Keep it in a cool, dry place. You can even store it in the refrigerator if you like.
Remember to check the play dough before each play session for any signs of spoilage, and discard it if you notice any unusual odor or mold.
Ready-made play dough is wonderful, but homemade play dough has its special charm. Not only is it a delightful project for kids and parents alike, but it also encourages learning through play, sensory exploration, and the development of fine motor skills. So, go ahead, make a fresh batch of colorful play dough and watch your children’s imaginations come to life!
5 Things Parents Should Know When Preparing to Make Play Dough at Home
Before we get our hands doughy, there are some key things to keep in mind. Keep these tips in your back pocket to make your play dough creation a breeze:
- Choose the Right Surface: Pick a space that’s easy to clean, as making play dough can be a bit messy. A kitchen counter or a table with a wipeable surface works great. Spread out some wax paper or a silicone mat for even easier cleanup.
- Pre-measure Ingredients: To keep the process flowing smoothly (especially with eager little helpers), measure out all your ingredients beforehand. This will help you avoid any interruptions during the mixing process.
- Supervise and Encourage Participation: While this recipe is non-toxic and safe, it’s always good to keep an eye on your children as they participate. Encourage them to pour, mix, and knead under your guiding hands. It’s an excellent opportunity for them to learn and feel involved!
- Experiment with Natural Dyes: If you’re looking for a more natural approach, consider using natural dyes made from foods like beet juice for red/pink, turmeric for yellow, and spinach for green. Not only is it a healthier alternative, but it can also be an impromptu science lesson for your kids!
- Be Flexible and Have Fun: The beauty of homemade play dough is in its imperfection. Your play dough might not turn out exactly the same each time, and that’s perfectly fine. Encourage your children to enjoy the process as much as the product.
With these handy tips, you’re all set to embark on a fantastic play dough adventure. Remember, it’s all about creating joyful memories and fostering imaginative play. Let the rolling, cutting, and shaping begin!
Customizing Your Play Dough
In the midst of all the excitement, don’t forget that you can personalize your play dough to suit your child’s preferences:
- Add Textures: Mix in rice, bird seeds, or sand for a gritty texture that adds a new sensory dimension to your child’s play dough experience.
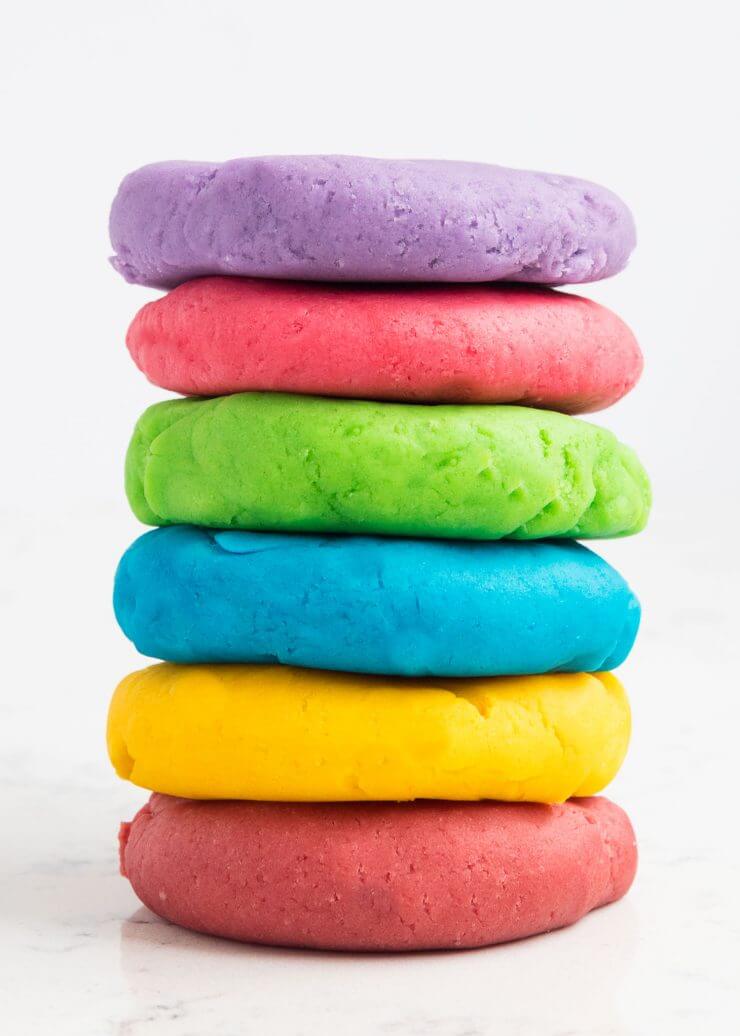
- Color Mixing: Play with primary colors, encouraging your child to combine them and discover new colors. It’s a hands-on lesson in color theory!
- Themed Play Dough: Create themed play dough by adding elements like pumpkin spice in autumn, peppermint around the winter holidays, or dried lavender in spring.
These additions not only spice up the fun but also keep the play dough experience fresh and exciting each time. As your kids experiment with different variations, they’ll learn more about their personal preferences and expand their creative thinking.
Engaging Play Dough Activities
Once you’ve created your delightful array of homemade play dough, put it to good use with these engaging activities:
- Alphabet and Numbers: Use cookie cutters to help your child learn letters and numbers with play dough – it’s edible education!
- Make-believe Bakery: Set up a faux bakery where your children can mold their play dough into pastries, bread, and cakes. A sweet way (without the cavities) to spark joy and encourage role play.
- Texture Scavenger Hunt: Have your little ones press different items from around the house into the play dough to see the variety of textures they can make, from fork tines to leaves from the garden.
With these versatile uses of homemade play dough, your children will not only enjoy endless hours of entertainment but also subtly pick up new skills and concepts. It’s a win-win!
Ready-made play dough is wonderful, but homemade play dough has its special charm. Not only is it a delightful project for kids and parents alike, but it also encourages learning through play, sensory exploration, and the development of fine motor skills. So, go ahead, make a fresh batch of colorful play dough and watch your children’s imaginations come to life!
See more great Things to Do with Kids in New Zealand here. For more information see here
Disclaimer
The articles available via our website provide general information only and we strongly urge readers to exercise caution and conduct their own thorough research and fact-checking. The information presented should not be taken as absolute truth, and, to the maximum extent permitted by law, we will not be held liable for any inaccuracies or errors in the content. It is essential for individuals to independently verify and validate the information before making any decisions or taking any actions based on the articles.


