
How to Make Play Dough: The Ultimate Guide for Creative Parents
Welcome, creative parents! If you’re looking for a fun, hands-on activity that encourages imaginative play and developmental learning, you’ve come to the right place! Homemade play dough is not only a blast to create with your kids, but it’s also a fantastic way to engage their sense of touch, improve fine motor skills and spark their creativity. So, let’s roll up our sleeves and dive into the wonderful world of DIY play dough!
Why Making Play Dough is the Perfect Activity for Kids
Making play dough at home has a bounty of benefits. It’s a non-toxic, cost-effective alternative to store-bought options. Plus, it provides an engaging sensory experience for children of all ages. When you make play dough together, you can tailor the colors, scents, and textures to your child’s preferences, making it a perfectly personalized plaything!
Ingredients You’ll Need for Your Homemade Play Dough
Before we get into the nitty-gritty of play dough production, let’s ensure you have all the necessary ingredients at your fingertips. Here’s what you’ll need:
- 2 cups all-purpose flour
- 3/4 cup salt
- 4 teaspoons cream of tartar
- 2 cups lukewarm water
- 2 tablespoons of vegetable oil (coconut oil works, too!)
- Food coloring (as desired)
- Essential oils (optional, for scent)
- Glitter or other fun add-ins (optional, for texture and sparkle)
Step-by-Step Instructions to Making All-Natural Play Dough
Step 1: Mix Your Dry Ingredients
Start by mixing the flour, salt, and cream of tartar in a large bowl. Make sure they’re well combined to ensure an even consistency in your dough.
Step 2: Add the Wet Ingredients
Next, slowly stir in the warm water and oil to the dry mixture. If you’re using food coloring or scent, now’s the time to add a few drops. Remember, a little goes a long way with food coloring!
Got everything mixed? Great! Now it’s time to cook up some play dough joy!
Step 3: Cook Your Dough
Transfer your mixture to a non-stick pan and cook over medium heat. Stir continuously until the dough begins to thicken and form a ball. Don’t worry if it looks a bit too gooey at first; it’ll start to come together as it cooks.
Our play dough adventure has only just begun! Stay tuned for more tips, tricks, and fun variations in the rest of our guide. Get ready to unleash a world of color, creativity, and developmental fun with your homemade play dough creations. Your kids will thank you for the squishy, shapeable memories!
5 Essential Tips for Parents Preparing Homemade Play Dough
As we continue on this exciting journey, here are five key things parents should bear in mind when preparing homemade play dough:
Tip 1: Safety First!
Ensure that all the ingredients you’re using are non-toxic and safe for your child’s age group. Homemade means you have control over what goes into the play dough, so opt for natural food coloring and taste-safe ingredients just in case some dough ends up in little mouths!
Tip 2: Consistency is Key
The texture of play dough can make or break the experience. Aim for a consistency that’s soft, pliable, and not too sticky. Adjust the amounts of flour and water if necessary. If the dough is too wet, add more flour; if it’s too dry, add a bit more water or oil.
Tip 3: Get the Right Tools
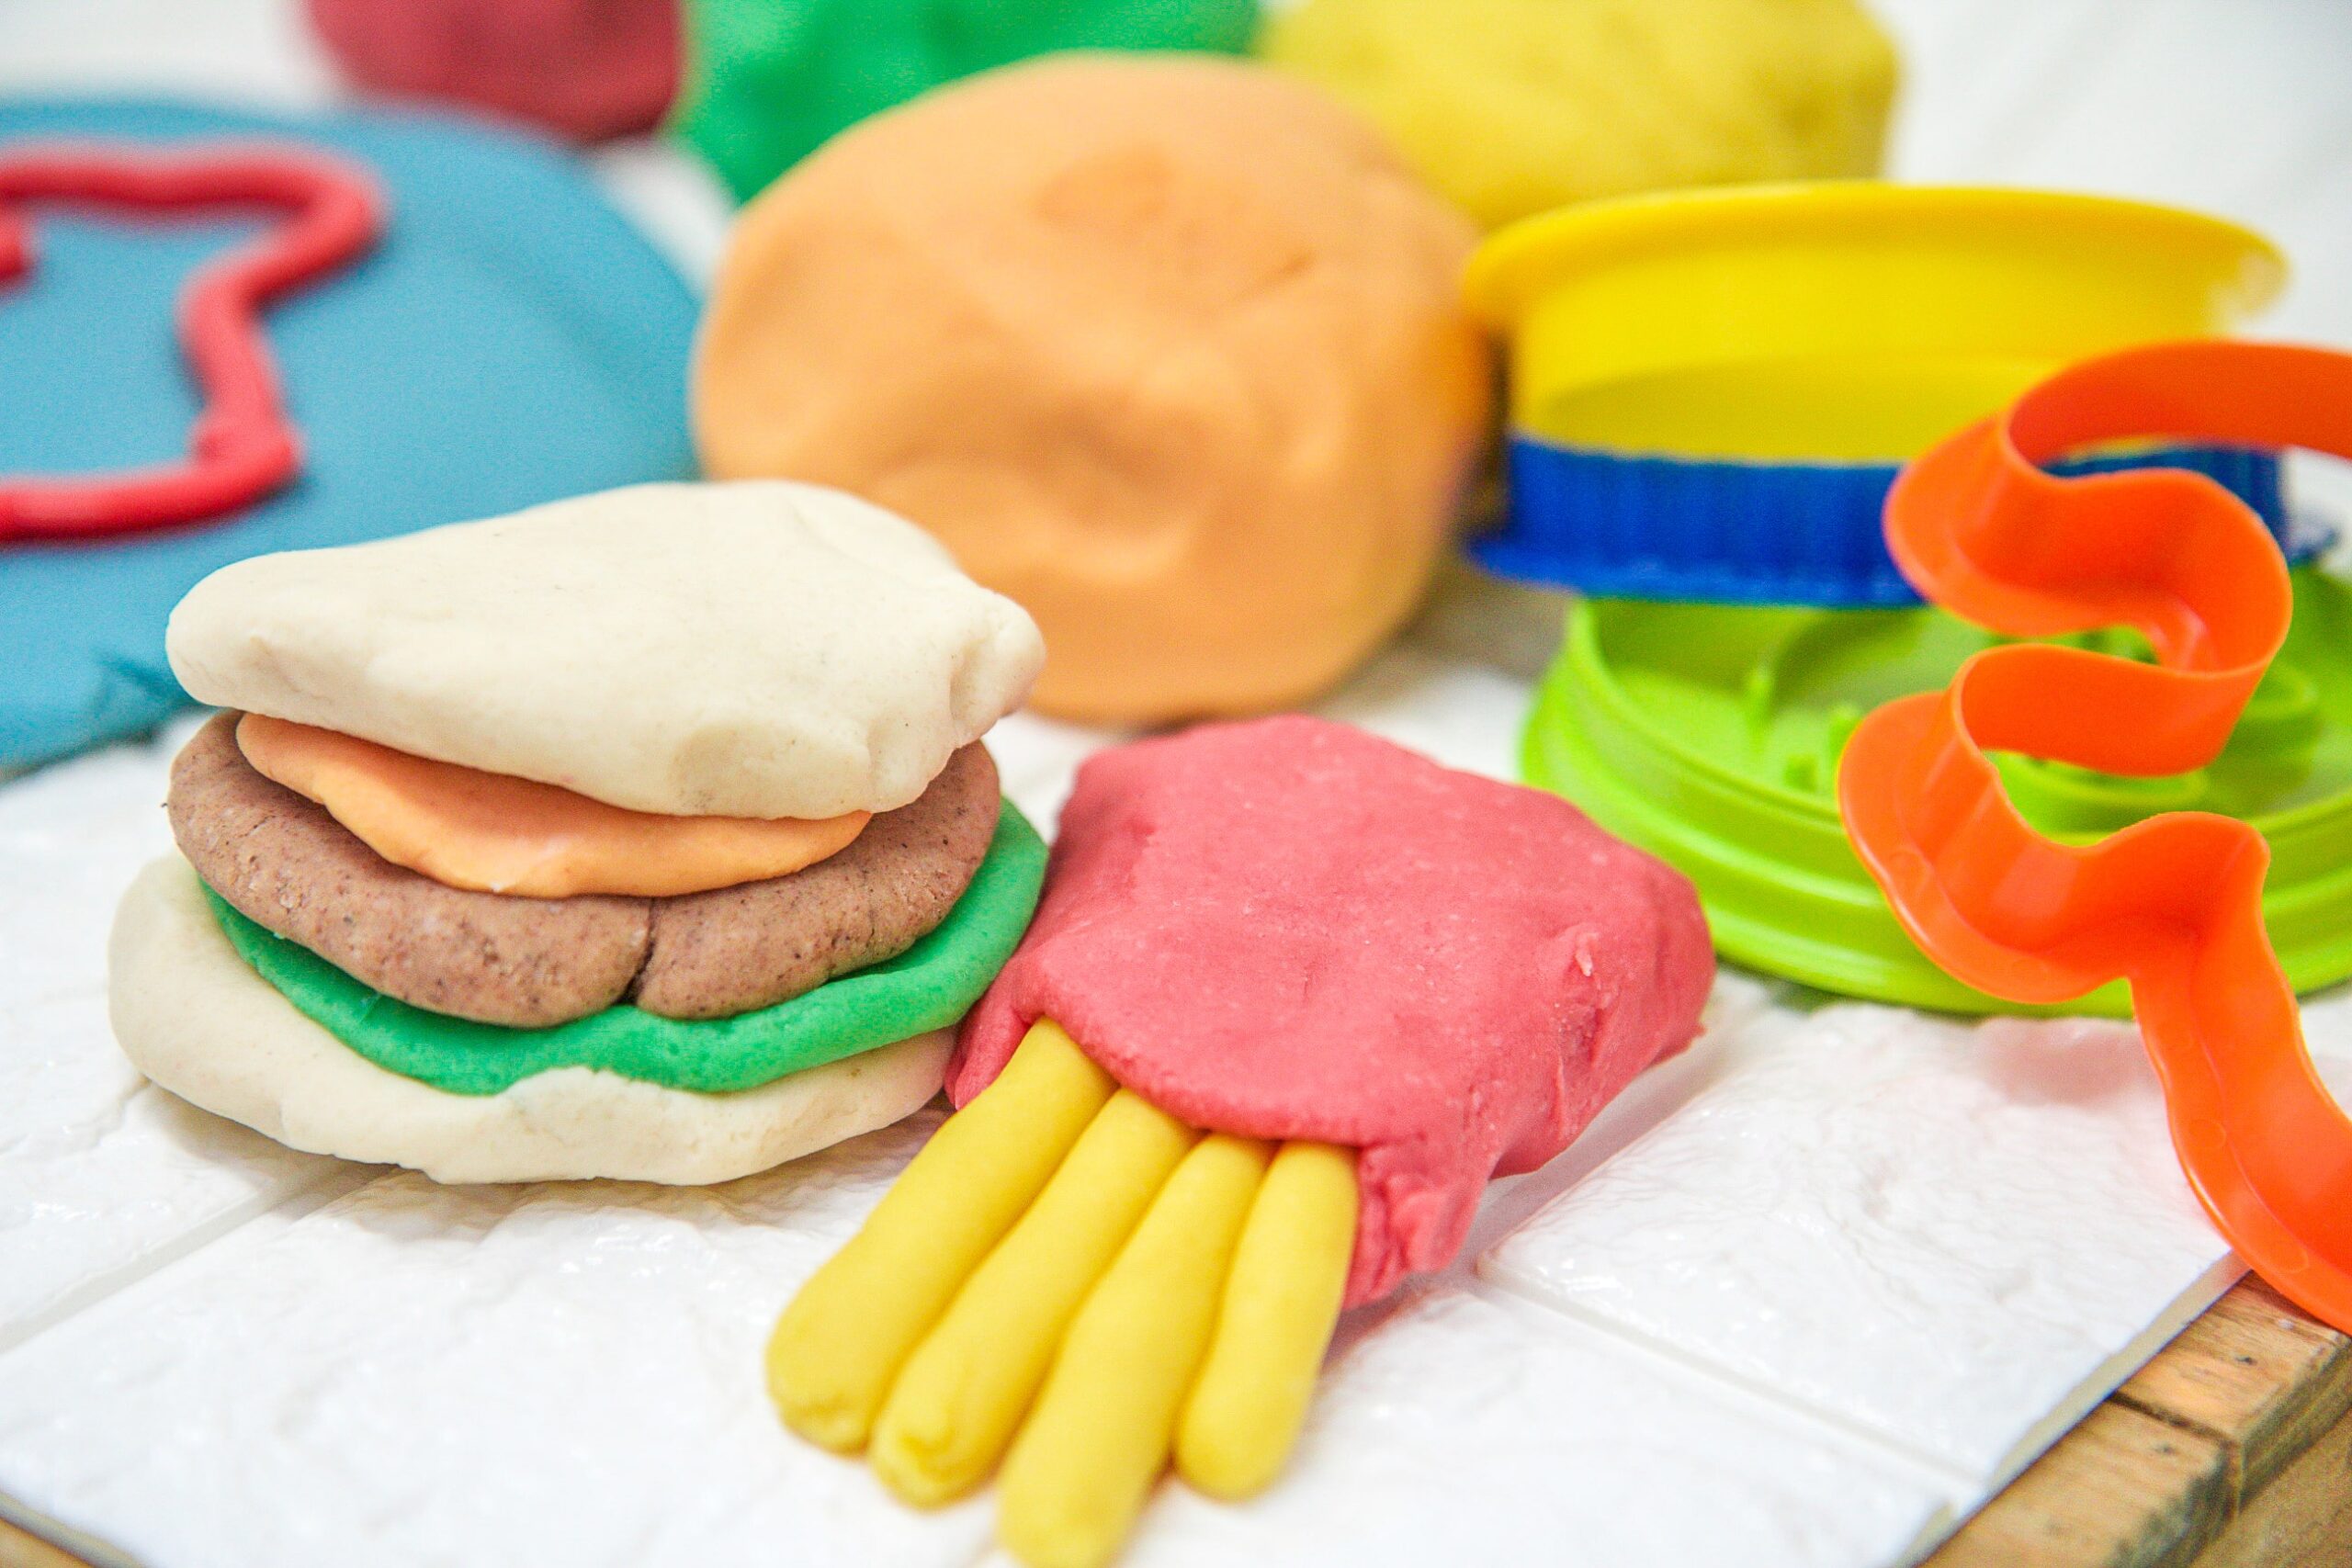
While your hands are the best tools to model and shape the play dough, having a few extra items can elevate the play time. Cookie cutters, plastic knives, rolling pins, and stamps are great companions to unleash your child’s sculpting talents.
Tip 4: Embrace the Mess
One of the joys of creating with play dough is getting a little messy. Prepare your space with newspaper, a tablecloth, or a silicone mat to make clean-up easier. Don’t stress about the mess; it’s all part of the creative process!
Tip 5: Storage Solutions
Your homemade play dough should last for a good while if stored properly. Once the creative play is over, store the dough in an airtight container or a ziplock bag. Keep it away from direct sunlight and it should remain soft for future play sessions.
Customizing Your Play Dough
One of the joys of homemade play dough is the infinite possibilities for customizing it. Whether it’s for a seasonal theme, a lesson plan, or just for fun, you can cater the dough to any event or interest. Add some pumpkin spice in the fall, peppermint around the holidays, or lavender to calm down before naptime. The sky’s the limit!
Remember, the process of making and playing with dough is as beneficial as the play dough itself. The simple act of measuring ingredients, mixing, and observing changes in the dough’s texture supports early math and science skills.
As your creations take shape, consider incorporating story-telling or role-playing play dough activities to further enhance your child’s language skills and imaginative exploration. You’ll find that play dough isn’t just a toy, but a tool for holistic development and family bonding!
Now, with these insights and your newfound skills, you are all set to become the ultimate play dough chef in the eyes of your eager little players. Have fun experimenting, laughing, and molding precious memories together. Keep kneading, cutting, rolling, and above all, enjoying every joyful squish of your homemade play dough!
. For more information see here
Disclaimer
The articles available via our website provide general information only and we strongly urge readers to exercise caution and conduct their own thorough research and fact-checking. The information presented should not be taken as absolute truth, and, to the maximum extent permitted by law, we will not be held liable for any inaccuracies or errors in the content. It is essential for individuals to independently verify and validate the information before making any decisions or taking any actions based on the articles.


