
Ultimate Guide to Homemade Play Dough: Fun, Safe & Easy!
Hey there, fantastic parents and guardians! Are you ready to dive into a world of color, creativity, and sensory play? Well, buckle up because you’re about to become the coolest playtime chef around! I’m here to guide you through the fun-filled journey of making your very own play dough right at home—safe, non-toxic, and with ingredients you likely already have in your pantry!
Why Homemade Play Dough?
Before we roll up our sleeves and get our hands doughy, let’s knead out a few reasons why homemade play dough is a brilliant idea:
- Non-toxic and Safe: Knowing exactly what goes into your play dough allows for a worry-free playtime, especially for those little ones who tend to explore with their mouths as much as with their hands.
- Cost-effective: Save your pennies! Homemade play dough can be made at a fraction of the cost of store-bought brands.
- Customizable: Want a rainbow of colors? How about glitter or scents? You’re in control. Let your and your child’s imagination lead the way.
- Sensory Experience: Squishing, rolling, and shaping play dough provides an excellent sensory experience for children, aiding in their development.
- Family Activity: Making play dough is a splendid way to spend quality time together, creating memories along with those squishy masterpieces.
Ingredients You’ll Need
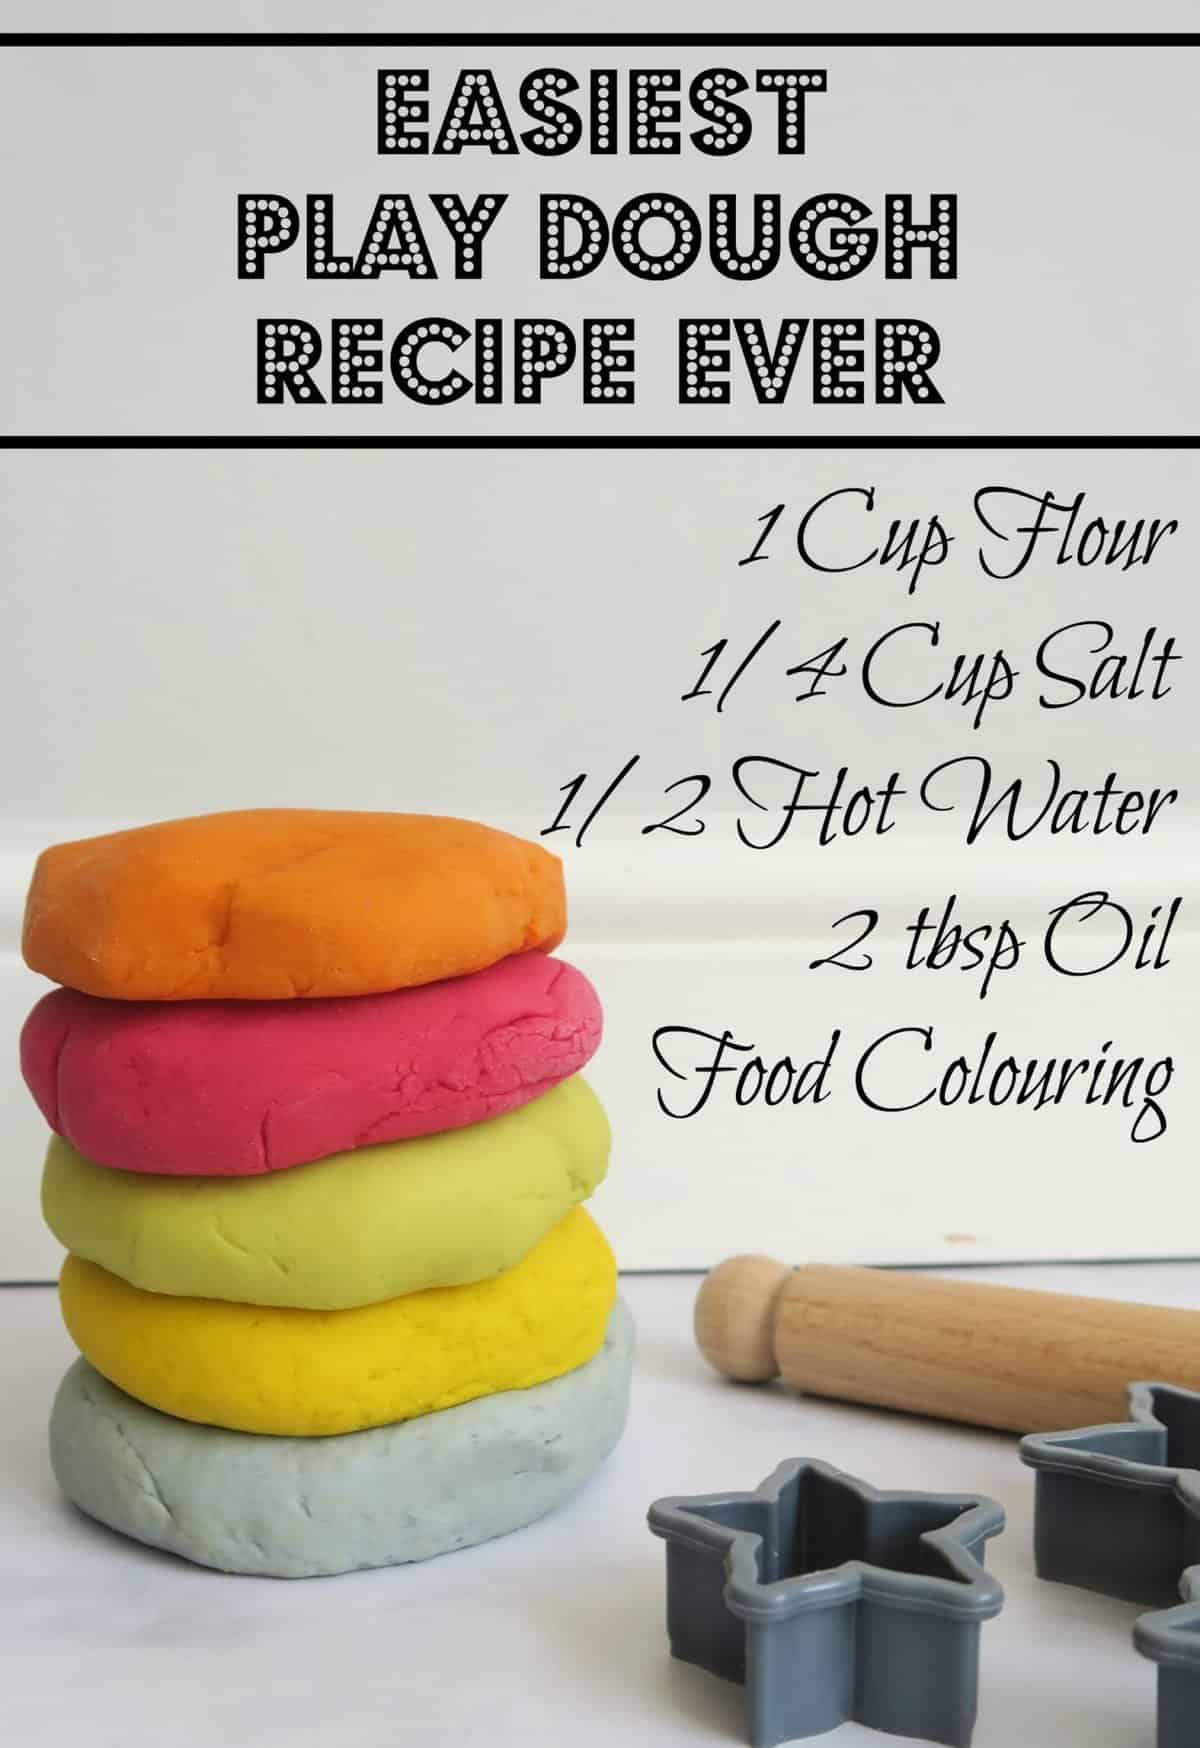
Let’s get started by gathering our ingredients for the basic play dough recipe. This simple recipe is just the beginning—we’ll talk about variations and add-ins later on. For now, here’s what you need for your foundational batch:
- 1 cup of all-purpose flour
- 1/4 cup of table salt
- 3/4 cup of water
- 1 tablespoon of vegetable oil (or any neutral oil you have)
- 2 teaspoons of cream of tartar (for elasticity and preservation)
- Food coloring (optional, for that pop of color)
- Essential oils or extracts for scent (optional)
Step-by-Step Guide to the Perfect Play Dough
Fantastic! With your ingredients on deck, let’s turn this pantry collection into a playful creation:
- The Mix: In a medium-sized pot, stir together the flour, salt, and cream of tartar.
- The Wet Ingredients: Next, add in the water and oil and give it a good mix. If you’re adding color, now’s the time! Drip in your favorite food coloring and blend it into the mixture.
- Heat it Up: Place the pot over medium low heat and stir continuously. Soon, you’ll notice the mixture starting to thicken and clump together.
- Dough Formation: Keep stirring until the mix pulls away from the sides of the pot and starts to form into a dough ball.
- Cooling Time: Remove your dough ball from heat and let it cool off a bit on some parchment paper or a clean countertop. If it’s a bit sticky, don’t worry–a little extra flour can fix that!
- Knead for Need: Once it’s cool enough to handle, knead the dough for a minute or two. This is where its smooth, pliable texture comes to life, and you’re also getting a neat little hand workout!
And just like magic, you’ve made your very own batch of homemade play dough! Get ready for the real fun as your kids cut, build, roll, and shape their doughy creations.
Remember, we’ve just begun our play dough adventures. There’s so much more to explore, from adding shimmering glitter to crafting a galaxy of colors. Keep reading to discover how to keep your play dough fresh, plus fun activities and tips for incorporating educational play. Let’s turn those rainy days into a burst of colorful joy and happy, messy hands!
Stay tuned as we continue to shape this guide into the ultimate resource for all your play dough needs. Because, dear parent, the play’s the thing, and now you’re ready to make it spectacular!
5 Things Parents Should Know Before Making Play Dough
As you embark on your play dough making voyage, here are some essential tips to keep in mind:
- Prepare Your Space: Choose a space that’s easy to clean, because making play dough can get a little messy. Cover your work surface with a plastic tablecloth, parchment paper, or non-stick mats. Keep a damp cloth or paper towels handy for quick clean-up.
- Allergy Check: Ensure that the ingredients you’re using are safe for your child, particularly if they have gluten or other sensitivities. You can find alternative recipes online that cater to different allergies.
- Choose the Right Pot: Use a pot that has a thick bottom to prevent the dough from burning or sticking too quickly. Non-stick pots work well for this step, making cleanup easier!
- Storage Solutions: After the fun and games, you’ll want to keep your homemade play dough soft and usable for as long as possible. Store it in an airtight container or a zip-seal bag. Squeeze out all the air before sealing to maintain its freshness.
- Creative Invitations: Set up playful invitations to entice your little ones to explore the dough. Provide cookie cutters, rolling pins, and other utensils. Not only does this enhance their play experience, but it also encourages the development of motor skills and creativity.
Keeping Play Dough Fresh and Fun
Homemade play dough can last a long time with proper care. Here’s how to extend its joyous lifespan:
- Avoid Water Contamination: Keep play dough away from water during playtime to prevent mold growth. If it does get a bit wet, simply work a bit more flour into it until it returns to the desired consistency.
- Refresh Your Dough: If play dough starts to dry out, you can revive it by kneading in a few drops of water at a time until it becomes pliable again.
- Monthly Dough Check: Do a quick check-up on your play dough once a month. If you see any signs of mold or it has a funky smell, it’s time to bid farewell and whip up a fresh batch.
Fun with Education: Learning through Play Dough
Turning playtime into a learning opportunity is a snap with play dough. Here are some ideas for educating as you play:
- Combine play dough activities with learning shapes, letters, and numbers by using dough cutters or creating them freehand.
- Introduce basic math concepts such as counting, adding, or subtracting with small, play dough balls or shapes.
- Boost color recognition and mixing understanding by blending different colors of dough together.
- Encourage storytelling and language development by creating characters and scenes out of play dough that you and your child can use to spin imaginative tales.
- Discuss textures and properties by comparing the softness of play dough to other materials and objects around the house, leading to a discussion about the senses.
With these tips and activities at your fingertips, you’re all set to foster a fun and educational environment with your homemade play dough. Embrace the mess, treasure the giggles, and unleash the infinite creativity that play dough brings. It’s time to make, play, and learn together!
See more great Things to Do with Kids in New Zealand here. For more information see here
Disclaimer
The articles available via our website provide general information only and we strongly urge readers to exercise caution and conduct their own thorough research and fact-checking. The information presented should not be taken as absolute truth, and, to the maximum extent permitted by law, we will not be held liable for any inaccuracies or errors in the content. It is essential for individuals to independently verify and validate the information before making any decisions or taking any actions based on the articles.


