
Make Your Own PVA Glue for Slime Fun: A Comprehensive Guide for Parents
Hey there, awesome parents! Are you ready to dive into the squishy, stretchy world of slime with your kiddos? Before you get your hands gooey, let’s talk about one of the essential ingredients you’ll need: PVA glue. Have no fear! Making PVA glue for slime at home is a breeze, and I’m here to guide you through it step-by-step.
Not only is homemade PVA glue perfect for a slime creation session, but it’s also a fantastic way to spend quality time with your little ones, teaching them some basic science, and unleashing their creative spirits. Plus, you’ll know exactly what’s going into your slime, so you can rest easy about its safety. So, without further ado, let’s get started on our PVA adventure!
Why PVA Glue for Slime?
First things first, why PVA glue? Polyvinyl acetate (PVA) glue is a versatile adhesive that’s typically used in schools and craft activities. It’s non-toxic, washable, and dries clear, which makes it the perfect base for making slime that’s safe for kids. When mixed with a few other simple ingredients, PVA glue transforms into that ooey-gooey texture kids love.
Ingredients For Homemade PVA Glue Slime
Gather up these items, and you’ll be on your way to making homemade PVA glue for slime:
- 1 cup White Flour
- 1 1/2 cups Water (divided into 1 cup and 1/2 cup)
- 1/4 cup Sugar
- 1 teaspoon Vinegar (for preservation)
And here’s what you’ll need for the slime-making proces:
- Homemade PVA Glue
- Food Coloring (optional for a pop of color)
- Borax Solution (1 teaspoon of borax powder dissolved in 1 cup of warm water)
- Mixing Bowls
- Spoon or Spatula
Step-by-Step Guide to Making Your PVA Glue
Making PVA glue at home is super simple, and it’s a great way to start your slime-making session. Here’s how:
- Prepare Your Ingredients: Make sure to measure out your ingredients before you start. This will make the process a lot smoother.
- Mix Flour and Water: In a large bowl, combine 1 cup of flour with 1 cup of water. Whisk it thoroughly to get rid of any lumps, creating a smooth paste.
- Cook the Mixture: Pour your flour and water mixture into a saucepan. Add your 1/4 cup of sugar and the remaining 1/2 cup of water to the pan. Cook the mixture over medium heat, stirring constantly, until it thickens.
- Add Vinegar: Once the glue has thickened and become smooth, remove it from heat and stir in 1 teaspoon of vinegar. The vinegar acts as a preservative which helps your PVA glue stay good for longer, especially if it’s not used right away.
- Cool It Down: Let your homemade PVA glue cool before you use it to make slime. You can speed up this process by placing the container in a bath of cold water or in the refrigerator. Just make sure it’s fully cool to ensure proper consistency for slime-making.
There you have it, your very own homemade PVA glue! Now it’s time to add some magical touches and turn this into the ultimate slime.
Creating The Perfect Slime With Your PVA Glue
With your PVA glue ready, you can start the slime-making process. Encourage your children to choose their favorite colors for the slime, or to mix different food colorings to create their own unique hue. Once the color is decided, it’s time to get slimy!
Remember, when making slime, always supervise your children to ensure they’re handling the ingredients safely and correctly. Not only is this a safe practice, but it’s also a chance to bond and make some amazing memories together.
Stay tuned for more on how to mix your homemade PVA glue with our slime activator to get the perfect texture that will provide hours of fun for your children!
Five Essential Tips for Parents Preparing Homemade PVA Glue for Slime
Before we get into the thick of slime-making, let’s go over some key tips that will help you prepare the best possible PVA glue for your kids’ slime adventures:
1. Allergy Check
Before beginning, ensure that no one participating is allergic to any of the ingredients. Flour is a common allergen due to its gluten content. If necessary, look for gluten-free alternatives to keep the fun safe for everyone.
2. Right Tools for the Task
Have the right sized mixing bowls and cooking tools ready. Working with a bowl that’s too small can be messy when mixing, so opt for bowls that give you plenty of room. Silicone spatulas work great for stirring and scraping down the sides of the bowl, while a good whisk can help prevent lumps in your mixture.
3. Slow and Steady Wins the Race
When cooking the mixture on the stove, maintain a medium heat and be patient. Rushing the process by cranking up the heat can lead to a burnt mess rather than smooth glue. Keep the stirring consistent and steady for the best results.
4. Storage Matters
If you make a larger batch of homemade PVA glue, store it in an airtight container to keep it fresh. Label the container with the date you made it, and remember that homemade glue may not last as long as the store-bought kind, even with the added vinegar for preservation.
5. Safety First
Although these ingredients are non-toxic, work in a well-ventilated area and keep the cooking process strictly to the adults or under close adult supervision. While the glue and slime are safe to touch, they are not safe to eat, so ensure kids understand not to put them in their mouths.
Comprehensive Slime-making with Homemade PVA Glue
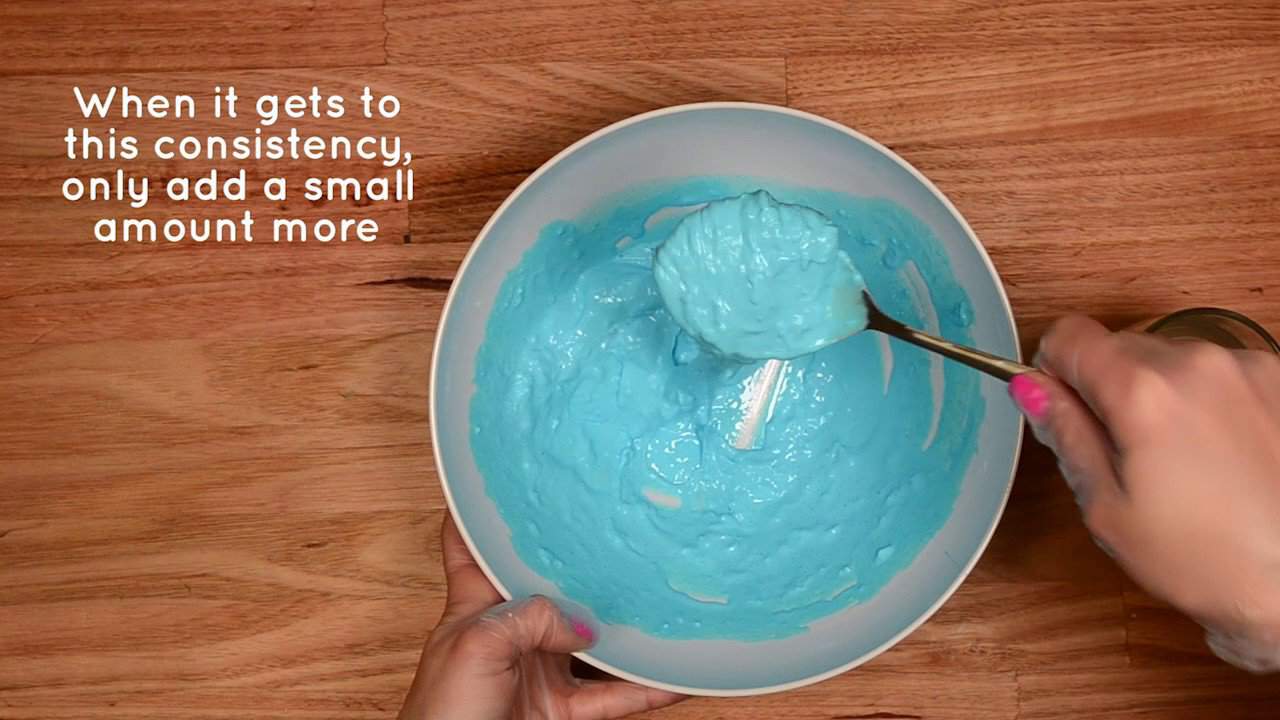
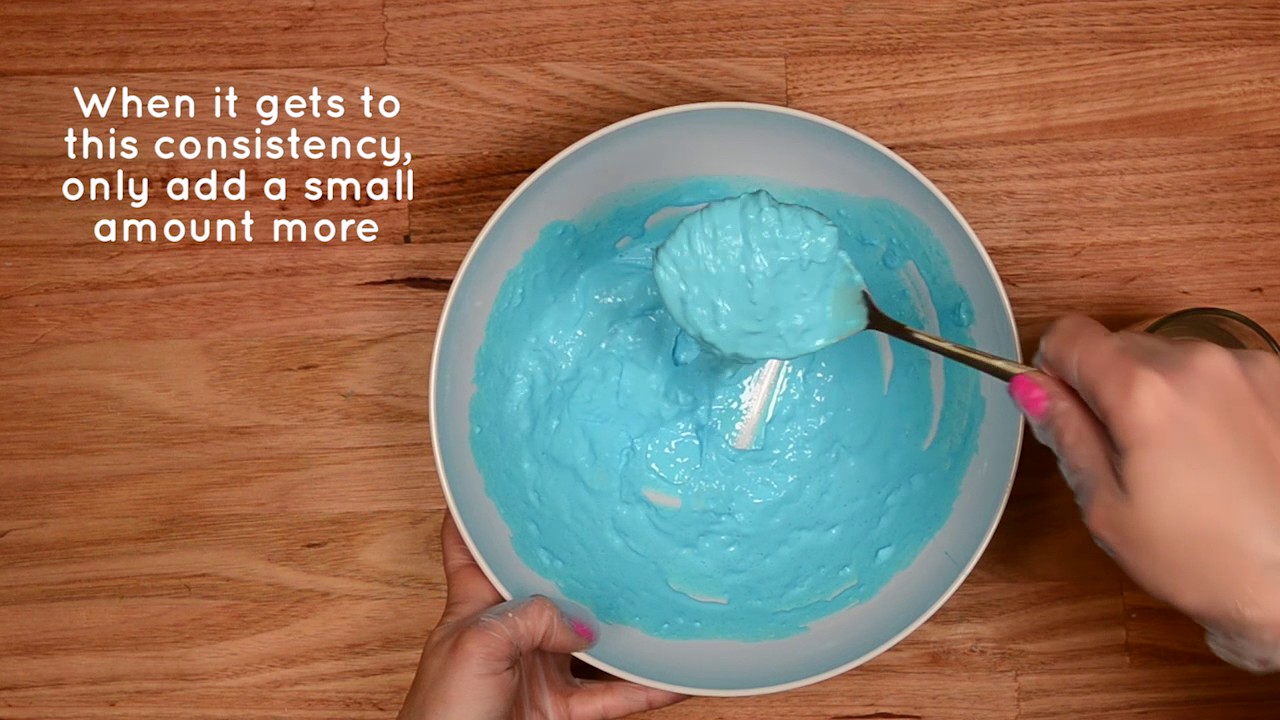
With your homemade PVA glue at the ready, your kids are probably bursting with excitement to get their hands on some custom slime. Let’s continue our adventure into slime-making with your freshly prepared glue. To get the perfect slime, mix your PVA glue with the borax solution gradually, stirring continuously until the slime begins to form. If you added too much activator and your slime is a bit stiff, no worries—just knead in a bit more PVA glue until you achieve a nice, stretchy consistency.
Slime-making with homemade PVA glue offers an excellent opportunity to teach your children about measurements, chemical reactions, and consistency. Encourage them to experiment with different quantities and techniques to create their very own slime recipes.
Lastly, remember to have fun with it! The magic of slime is not just in the ooey-gooey product but in the process of making it with your loved ones. Embrace the mess, enjoy the laughter, and cherish the memories you’re making together.
Stay tuned for more on how to mix your homemade PVA glue with our slime activator to get the perfect texture that will provide hours of fun for your children!
See more great Things to Do with Kids in New Zealand here. For more information see here
Disclaimer
The articles available via our website provide general information only and we strongly urge readers to exercise caution and conduct their own thorough research and fact-checking. The information presented should not be taken as absolute truth, and, to the maximum extent permitted by law, we will not be held liable for any inaccuracies or errors in the content. It is essential for individuals to independently verify and validate the information before making any decisions or taking any actions based on the articles.


