
DIY Baking Essentials: How to Make Self-Rising Flour from Plain Flour
Do you need self-rising flour, but all you have is plain flour? No worries! Our guide for busy parents will show you how to make your own in just a few minutes. Let’s get baking!
Why Make Your Own Self-Rising Flour?
Picture this: You’re in the middle of a fun baking session with the kids, the aprons are on, the oven’s preheated, and everything’s going great. And then, you reach for the self-rising flour, only to realize that the container is empty! Making your own self-rising flour is not only a convenient solution to this baking snafu, but it’s also:
- Cost-effective: You often save money by using ingredients you already have at home.
- Quick and easy: It takes less time to whip up a batch of self-rising flour than it does to run to the store for a new bag.
- Customizable: Adjust the leavening agents to suit your recipe’s needs, making your baking even better.
What You’ll Need
To transform your plain flour into self-rising flour, you don’t need a magic wand—just three simple ingredients:
- Plain flour (also known as all-purpose flour)
- Baking powder
- Salt
That’s it! You’re ready to create some alchemy in the kitchen. Plus, it’s a great way to show the kids a little bit of kitchen science in action!
The Simple Steps to Homemade Self-Rising Flour
Now that you have your ingredients, let’s turn that plain flour into self-rising wonder-flour! It’s as easy as 1, 2, 3:
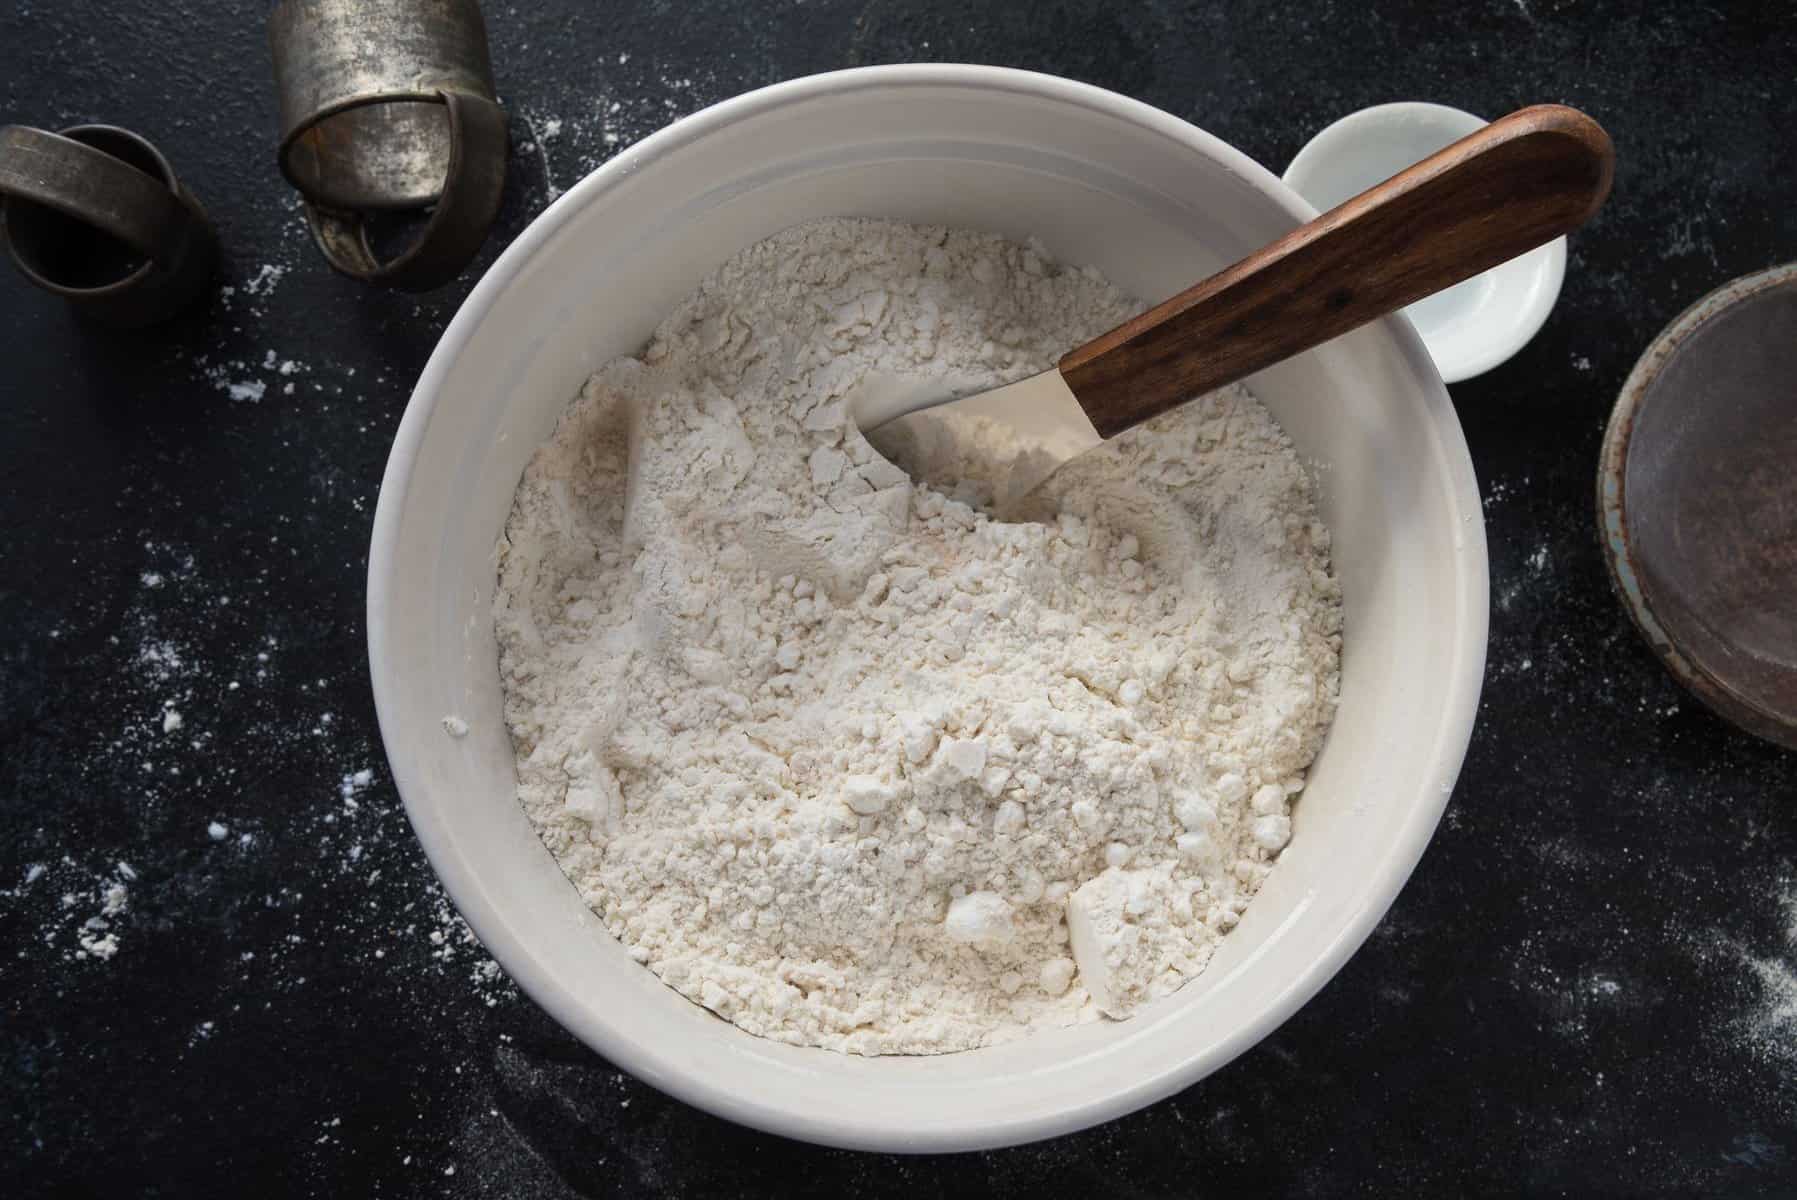
- Measure out 1 cup of plain flour into a mixing bowl.
- Add 1 1/2 teaspoons of baking powder.
- Add 1/4 teaspoon of salt.
Give those ingredients a good whisk or sift to make sure everything is thoroughly mixed. The goal here is to evenly distribute the baking powder and salt throughout the flour, ensuring that your homemade self-rising flour will produce beautifully risen baked goods.
Pro Tip: Involve the kids in this step! They’ll love seeing how each ingredient plays a role in the baking process, and sifting together flour can be a fun sensory experience for little hands.
Measuring Matters
When it comes to baking, accuracy is vital. To ensure your self-rising flour works as it should, it’s essential to measure your ingredients correctly. Using a kitchen scale can help with precision, but if you don’t have one on hand, no problem—use the “spoon and level” method:
- Spoon the flour into the measuring cup until it’s overfilled.
- Use the back of a knife to level off the excess flour, giving you an accurate cup.
This method prevents the flour from being packed down and helps mimic the accuracy of a kitchen scale. It’s a great teaching moment for kids to learn the importance of measuring when baking!
Storage and Shelf Life
Once you’ve made your self-rising flour, it’s good to know how to store it and how long it will last. Transfer your flour to an airtight container and label it with the date. Keep it in a cool, dry place away from direct sunlight. Your homemade self-rising flour will retain its raising power for up to four months—as long as the baking powder you’ve used hasn’t expired. Always check the expiration date on your baking powder before using it to ensure your baked goods will rise as expected.
DIY Baking Essentials: How to Make Self-Rising Flour from Plain Flour
Hey there, amazing parents! Are you gearing up for a baking extravaganza but just discovered you’re out of self-rising flour? Don’t you fret—it’s incredibly easy to whip up your own with plain flour, a dash of baking powder, and a pinch of salt. In this handy guide, we’ll show you how to make self-rising flour from plain flour so you can continue creating yummy treats with your little helpers!
Five Things Parents Should Know Before Starting
Before we jump into the flour magic, here are five key points to get you prepped and ready:
- Understanding the Components: Self-rising flour is plain flour that includes baking powder and salt. Knowing this helps you appreciate the chemistry behind your baked goods.
- Leavening Ratio Matters: Too much or too little leavening agent can throw off a recipe. Follow the measurements we provide to maintain the balance in your baked creations.
- Have Fun with Math: Baking is a perfect opportunity to teach your kids about measurements and ratios. Let them help with the measuring for a hands-on math lesson!
- Keep Ingredients Fresh: Ensure your baking powder is not expired to guarantee that lift in your baked goods. Fresh ingredients equal successful baking.
- Storage Is Key: Properly storing your self-rising flour extends its shelf life. Read on to learn how to keep your homemade flour fresh and effective.
With these points in mind, you’re set to go! Now, let’s make some self-rising flour!
Why DIY Self-Rising Flour?
Aside from being a super parent, you’re becoming a kitchen superhero with the ability to improvise and innovate under any circumstances. By turning plain flour into self-rising flour, you’re saving the day and ensuring the sweet smiles on your kids’ faces persist throughout your baking journey. Plus, you control the quality of the ingredients, serving up the best for your family.
Gathering Your Ingredients
Rally the troops because you’ll need their eager hands for this part. Here’s what each little sous-chef can bring to the table:
- A bag of plain, all-purpose flour—this is the base of all your delicious treats.
- A levered jar of baking powder—this is what gives your goods their fluffiness.
- A shaker of salt, which will help control the rise and add a touch of flavor.
Think of these ingredients as the magical trio of home baking. The transformation they’ll undergo will be an exciting science lesson for all!
Transforming Plain Flour into Self-Rising Glory
It’s time to mix, measure, and marvel at your homemade self-rising flour. Don’t forget to let the kiddos in on the action—measuring out and whisking together these ingredients could be the highlight of their day!
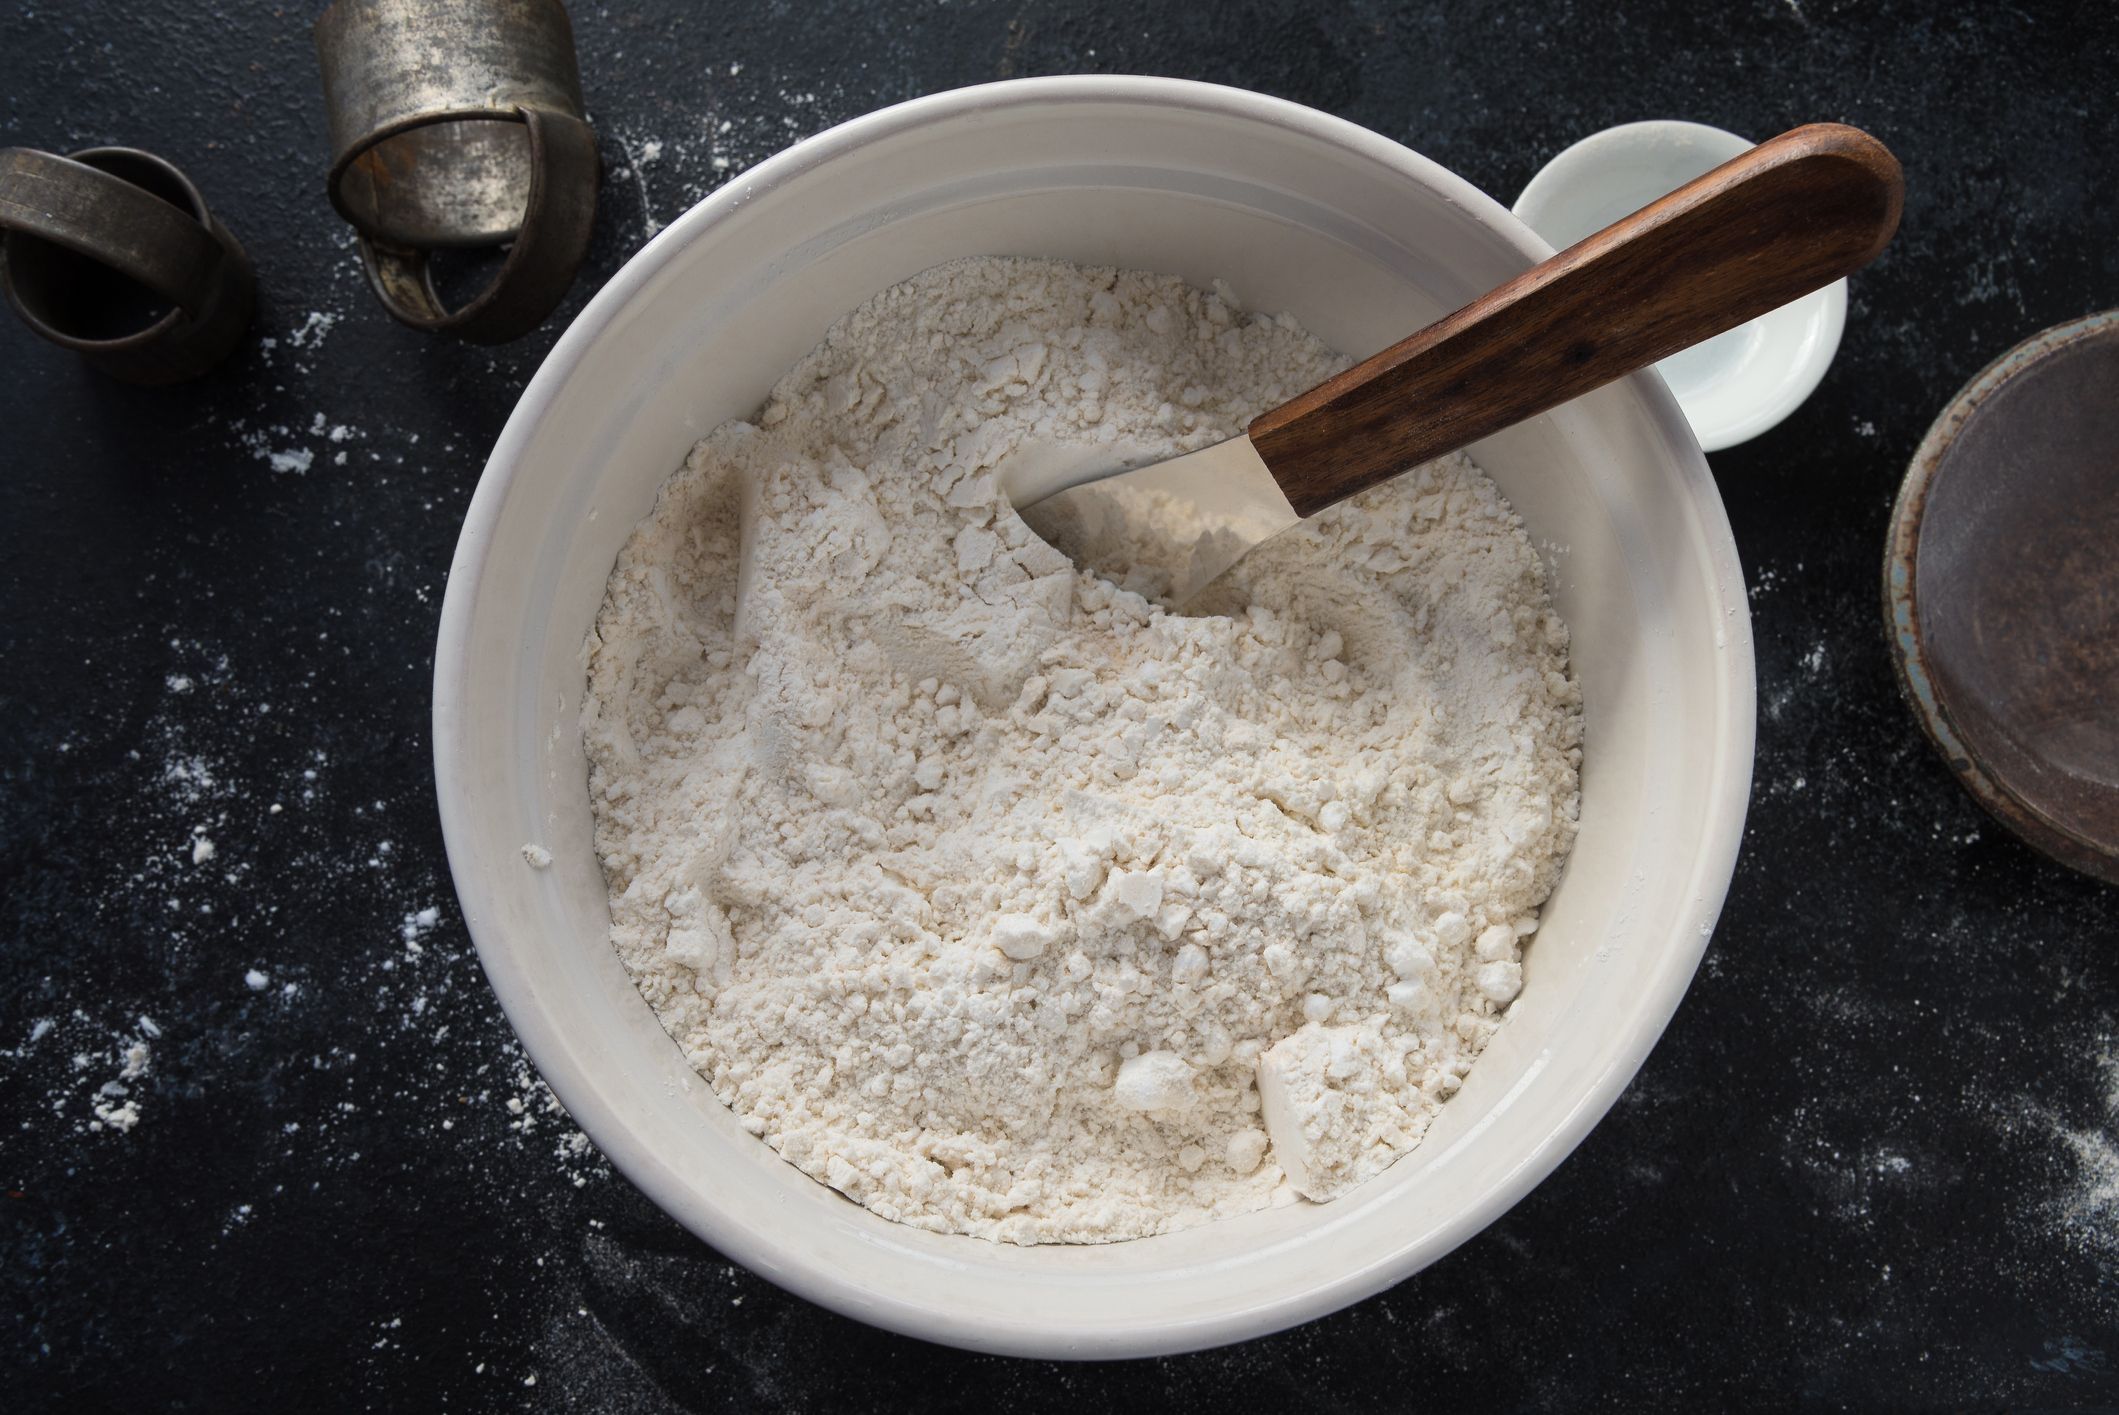
- Start with 1 cup of plain flour as your foundation for yummy results.
- Enlist 1 1/2 teaspoons of baking powder as your secret weapon for rise and fluff.
- Use just 1/4 teaspoon of salt to balance taste and texture.
Once these pals are together in a bowl, whisk them into one harmonious mixture. It’s important to mix them evenly to avoid any pockets of salt or baking powder.
Precision in Measuring
As much as we adore a ‘go with the flow’ approach to life, baking demands precision. So grab those measuring cups, and let’s show our kids how to measure like pros! Remember, even a little extra flour or baking powder can dramatically alter your results.
Storing Your Homemade Flour
After crafting such an essential ingredient, you’ll want to treat it with care. Storing your self-rising flour correctly not only extends its life but also ensures consistent results each time the kids are clamoring for your famous cookies or that super-moist cake.
For more great articles please see here. For more information see here
Disclaimer
The articles available via our website provide general information only and we strongly urge readers to exercise caution and conduct their own thorough research and fact-checking. The information presented should not be taken as absolute truth, and, to the maximum extent permitted by law, we will not be held liable for any inaccuracies or errors in the content. It is essential for individuals to independently verify and validate the information before making any decisions or taking any actions based on the articles.


