
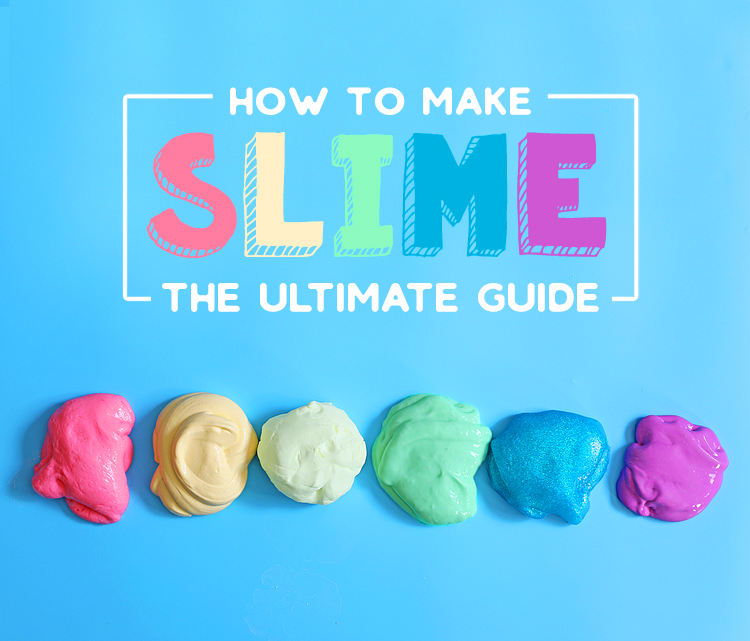
Delightful and Goopy Slime Making: A Parent’s Guide to Fun
Hey there, awesome parents and guardians! Are you ready to dive into the wonderfully squishy world of slime making? Not only is it a fantastically fun experience, but it’s also a stealthy way to mix in a little bit of science learning too! Making slime at home is a great way to bond with your kids and spark their creativity. Plus, it’s super easy and safe with the right guidance. Let’s embark on this gooey journey together—here’s your ultimate guide to creating that perfect batch of homemade slime!
What You’ll Need to Whip Up Some Slime-tastic Fun
First things first, let’s ensure you have everything you’ll need. The beauty of slime is that you can start simple or get as complex as your inner scientist desires. Here’s a basic list to get you started:
- Glue: Good old-fashioned white PVA glue is the slime-enthusiast’s best friend. Clear glue can also be used for a different look!
- Borax Solution: A key ingredient that acts as the slime activator—simply dissolve a teaspoon of borax powder in a cup of warm water.
- Bowls and Mixing Utensils: You’ll need a good-sized bowl for mixing and something to stir with—a craft stick or spoon works well.
- Food Coloring: This is optional, but it makes for a more visually appealing goo—get creative with color combinations!
- Add-Ins: Glitter, beads, foam balls, or scents—whatever tickles your slime-fancy. Remember, these are optional but can add some texture or sparkle to your slime.
Simple Slime Recipe: Your Go-To for Gooey Good Times
Now, let’s put those ingredients to good use. Here’s a simple slime recipe to start with:
- Take 1/2 cup of white PVA glue and pour it into your mixing bowl.
- Add a few drops of your choice of food coloring. Stir it in until evenly mixed.
- Now, it’s time to slowly add your borax solution to the glue mix. Begin by adding just a small amount (about a teaspoon at a time) and mix it thoroughly. As you continue to stir, you’ll notice the mixture becoming thicker – that’s your slime forming!
- Keep adding the borax solution slowly, mixing well after each addition, until the slime reaches a consistency you’re happy with. Typically, you won’t need more than 1/4 cup of borax solution.
- Once it’s pulled together, you can knead it with your hands. If it’s too sticky, add a little more borax solution. If it’s too stiff, add a bit more glue.
- Lastly, add any add-ins like glitter or beads, and fold them into your slime.
Voila! You now have a basic slime that’s ready for play. But don’t stop here! There’s a whole world of slime possibilities to explore. From fluffy slime to crunchy slime, to glow-in-the-dark slime—your creativity can run wild.
Understanding the Science Behind the Slime
While your kiddos enjoy their slimy creation, it’s the perfect chance to drop some knowledge. Slime is all about chemistry! When the glue (which contains polyvinyl acetate) mixes with the borax solution (which contains sodium tetraborate), they undergo a chemical reaction. This reaction forms long chains of molecules called polymers—a fancy way of saying ‘slime’!
Each recipe alteration can teach about viscosity, chemical reactions, or non-Newtonian fluids. Who knew playing with slime could be so educational?
Lovely parents, you are now equipped with the basics of making standard slime. But don’t let your explorations stop here! There are so many variations you can try: change up the colors, add different textures, or even experiment with magnetic or heat-sensitive additives for an extra dimension of fun.
Are you ready to see those bright eyes widen with excitement? Keep reading as we delve deeper into the slimy abyss, with additional recipes and pro tips waiting for you. The world of homemade slime is just a few ingredients away from being your new playground!
Happy slime making to you and your little scientists! Let’s make sure those smiles are as stretchy as the slime they’re about to create!
5 Things Parents Should Know When Preparing to Make Slime
Before you start the slime-making adventure, here are five essential tips to ensure a hassle-free and enjoyable experience:
1. Safety Comes First
Although slime ingredients are generally safe, always supervise young children during slime making. If you’re using borax, handle it with care and ensure that it doesn’t come into contact with your child’s mouth or eyes. It’s also a good idea to do a patch test to check for any skin reactions to the ingredients used.
2. Preparing Your Workspace
Slime-making can get a bit messy, so it’s smart to prep your workspace in advance. Lay down some old newspapers or a plastic tablecloth to protect surfaces. Keep some paper towels or wipes handy for any spills.
3. Measuring is Key
Following the recipe correctly is crucial for achieving the perfect slime consistency. Have your measuring tools ready, and encourage your kids to get involved in the measuring process—it’s great for learning about fractions and following instructions!
4. Customization is Half the Fun
One of the joys of slime is how much you can customize it. Whether it’s the color, the sparkle, or the assorted textures, let your children’s imaginations take the lead. Encouraging them to come up with their own ‘signature’ slime can be a wonderful exercise in creativity.
5. Slime Care and Storage
Once you’ve made the perfect batch of slime, you’ll want to keep it in tip-top shape. Store it in an airtight container to prevent it from drying out. If your slime ever feels a bit too stiff, kneading it for a while can bring back its stretchiness. A little bit of warm water mixed in can also rejuvenate slime that’s started to get tough.
With these five tips in mind, you’re all set for a fantastic slime-making session. Embrace the process and enjoy the smiles and giggles that come with the territory of slime exploration. Now, let’s learn more about troubleshooting common slime conundrums and discover more sophisticated slime recipes!
Advanced Slime Recipes and Techniques
Does your child yearn for something more than just basic slime? Are they eager to showcase their ‘slime-flair’? Here are some advanced recipes to quench their creative thirst:
Common Slime Troubleshooting
Every now and then, the land of slime crafting faces some sticky situations. If you find your concoction too runny, too stiff, or just not quite right, here’s a quick troubleshooting guide:
- Too runny: Add more activator (borax solution) in tiny increments until the desired consistency is reached.
- Too rubbery: You may have added too much activator. Try kneading in a few drops of water or some additional glue to soften it up.
- Not holding together: If it’s falling apart, you likely need a bit more activator. Add it in slowly and keep mixing until things start to bond.
Remember, slime-making is as much of an art as it is a science. It takes a little patience and experimentation to find the perfect mixture. But that’s part of the fun – figuring it out together with your little ones!
As your confidence grows, feel free to experiment with the different slime activators like liquid starch or contact lens solution & baking soda, and see what works best for you. There’s no one-size-fits-all recipe, and your perfect slime is as unique as you are!
Now that you’re prepared with all the sticky knowledge, it’s time to get your hands gooey! Continue unleashing your inner slime maestro, always remembering to savor these playful moments of joy and curiosity with your kiddos. The magical world of slime awaits!
. For more information see here
Disclaimer
The articles available via our website provide general information only and we strongly urge readers to exercise caution and conduct their own thorough research and fact-checking. The information presented should not be taken as absolute truth, and, to the maximum extent permitted by law, we will not be held liable for any inaccuracies or errors in the content. It is essential for individuals to independently verify and validate the information before making any decisions or taking any actions based on the articles.


