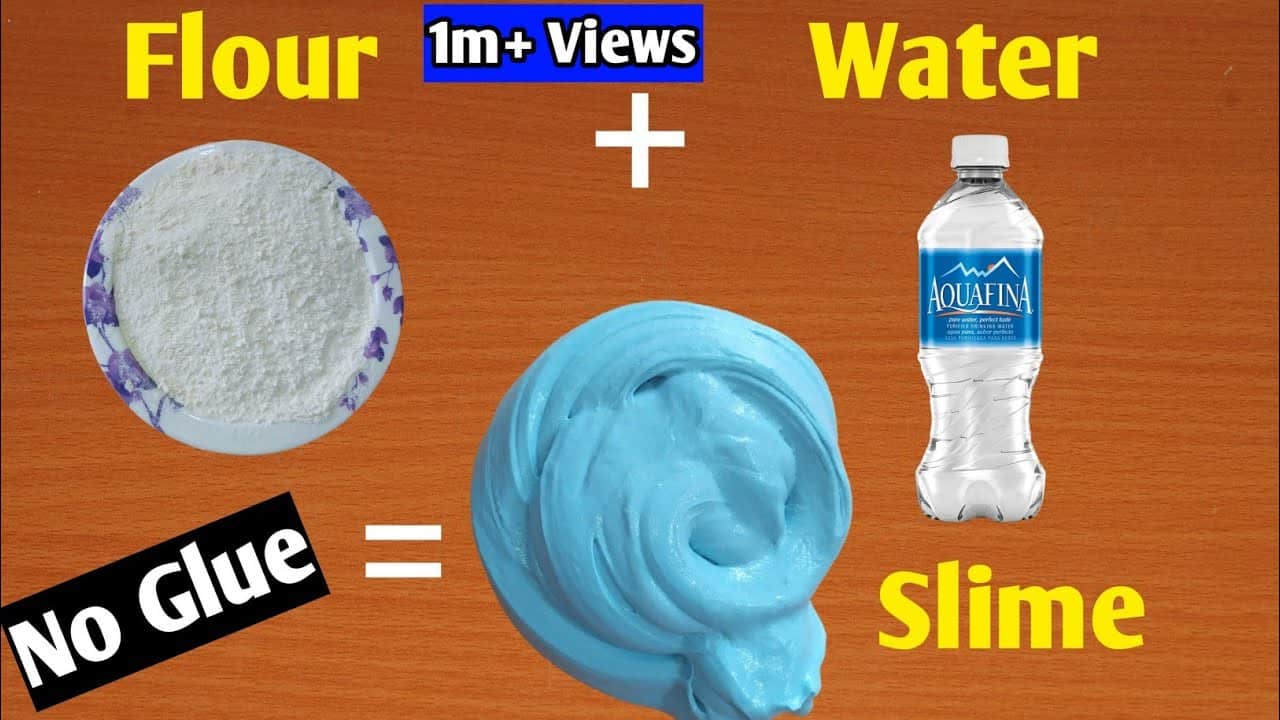
Discover the Joy of Slime-Making: A Parent’s Ultimate Guide
Welcome, creative parents and playful kids! If you’re on the lookout for a fun and easy project that will provide hours of entertainment, then you’ve come to the right place. Making slime has become a sensational activity that not only sparks joy in children but also brings out the inner child in adults. It’s an excellent way to engage in hands-on learning, explore science, and enhance creativity—all while creating something ooey, gooey, and endlessly amusing! In this guide, we’ll walk you through the simple steps of making slime, offer tips for customization, and ensure that you have all the messy fun without any fuss.
Why Making Slime is a Must-Try Family Activity
- Boosts Creativity: Slime-making encourages kids to experiment with colors, textures, and additives like glitter or beads.
- Educational: It’s a practical demonstration of basic chemistry principles in action.
- Sensory Play: Playing with slime can be a calming sensory experience for children, excellent for tactile development.
- Bonding Time: Slime-making is a fantastic way for families to spend quality time together, sharing laughs and creating memories.
Choosing the Right Slime Recipe for Your Family
Before diving into slime creation, decide on the type of slime you wish to make. There are several varieties, including classic slime, fluffy slime, butter slime, and more. Each has its own texture and charm, and the ingredients vary slightly. Don’t worry; we’ll guide you through a beginner-friendly recipe that can serve as a base for more advanced slimes as you become a seasoned slime-smith!
What You’ll Need to Get Started
Gather the following ingredients, and you’ll be all set for your slime adventure:
- 1 bottle of school glue (white or clear, approximately 4 oz)
- 1/2 teaspoon baking soda
- 1 1/2 tablespoons contact lens solution (must contain boric acid and sodium borate)
- Food coloring (optional)
- Glitter, beads, or other embellishments (optional)
And for tools, have handy:
- A mixing bowl
- A spatula or spoon for stirring
- Measuring spoons
Chances are, you have most of these items already at home. If not, a quick trip to the grocery or craft store will do the trick. Now, let’s make some slime!
Step-by-Step Instructions for Making Basic Slime
- Pour the Glue: Begin by emptying the bottle of glue into your mixing bowl.
- Add Some Color: If you’re using food coloring, now is the time to add a few drops to your glue and stir until you have a uniform color. For something sparkly, sprinkle in your choice of glitter or confetti.
- Baking Soda Time: Sprinkle the 1/2 teaspoon of baking soda into the bowl and mix thoroughly. This will help firm up your slime.
- Magic Activator: Slowly add the contact lens solution to the mixture, stirring continuously. You’ll notice the slime beginning to form and pull away from the sides of the bowl.
- Kneading: When the mixture becomes too stiff to stir, it’s time to get hands-on! Reach into the bowl and start kneading the slime with your fingers. If it’s still too sticky, add a few more drops of contact lens solution until you achieve a nice, stretchy consistency.
Congratulations! You’ve just made your first batch of homemade slime! Now you can squish, stretch, and mold to your heart’s content. Remember, the fun doesn’t stop here; there are endless ways to modify and personalize your slime creations, which we’ll explore in the following sections of this guide.
Slime-making is not only about the end product but also about the delightful process of creating something unique with your loved ones. As you embark on this slippery journey, be prepared for laughter, a bit of mess, and fantastic memories that will stick around much longer than the slime itself. So roll up your sleeves and let the slimy fun begin!
Stay tuned as we cover troubleshooting tips, answer common questions, and share more advanced slime recipes for our readers who are ready to take their slime to the next level! Happy sliming!

5 Things Parents Should Know Before Making Slime
1. Safety First
Before you begin your slime-making journey, understanding the safety implications is crucial. Always supervise your children during the process to ensure they do not ingest any ingredients. Moreover, make sure to use non-toxic, safe materials and check for any allergies, specifically to the ingredients in contact lens solution or borax, which are common activators in many slime recipes.
2. Preparation is Key
Having all your materials ready before you start will make the experience more enjoyable and less stressful. Lay out all the ingredients, cover your work surface with newspaper or a plastic tablecloth, and have paper towels or wipes on hand for quick cleanups. Preparing for potential mess helps keep the fun in crafting.
3. Customization Encouraged
Encourage your kids to express themselves by choosing slime colors, mix-ins like glitter or foam beads, and scents. This customization makes the activity more engaging, with each child creating a unique piece of slime art. Be prepared to let their imaginations run wild!
4. The Teachable Moments
Slime-making offers multidimensional learning opportunities. Use the activity to explain simple science concepts such as chemical reactions, properties of polymers, and the importance of measurements. Balancing fun and learning can enhance the experience significantly.
5. Embrace the Mess—and the Success
Accept that making slime can be a messy endeavor, but it’s one that leads to a lot of fun and creativity. Be patient as your child learns the ropes, as their first batch might not be perfect. Encouraging and celebrating their slime, imperfect as it might be, fosters a sense of accomplishment.
Ready, Set, Slime: Let’s Get Mixing!
Did You Know?
Slime has a science secret: it’s a non-Newtonian fluid, which means it can act like both a solid and a liquid depending on how you play with it. Press it hard, and it feels firm; let it flow through your fingers, and it oozes like a liquid. Your home is about to turn into a little science lab!
Troubleshooting and Common Slime-making Issues
It’s natural to encounter little hiccups while making slime, especially if you’re a newbie to the process. If your slime is too sticky, add a bit more activator. If it’s too runny, you’ve likely added too much; just sprinkle in a touch more baking soda to help it firm up.
With this comprehensive guide, you’ve got everything you need to know about making slime with your kids. Remember to have fun, enjoy the creative chaos, and cherish the memories you’re creating together. Now, go on and conquer the world of slime together with your little ones!
See more great Things to Do with Kids in New Zealand here. For more information see here
Disclaimer
The articles available via our website provide general information only and we strongly urge readers to exercise caution and conduct their own thorough research and fact-checking. The information presented should not be taken as absolute truth, and, to the maximum extent permitted by law, we will not be held liable for any inaccuracies or errors in the content. It is essential for individuals to independently verify and validate the information before making any decisions or taking any actions based on the articles.


