
“`html
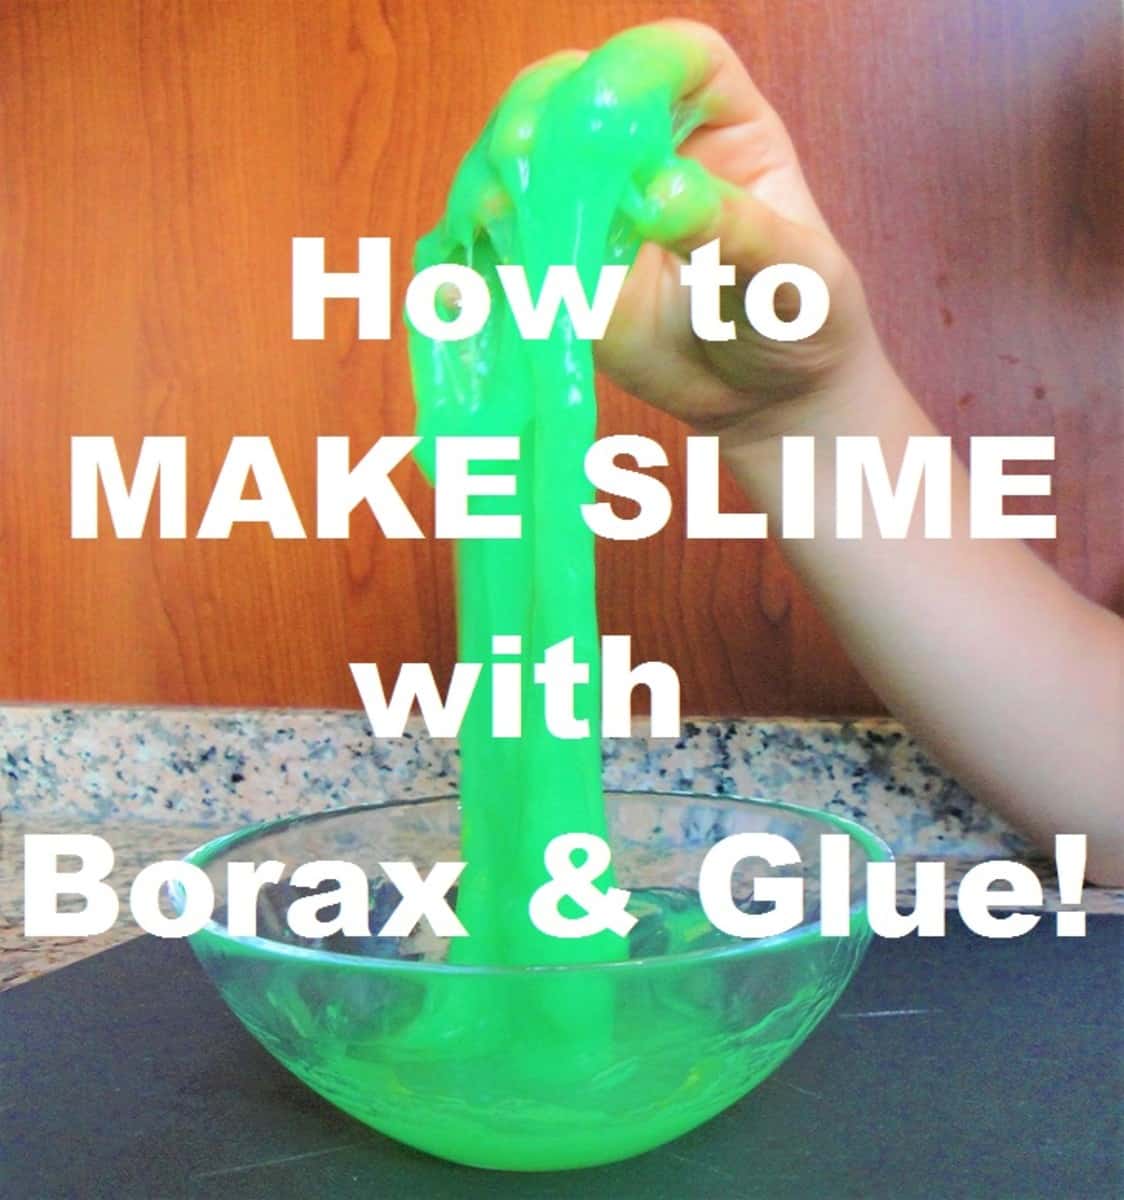
How to Make Slime with Borax: A Fun Guide for Parents!
Hello there, creative parents and fun-loving kids! Are you looking for a way to add a splash of excitement to your playtime? Look no further! Today, we’re bringing sunshine to your home with a delightful guide on how to make slime with borax! It’s going to be a hands-on, sticky, and oh-so-fabulous experience for the whole family. So, roll up your sleeves, because we are diving into the squishy world of slime-making!
Why Borax Slime Is The Way To Go!
When it comes to making slime, there are so many recipes out there, but borax slime is a classic. It’s known for its ideal texture, stretchiness, and just the right amount of ooze. Plus, it’s super easy to make with ingredients that are likely lounging in your home right this second!
The Ingredients You Need
- Borax Powder: The star of the show, borax powder works as an activator to turn your liquid ingredients into fabulous slime.
- White or Clear School Glue: The base of your slime, glue is a pivotal player in the slime-making game.
- Water: Good old H2O, split into two portions – one for dissolving the borax and one for mixing with glue.
- Food Coloring (optional): Want to jazz up your slime? Add a few drops of food coloring for a pop of color!
- Glitter or Beads (optional): For an extra sparkly touch, feel free to throw in some glitter or beads.
- A Mixing Bowl: Choose a bowl that’s big enough to mix your ingredients well without spills.
- A Stirring Tool: Maybe a spoon or spatula—that’s your magic wand in the slime-making ritual.
Getting Started: The Slime-Making Process
- Prepare the Borax Mixture: Start by dissolving 1 teaspoon of borax powder into one cup (240 ml) of warm water. Stir until the borax is completely dissolved and set aside.
- Mix the Glue and Water: In your mixing bowl, take 1/2 cup (120 ml) of white or clear school glue and mix it with 1/2 cup (120 ml) of water. If you’re using food coloring, now is the time to create your perfect shade.
- The Magic Moment – Combine: Gradually add the borax mixture to the glue mixture while stirring continuously. You’ll see the concoction begin to thicken and stick together. Keep stirring; you’re nearly there!
- Knead the Slime: Once the mixture becomes thick enough to clump together, it’s time to get those hands messy! Remove the slime from the bowl and begin kneading it. If it feels too sticky, add a little more of your borax mixture until you reach a perfect, gooey consistency.
Tips for Perfect Slime Every Time
Now that you’ve got the basics, here are some nifty tips to make sure your slime is the envy of all playdates:
- Patience is key! The more you knead your slime, the better it will turn out.
- If your slime is too stiff, add a bit more water. Too runny? A pinch more borax solution might do the trick.
- Always store your slime in an airtight container to keep it fresh and ready for play.
- Remember, borax is a cleaning agent, so keep it out of reach from very young children and supervise your kids during slime playtime.
Making slime with borax is not just about the end product; it’s a fun and educational activity that allows you to bond with your children, teach them about simple chemical reactions, and encourage their creative expressions. Social share buttons may also urge readers to share the experience with friends and family. Now, gather your ingredients and let’s make this a slime adventure to remember!
“`
This beginning HTML content provides a cheerful and instructive guide for parents about making slime with borax. It’s complete with SEO-optimised meta tags, a welcoming introduction, an engaging list of ingredients, step-by-step instructions, and additional tips to ensure the most fun and successful slime-making experience. The article is designed to be visually appealing and accessible while containing the helpful information needed for parents to confidently make slime with their children.
Five Things Parents Should Know Before Making Borax Slime
Embarking on the slime-making journey can be both exciting and a tad daunting, but fear not! To ensure a smooth and joyous experience, here are five essential things to keep in mind:
- Safety Comes First: Borax, while a common household item, is also a chemical cleaner. Handle it with care and ensure kids do not ingest it or get it into their eyes. It’s a great opportunity to imbue a lesson in safety and responsibility!
- Picking the Right Spot: Choose an area that’s easy to clean, like a kitchen counter or a covered craft table. Making slime can get a bit messy, so a space that’s spill-friendly makes for stress-free fun.
- Dress for Success: Wear old clothes or aprons and consider gloves, especially if you’re worried about sensitive skin or messes. Slime can get on your clothes, and while it’s washable, it’s better to play it safe!
- Measurements Matter: Slime-making is almost like baking; you need the right amount of ingredients for perfect results. Keep the measurements of borax and other components precise to get that spot-on stretchy and squishy texture.
- Customization is Key: Personalize the experience! Use food coloring, glitter, beads, or even glow-in-the-dark paint to add a personal touch. It’s a fabulous way to let kids’ imaginations run wild and make their slime truly unique.
Ensuring a Fun Slime-Making Session
With our ingredients ready and safety tips in check, let’s ensure we have a blast. Here’s how to turn slime time into prime time:
- Get Creative: Encourage your kids to experiment with colors and add-ins. This not only fosters creativity but also makes the slime their very own masterpiece.
- Turn it into a Learning Moment: Discuss the science behind the slime! Explain how borax acts as a binder for the polymer molecules in the glue, a great mini chemistry lesson.
- Include Everyone: Slime-making is perfect for all ages, so get siblings and even friends involved. It’s a terrific way to facilitate teamwork and sharing.
- Have a Slime Showcase: Once the slime is made, have a ‘show and tell’ or a ‘slime fashion show’. Kids will love displaying their creations and talking about the process.
After the Slime Party
After your slime experience winds down, it’s helpful to know the best way to clean up and store your creations:
- To clean up any residue, let the slime dry out a little; it becomes much easier to lift off from surfaces.
- For fabrics, rubbing alcohol can help in removing slime. Just be sure to do a spot test on the material first!
- Store your slime in an airtight container or ziplock bags to keep it fresh. It’s usually best when played with within a week.
There you have it folks, a comprehensive, gooey, and splendid guide to the wonder-filled world of borax slime-making. With just a few household items and a dash of imagination, you can create memories and masterpieces that stretch much further than your newly made slime. So, what are you waiting for? Let’s make some slime!