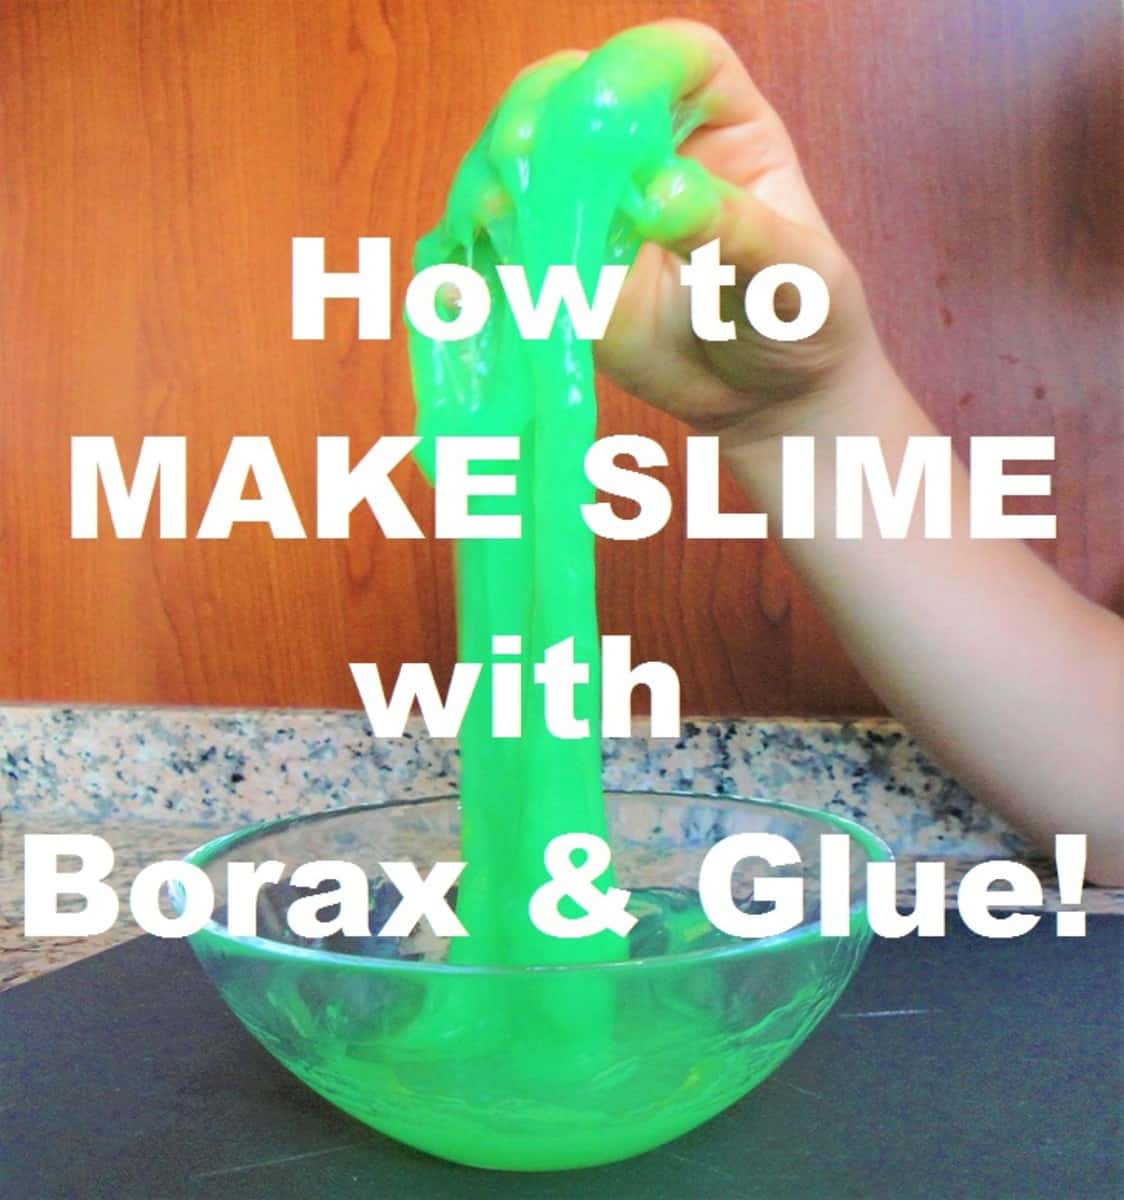
How to Make Slime with Borax: The Ultimate Guide for Parents
Hey there, awesome parents! ? Are you ready to dive into the squishy, stretchy world of slime-making with your little ones? Well, you’re in luck because we’ve got the perfect activity for a fun-filled afternoon. Making slime with Borax not only provides hours of play but also a great learning experience for the kiddos (shhh, they don’t need to know that part ?). So, roll up those sleeves, gather ’round the kitchen table, and let’s get started on this gooey adventure!
Why Slime, You Ask?
Slime is the craze that just won’t quit, and let’s face it—kids LOVE it. And guess what? It’s even got some hidden perks! It can be a sensory play that helps with fine motor skills, and it’s a super cool way to introduce basic chemistry. Plus, it’s an amazing bonding opportunity for you and your children. So what’s not to love?!
What You’ll Need to Create Your Own Slime
- Borax powder: This is our star ingredient for creating that perfect slime consistency.
- Glue: Good ol’ white PVA glue works wonders (think: school glue).
- Water: It’s essential for getting the right texture.
- Food coloring: This is totally optional, but it’s a fun way to jazz up your slime!
- A mixing bowl and spoon: For combining all your ingredients.
- Measuring cups or spoons: To make sure we get the proportions just right.
- Safety gear: Non-latex gloves and safety goggles can protect your wee ones from splishes and splashes.
Let’s Get Mixing: Your Step-by-Step Slime Guide
Before we start the slime-making process, here’s a friendly reminder to keep safety first. Although Borax is a common household cleaner and a fabulous slime activator, it should be handled carefully. Always supervise your children during the process and ensure they don’t ingest any of the ingredients.
- Creating the Borax Solution: In a separate container, dissolve 1 teaspoon of Borax powder into 1 cup of warm water. Stir until the Borax is completely dissolved.
- Prepping the Glue Mixture: In your mixing bowl, pour out 1/2 cup of white PVA glue. Add 1/2 cup of water to the glue and mix until they’re well combined.
- Customizing Your Slime: Now, if you’re using food coloring or glitter, add it to the glue mixture. This is the time to let those creative juices flow—make it as colorful or sparkly as you like!
- Combining the Ingredients: Slowly add the Borax solution to the glue mixture, stirring continuously. You’ll notice the slime beginning to form. Keep stirring until it reaches a gooey consistency.
- Kneading the Slime: Once the mixture becomes thick and slimy, take it out of the bowl and knead it with your hands. This is the best part! The more you knead, the better the texture will be.
Your home-made slime should now be ready to play with! But wait, there’s more to this than just a simple recipe. To ensure your slime stays in tip-top shape, let’s talk about some important aftercare tips.
Slime Aftercare and Storage Tips
Yay, you’ve made your slime! ? Now, to keep it fresh as long as possible:
- Store your slime in an airtight container or a ziplock bag to prevent it from drying out.
- If the slime starts to get a bit stiff, knead it with wet hands or add a tiny bit of water to bring back its elasticity.
- Keep the slime away from carpets, fabric, and fuzzy pets, as it can be tricky to clean up.
There you have it, the beginning of your slime-tastic journey, where chemistry meets creativity, and fun is just a Borax solution away! Making slime with your kids should now feel like a breezy, messy task you can both enjoy. Rest assured, the laughter and memories made during this sticky endeavor will be cherished long after the slime has lost its stretch. Continue reading for more slime-errific tips and tricks that will help you become a true slime connoisseur!

5 Things Parents Should Know When Preparing to Make Slime with Borax
As you get ready for this sticky adventure, there are a few things you should keep in mind:
- Understanding Borax: Borax, also known as sodium borate, is a mineral and a salt of boric acid. While it is commonly used in cleaning products, it should be used with caution, especially around children. It can be harmful if swallowed or if it comes in contact with the skin for prolonged periods. That’s why it’s crucial to follow the correct measurements and ensure your little slime scientists are washing their hands after play.
- Prep Your Space: Things can (and will) get messy! Cover your work area with newspapers or a plastic sheet to make cleanup easier. Have some paper towels or a wet cloth handy for quick wipe-downs, and consider wearing old clothes or aprons to protect your wardrobe from slime splashes.
- Allergy Awareness: Allergies and sensitivities are no joke. Ensure no one’s allergic to any ingredient used in the slime-making process, particularly Borax and latex. If you opt for gloves, choose non-latex ones to avoid potential allergic reactions.
- Slime as a Science Lesson: Seize the opportunity to turn this activity into an impromptu science lesson about liquid and solid states, chemical reactions, and measurements. It’s a fun way to reinforce learning through play.
- Environmental Responsibility: Be mindful of the environment when disposing of slime. It’s not biodegradable and shouldn’t be washed down the drain as it can contribute to blockages and environmental pollution. Teach your kids about responsible disposal by throwing away old slime in the trash.
The Science Behind the Slime: A Peek into the Process
The magic of slime-making is all about the chemical reaction between the glue and the Borax solution. Glue contains a compound called polyvinyl acetate, which reacts with the Borax solution to create long, flexible polymer chains. The end result? The wonderfully gooey substance we call slime!
Creative Twists: Making Your Slime Stand Out
Who says slime has to be simple? Get those creative wheels turning with a few fun additions:
- Add-Ins: Mix in some glitter, foam beads, or even small plastic toys to make your slime extra special.
- Sensory Slime: Add scents or create texture by including sand, shaving cream, or rice for a unique sensory experience.
- Color Galore: Don’t limit yourself to just one color. Make a few different color batches and twist them together for a marbled effect.
Remember, there’s no wrong way to customize your slime masterpiece, so enjoy the process of experimentation and personalization.
Engaging With Your Child
Making slime is not just about the end product; it’s also about the time you spend with your child. Use this time to discuss topics like colors, textures, and even the importance of following a recipe. You’ll find that slime-making opens up communication and learning avenues that extend far beyond the kitchen table.
Ready to embark on your slime-making journey? We’re so excited for you to try this out with your family! Just follow the recipe, unleash your creativity, and prepare for heaps of giggles and smiles as you mix up some memories that will last a lifetime. Happy slime-making!
See more great Things to Do with Kids in New Zealand here. For more information see here
Disclaimer
The articles available via our website provide general information only and we strongly urge readers to exercise caution and conduct their own thorough research and fact-checking. The information presented should not be taken as absolute truth, and, to the maximum extent permitted by law, we will not be held liable for any inaccuracies or errors in the content. It is essential for individuals to independently verify and validate the information before making any decisions or taking any actions based on the articles.


