
The Ultimate Guide to Making Slime with Glue
Hey there, amazing parents! Are you ready to dive into the ooey, gooey world of slime-making with your little ones? Creating slime at home is not only a blast but also a fantastic opportunity to bond with your kids and spark their creativity. In this ultimate guide, we’ll show you the ins and outs of how to make slime with glue – a basic yet delightfully satisfying recipe that you and your family will adore!
What You Will Need
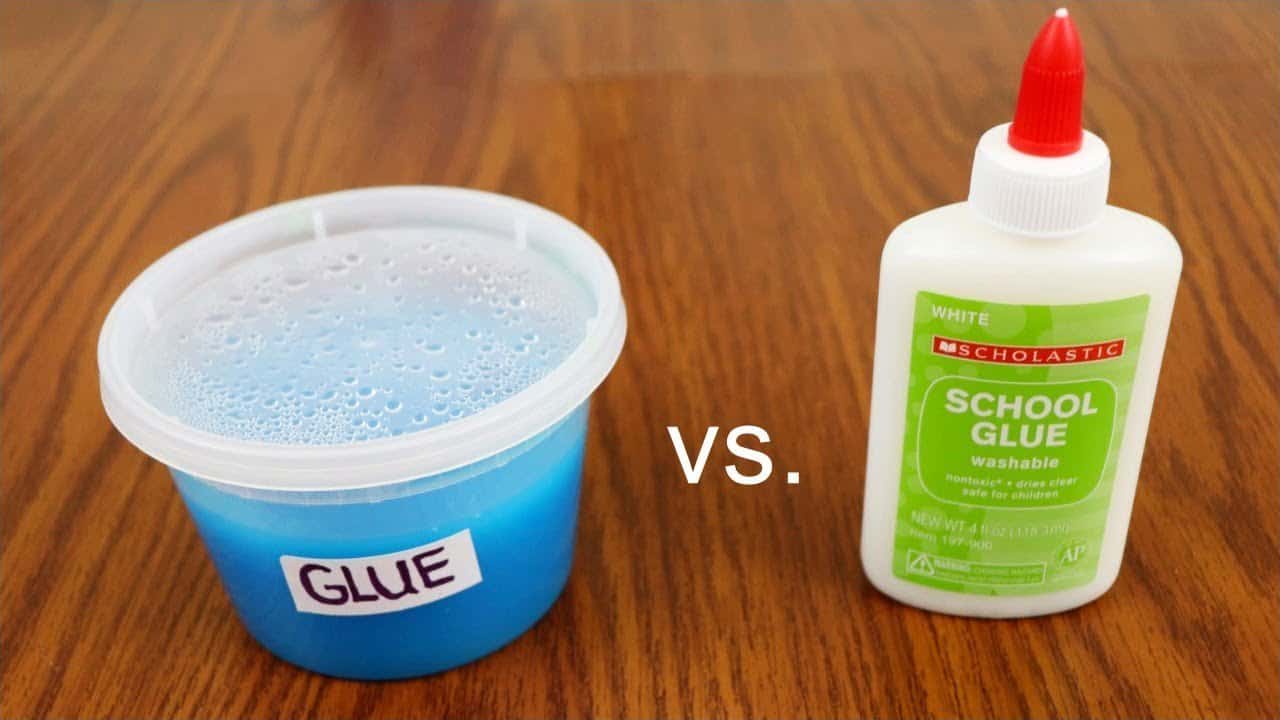
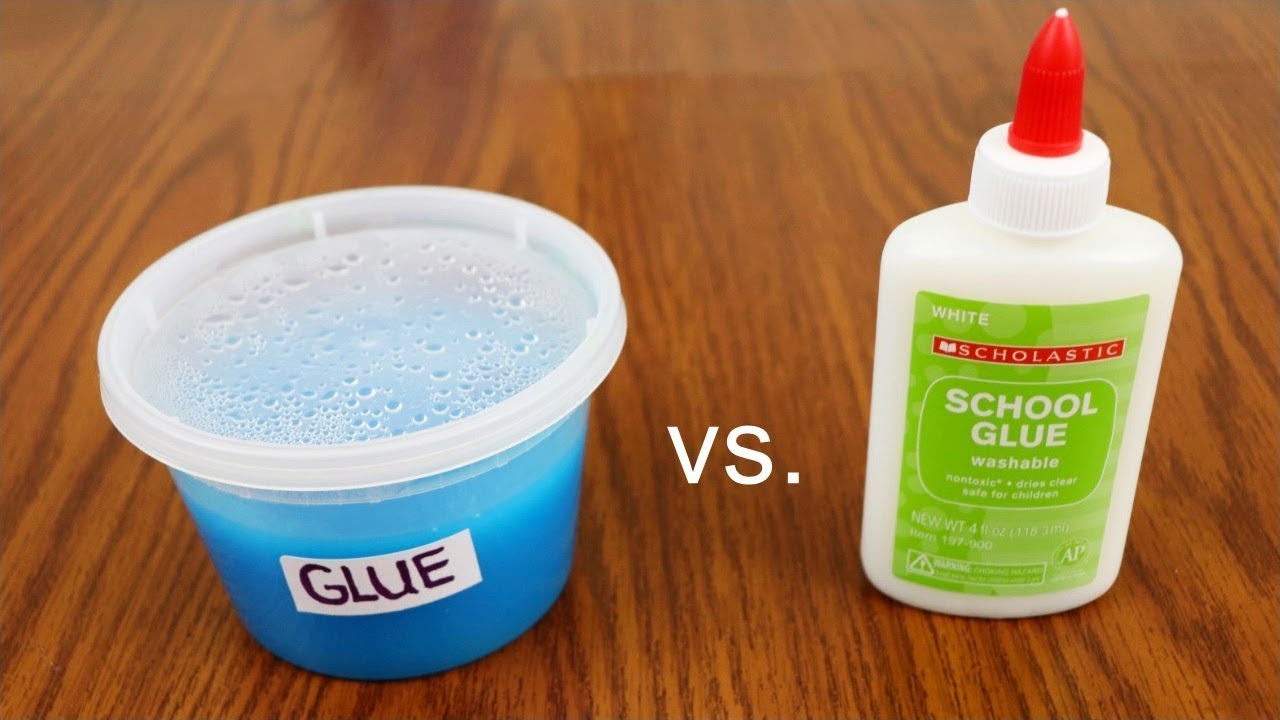
- White craft glue – the classic ingredient for gooey fun
- Baking soda – a touch of this, and you’re on your way
- Contact lens solution – your slime activator
- Food coloring (optional) – for that splash of color!
- Glitter or beads (optional) – for some sparkle and texture
- A mixing bowl to blend your concoction
- A stirring utensil, like a spoon or spatula
Step-by-step: How to Craft the Perfect Slime
Step 1: The Glue Goes First
Begin your slime adventure by pouring an entire bottle of white craft glue into your mixing bowl. If you’re preparing a larger batch for multiple children, feel free to adjust the amounts accordingly. The glue serves as the base of your slime, ensuring everything sticks together just right!
Step 2: Color Me Happy
Add a few drops of food coloring to the glue if you’re aiming for something more vibrant than classic white. Now’s the perfect time to let your kids pick their favorite hues, creating a personalized slime experience.
Step 3: Add a Dash of Baking Soda
Sprinkle a teaspoon of baking soda into the mix and stir well. Not only does this help thicken the glue, but it also reacts with the contact lens solution to form slime’s signature texture.
Step 4: Let’s Get Activating!
Time for the magical moment! Add a squirt of contact lens solution to the bowl – just enough to see the mixture start to clump together. This solution contains boric acid, which reacts with the glue to create slime. Be careful not to add too much at once!
Step 5: Stir It Up!
Grab that stirring utensil and mix everything together vigorously. At first, the concoction will be sticky and wet, but as you stir, the slime will begin to form. This process can take a few minutes, so encourage your kids to be patient – great slime takes a little time!
TIP: If you find that the slime is still sticking to the bowl and not quite solidifying, add another drop or two of the contact lens solution, but watch out! Too much, and your slime could turn rock hard. It’s all about finding that sweet spot.
Step 6: Embellishments Extraordinaire
Before the slime sets completely, it’s time to jazz it up! If your kids want to add a dash of sparkle, now you can sprinkle in glitter, beads, or small foam balls. Mix them in well to make sure they’re evenly distributed.
Step 7: Knead, Play, and Store
Once the slime has formed, take it out of the bowl and encourage your kids to knead it with their hands. Kneading is key to achieving that perfect slime consistency. After playtime, store the slime in an airtight container to keep it fresh and playable for days to come.
Creating slime with your children is more than just making a plaything; it’s an interactive science lesson, a sensory play activity, and, most importantly, a chance to make memories that stick (much like slime!) with your kids. So roll up those sleeves, gather your ingredients, and get ready to make some smiles along with your homemade slime!
Next, we’ll look at troubleshooting tips for common slime issues and explore the science behind slime’s fascinating properties. Stay tuned to become a slime-making pro!
Five Essential Tips for Parents Preparing to Make Slime with Glue
1. Supervision is Key
Always supervise your kids throughout the slime-making process. Not only is it a safety precaution, but it’s also a wonderful way to spend quality time together and assist them when necessary. Plus, it’s your best defense against unexpected slime incidents, like finding it in the hair or on the walls!
2. Protect Your Surfaces
Before you begin, lay down some newspapers, plastic sheets, or any other coverings to protect your surfaces. Slime-making can be a messy affair, and it’s better to be safe than sorry. Cleaning up will be a breeze if you prep your space properly!
3. Allergies and Sensitivities
Some children might be allergic or sensitive to the ingredients in slime, like glue or food coloring. Always check for allergies and opt for non-toxic, child-friendly products. Consider wearing disposable gloves if your little ones have sensitive skin.
4. Measure Your Ingredients
While slime-making is not an exact science, starting with recommended measurements can prevent a sticky disaster. Once you get the hang of it, feel free to experiment a little – but for the first few times, stick to the script for the best results!
5. Patience Makes Perfect
Slime may not reach its ideal consistency immediately. It takes a little bit of patience and lots of stirring and kneading to get it just right. Encourage your kids to be patient and to enjoy the process as much as the product.
The Science Behind Slime
For the curious minds, here’s a little peek into the science of slime. When you mix glue with a borate ion (found in the contact lens solution), it creates a reaction that turns the liquid glue into a more solid form. This process is called cross-linking, where large polymer chains in the glue are linked together, creating a substance that can stretch and squish – that’s the slime we love!
Troubleshooting Common Slime Issues
Is your slime too runny? Add a bit more contact lens solution. Is it too hard? You may have added too much activator, try kneading in a little more glue next time. If it’s not stretchy enough, a few drops of warm water can work wonders. Remember, practice makes perfect, and every batch of slime is an opportunity to learn and adjust the recipe for the next time!
Armed with these tips and tricks, parents, you are now ready to embark on your slime-creating journey! Relish the process, laugh at the messes, and create those colorful, sparkly memories. Who knew that a little bit of glue could lead to so much fun and learning? Happy slime-making!
See more great Things to Do with Kids in New Zealand here. For more information see here
Disclaimer
The articles available via our website provide general information only and we strongly urge readers to exercise caution and conduct their own thorough research and fact-checking. The information presented should not be taken as absolute truth, and, to the maximum extent permitted by law, we will not be held liable for any inaccuracies or errors in the content. It is essential for individuals to independently verify and validate the information before making any decisions or taking any actions based on the articles.


