
DIY Stress Toys: A Fun and Creative Activity for Parents and Kids
Welcome, crafty parents! Are you looking for a way to bond with your kids and create something both fun and functional? Look no further! Making stress toys can be an engaging project that helps foster creativity and provides a sense of accomplishment. Not to mention the end result is a delightful toy that can help manage stress for both you and your mini-me’s. This step-by-step guide is full of tips and tricks to make the experience joyful and stress-free (pun intended!). Let’s squeeze the day and get crafting!
Benefits of Homemade Stress Toys
- Cost-Effective: Making your own stress toys saves money and repurposes materials you likely have at home.
- Customizable: Personalize stress toys with your child’s favorite colors, textures, and fillings.
- Educational: It’s a great opportunity to teach children about managing emotions and the importance of mindfulness.
- Quality Time: Crafting homemade toys is a special way to spend quality time together.
Materials You’ll Need to Get Started
Before you dive into creating these squeezable wonders, gather your materials. Here’s a list to start with:
- Colorful balloons
- Flour, rice, playdough, or fine sand
- A funnel or a homemade paper cone
- Empty water bottles
- Decorative items like markers, yarn, glitter, stickers
- Scissors (for adult use)
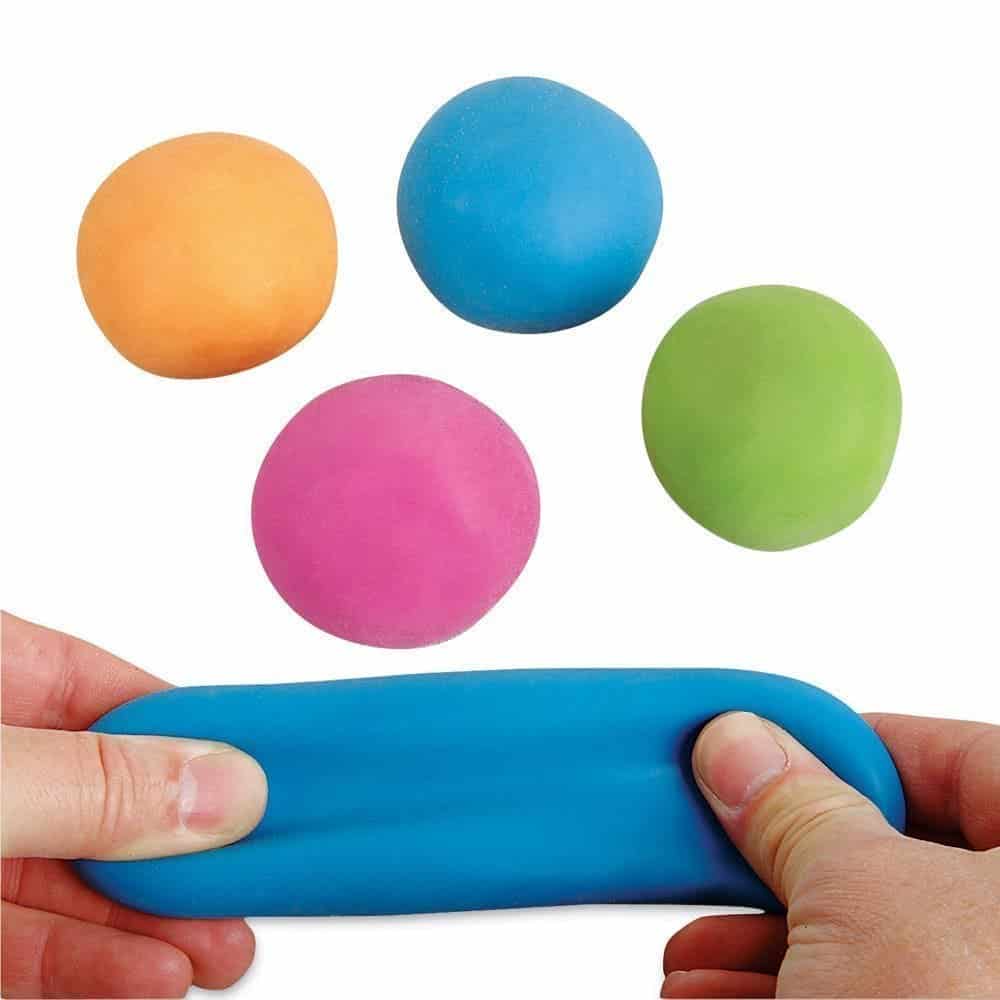
Let’s Make a Basic Stress Ball!
Step 1: Choose Your Filling
What do you want to fill your stress ball with? Each material has a different feel – flour gives a softer touch, while rice makes for a more granular texture. Playdough is excellent for a firmer stress toy. Let your child choose based on their tactile preference.
Step 2: Prep Your Balloon
Inflate a balloon and then release the air. This makes it easier to fill.
Step 3: Set Up Your Filling Station
Using your funnel or paper cone, insert it into the neck of the balloon. Secure it with a little tape if needed to prevent spillage.
Step 4: Fill ‘er Up!
Now, take an empty water bottle and fill it with your chosen material. Attach the balloon over the bottle’s opening, flip it upside down, and squeeze! The contents will transfer into the balloon. Tap the bottle to get out as much as you can.
Step 5: Tie It Off
Once the balloon is filled to the desired size, carefully remove the funnel or cone, and tie off the balloon securely. Make sure there’s a little give so it’s not too tight.
Step 6: Decorate Your Stress Ball
Get creative! Use markers to draw a funny face or glue on yarn for hair. Add stickers for clothing or glitter for a sparkly effect.
And voila! You’ve created your first homemade stress ball. Creating these stress toys can be as simple or elaborate as you want to make them. For added fun, you can make a variety for different needs; some squishy, some firm, and in a rainbow of colors.
But that’s just the beginning. We also have other exciting stress toy ideas to offer you. Stay tuned for more creative ways to bring the enjoyment of DIY stress toys into your home!
Now that we’ve covered the basic stress ball, let’s explore more creative variations and sensory experiences for your homemade stress toys. Whether you have a child keen on textures or one that finds visual stimulus soothing, the possibilities are virtually endless. Crafting these toys can be a great weekend project or an after-school activity. The best part? You can customize each toy to the unique preferences of your child, making each creation a personalized stress-buster they’ll love to squeeze, stretch, and squish.
Remember, the key to these projects is not perfection but the enjoyment and relaxation they bring. So take a deep breath, gather your materials, and get ready to create some stress-relieving magic with your kids!
5 Things Parents Should Know When Preparing to Make Stress Toys
1. Safety First: Non-Toxic and Allergen-Free Materials
When choosing materials for your DIY stress toys, prioritize safety. Opt for non-toxic materials, especially if your stress toy might end up in little mouths. Also, consider potential allergies – for instance, use an alternative to latex balloons if there’s a latex allergy in the family. Make sure to supervise your kids at all times during the craft.
2. Age-Appropriate Tasks for Kids
It’s important to involve your kids in a way that’s suitable for their age and abilities. Younger children can help with pouring fillers into bottles or drawing on the finished stress balls, while older kids might handle more complex tasks like tying knots or cutting materials under adult supervision.
3. Prepare Your Workspace
Creating stress toys can get messy, especially with materials like flour and rice. Cover your crafting area with newspaper, a plastic sheet, or an old tablecloth for easy cleanup. Also, keep a vacuum or broom nearby for any spills.
4. Embrace Imperfections
Your DIY stress toys might not look store-bought, and that’s perfectly okay. The quirks and unique touches are what make them special. Emphasize the fun of the process over the outcome and celebrate your child’s efforts and creativity.
5. Longevity and Upkeep
Handcrafted stress toys may not last as long as manufactured ones. To extend their life, consider double-ballooning (placing one balloon inside another) for extra durability. Don’t overfill the toys, and check them regularly for wear and tear to avoid leaks.
Advanced Stress Toy Ideas
Textured Stress Balls
Create a unique sensory experience by adding items like beads, sequins, or small rubber toys to the filler material. These can provide a delightful tactile feedback for fidgety fingers.
Instructions:
Mix your chosen beads or sequins into the filler before transferring it into the balloon. Follow the prior instructions for creating a basic stress ball, and you’ll have a stress toy with a fun new twist!
Glitter Stress Tubes
A clear tube filled with liquid and glitter can be mesmerizing and calming to look at.
Instructions:
Find a durable, sealable plastic tube and fill it with water, clear glue, and a generous amount of glitter. Seal the lid with super glue to prevent leaks. Children will love flipping the tube and watching the glitter swirl!
Aromatherapy Stress Balls
Introduce a soothing scent to the mix by adding a few drops of child-safe essential oil to the filler.
Instructions:
Choose a calming essential oil like lavender or chamomile. Mix a few drops into your desired filler before inserting it into your balloon. The squeezing action releases the aroma for an added stress-relief element!
There you have it: your ultimate guide to making DIY stress toys. With a little preparation, some basic materials, and a splash of creativity, you can make an assortment of stress balls and toys that will provide hours of relaxation and fun for the entire family. Dive into this crafty adventure, and enjoy watching your children learn, explore, and de-stress — one squish at a time!
See more great Things to Do with Kids in New Zealand here. For more information see here
Disclaimer
The articles available via our website provide general information only and we strongly urge readers to exercise caution and conduct their own thorough research and fact-checking. The information presented should not be taken as absolute truth, and, to the maximum extent permitted by law, we will not be held liable for any inaccuracies or errors in the content. It is essential for individuals to independently verify and validate the information before making any decisions or taking any actions based on the articles.


