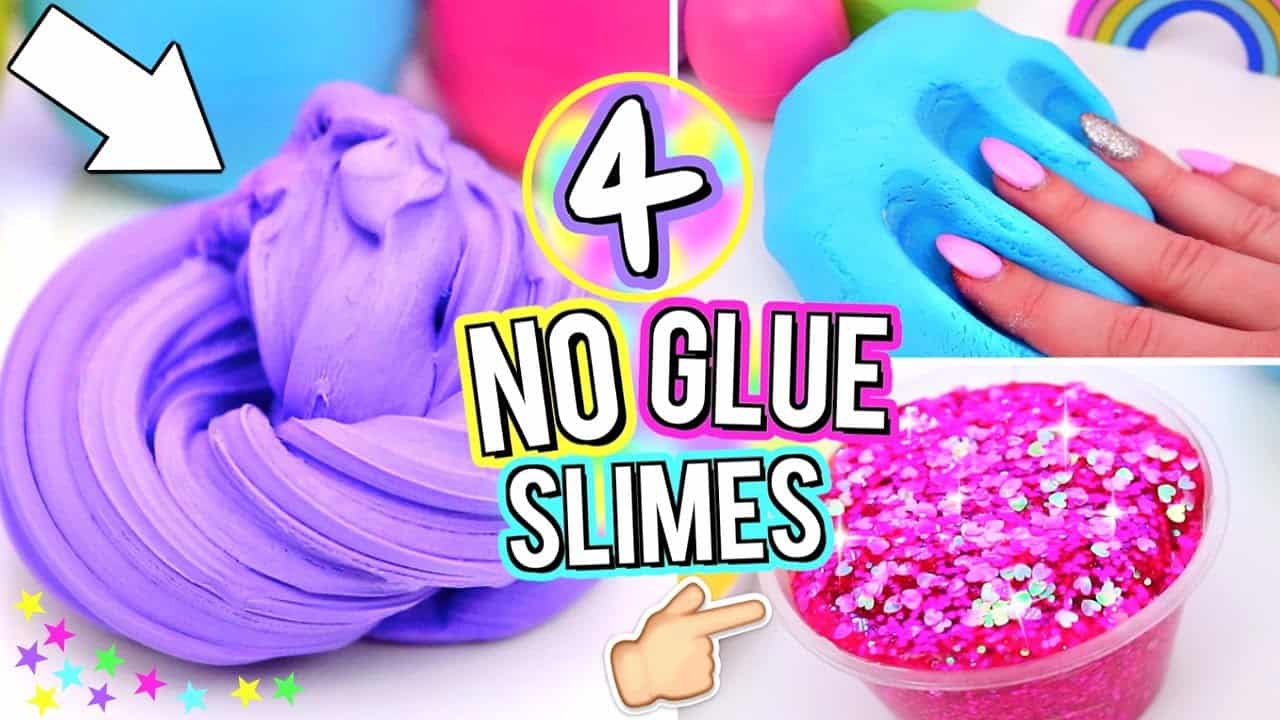
The Ultimate Guide to Making the Best Slime with Your Kids
Hello, awesome parents! ? Are you ready to embark on a gloriously gooey adventure with your little ones? Making slime is not just a fun activity, it’s a fantastic opportunity to bond with your children and spark their interest in science. But don’t fret – you don’t need to be a chemist to create the best slime out there. We’ve got you covered with our super simple, safe, and smile-inducing recipes! ? Let’s dive right into the squishy, squashy world of slime-making! ?
What You’ll Need to Get Started
- Glue – The base of your slime wonderland
- Baking soda – A tiny amount will do
- Contact lens solution – Make sure it contains boric acid and sodium borate
- Food coloring (optional) – For that pop of color
- Glitter or confetti (optional) – Because who doesn’t love a sparkle?
- A large mixing bowl – To combine all your ingredients
- A spatula or a spoon – For stirring up some magic
Steps to Slime Success
Classic Slime Recipe
- Prepare Your Area: Begin by covering your workspace with newspaper or a plastic sheet. Slime making can get a bit messy, and we want to keep those tables spotless!
- Mix the Base: Pour your glue into the mixing bowl. A standard 4-ounce bottle is a good starting point for one batch of slime.
- Add Some Color: If you’re adding food coloring or glitter, now’s the time! You can make your slime any color or sparkle just the way your kiddo likes it.
- Bond It Together: Sprinkle a pinch of baking soda into your glue mixture and blend well. The baking soda helps firm up the slime.
- The Magic Ingredient: Add a few drops of contact lens solution to the mix and stir! Watch as the slime begins to form and stick to your spatula.
- Knead the Slime: Once the slime gets stringy and pulls away from the edge of the bowl, take it out and start kneading with your hands. It will feel sticky at first but keep on kneading until it’s smooth.
After these steps, you should have a wonderful blob of homemade slime, tailor-made by you and your mini-me. The consistency should be stretchy, pliable, and oh so fun to play with!
Pro Tips: Slime-Making Like a Pro!
- Slime Consistency: If your slime is too sticky, add a few more drops of contact lens solution. If it’s too rigid, a little bit of warm water can help soften it.
- Storage Solutions: Keep your slime fresh by storing it in an airtight container or a ziplock bag when not in use.
- Safety First: Always supervise your children during the slime-making fun, and make sure they wash their hands before and after playing with slime.
Now that you’ve mastered the classic slime recipe, why not experiment with different textures and additives? In the following sections, we’ll explore some amazing variants, like fluffy slime and butter slime that you and your youngsters can try. So, grab your glitter, and let’s keep the fun rolling!
Remember, making slime is not just about the end product – it’s about the giggles, the “oopsies!” and the little moments in between. It’s a gooey journey to joy, and we can’t wait to see what you and your family create. Prepare to get your hands sticky! ?
Alright, all you super-cool slime maestros, we hope you’re ready to add some pizzazz to your homemade slime! In the next part of our guide, we’ll talk about enhancing your slime game with engaging textures and bonus fun activities. Keep your spirits high and your slime stretchy! ? Let’s turn your kitchen into the best slime lab ever!

5 Essential Tips for Parents Preparing to Make the Best Slime
1. Safety is the Secret Ingredient
Before you begin, it’s crucial to ensure the slime-making process is safe for everyone involved. Although the ingredients used are generally non-toxic, it’s important to make sure that small children are not tasting the slime or touching their faces while playing with it. Always have an adult present to supervise the fun!
2. Quality of Ingredients Matters
To make the very best slime, you need to start with the right kind of glue. Look for PVA (polyvinyl alcohol) glue, which is usually labeled as school glue or white craft glue. It’s the slime’s foundation, so choosing a high-quality glue will make all the difference in your slime’s texture and hold.
3. Prep Like a Pro
Preparation is key! Having all your materials laid out and ready to go makes the process smoother and more enjoyable. Make sure to have extra ingredients on hand in case the first batch doesn’t go as planned. Slime-making is as much about the experience as it is about the outcome, so go into it expecting a little trial and error.
4. Embrace the Mess
Let’s face it, making slime can get messy, but that’s part of the fun! By accepting the mess, you allow your children to explore and be creative without worry. Lay down some plastic tablecloths or newspapers, have some wet wipes on hand, and dress for the occasion in clothes that won’t mind a bit of goo.
5. The Value of Patience
Slime making is a bit like magic; it doesn’t happen instantly. Encourage your kids to be patient as they mix and wait for the chemical reactions to do their work. Sometimes the slime might seem too runny or too hard, but with a bit of patience and tweaking, you’ll end up with the perfect slime consistency.
Enhancing Your Slime Experience
We’ve discussed the basics, but there’s so much more to slime than just glue and borax. You can enhance your slime by adding various textures and elements that keep the experience fresh and exciting.
Fluffy Slime Recipe
This variation gives your slime an incredibly soft and fluffy texture that kids love. Here’s how to make it:
- Add shaving cream to your basic slime recipe for extra fluffiness! Aim for the same amount of shaving cream as glue for optimal fluff.
- Follow the basic steps of the original recipe, adding the shaving cream right after the glue.
- Remember that fluffy slime tends to lose its consistency faster than regular slime, so enjoy it while it’s fresh!
Butter Slime Recipe
For a non-sticky, spreadable texture that holds its shape, try butter slime:
- You’ll need soft clay to mix into your basic slime recipe.
- Once your basic slime is ready, slowly knead in the clay. Model Magic clay works well for this purpose and is available in various colors.
- The resulting slime will have a buttery, moldable consistency that’s different from traditional slime. It’s perfect for sculpting!
With these tips and recipes, you’re well-equipped to create an array of slimes with your kids. Remember to have fun, keep experimenting, and enjoy the magical moments of joy and discovery that slime-making has to offer. Happy sliming!
See more great Things to Do with Kids in New Zealand here. For more information see here
Disclaimer
The articles available via our website provide general information only and we strongly urge readers to exercise caution and conduct their own thorough research and fact-checking. The information presented should not be taken as absolute truth, and, to the maximum extent permitted by law, we will not be held liable for any inaccuracies or errors in the content. It is essential for individuals to independently verify and validate the information before making any decisions or taking any actions based on the articles.


