
Unleash Your Creativity: Paint a Heart with Your Little Ones
Hello wonderful parents and guardians! Are you looking for a delightful and artistic activity to enjoy with the kiddos? Look no further! Painting a heart is not only a fun way to express creativity but also an excellent opportunity to bond with your children and create cherishable memories. So grab your paintbrushes, and let’s get started on this journey of color and love!
Why Paint a Heart?
Before we dive into the nitty-gritty of painting a heart, you might wonder why you should choose this symbol. Hearts are universally recognized as a symbol of love, affection, and care. Whether it’s for a special occasion, like Valentine’s Day, Mother’s Day, or just because, painting a heart is a gesture that can speak volumes and warm up anyone’s day. Plus, it’s a fantastic way to encourage emotional expression and fine motor skills in children.
Setting Up Your Painting Space
First things first, let’s set up a creative space that’s both comfortable and practical. Choose a spot with plenty of light and space to move around. Cover the area with newspaper or a reusable drop cloth to prevent paint from getting on your surfaces. Gather all necessary supplies you’ll need so once inspiration strikes, you won’t need to hit the pause button on creativity!
- Canvas or heavy-weight paper
- Non-toxic paints (acrylic or tempera)
- Paintbrushes in various sizes
- Palette or paper plate for mixing colors
- A cup of water for rinsing brushes
- Paper towels or old rags for spills and drips
- An apron or old clothes to protect your outfits
Choosing Your Paint Colors
Hearts can be any color under the sun, and that’s the beauty of art – it’s all up to your imagination! Classic reds and pinks are always a hit, but don’t shy away from mixing colors to create something unique. Encouraging your child to pick their favorite colors can make the experience even more personal and enjoyable for them. Spark their creativity by talking about what different colors mean to them!
Sketching Your Heart
A good heart starts with a good sketch. Take a pencil and lightly trace the outline of a heart on your canvas or paper, ensuring that both sides are symmetrical. If drawing freehand isn’t your forte, don’t worry! You can easily find heart templates online to trace around, guaranteeing a perfect shape every time. Remember, this step doesn’t have to be perfect. The painting will cover any pencil marks, and the act of creating is more valuable than perfection.
Painting Techniques to Try
Once your heart shape is ready, it’s time to paint! Here are some techniques that you can experiment with:
- Flat Wash: A flat wash creates a smooth, even layer of paint. It’s perfect for filling in your heart with a base color.
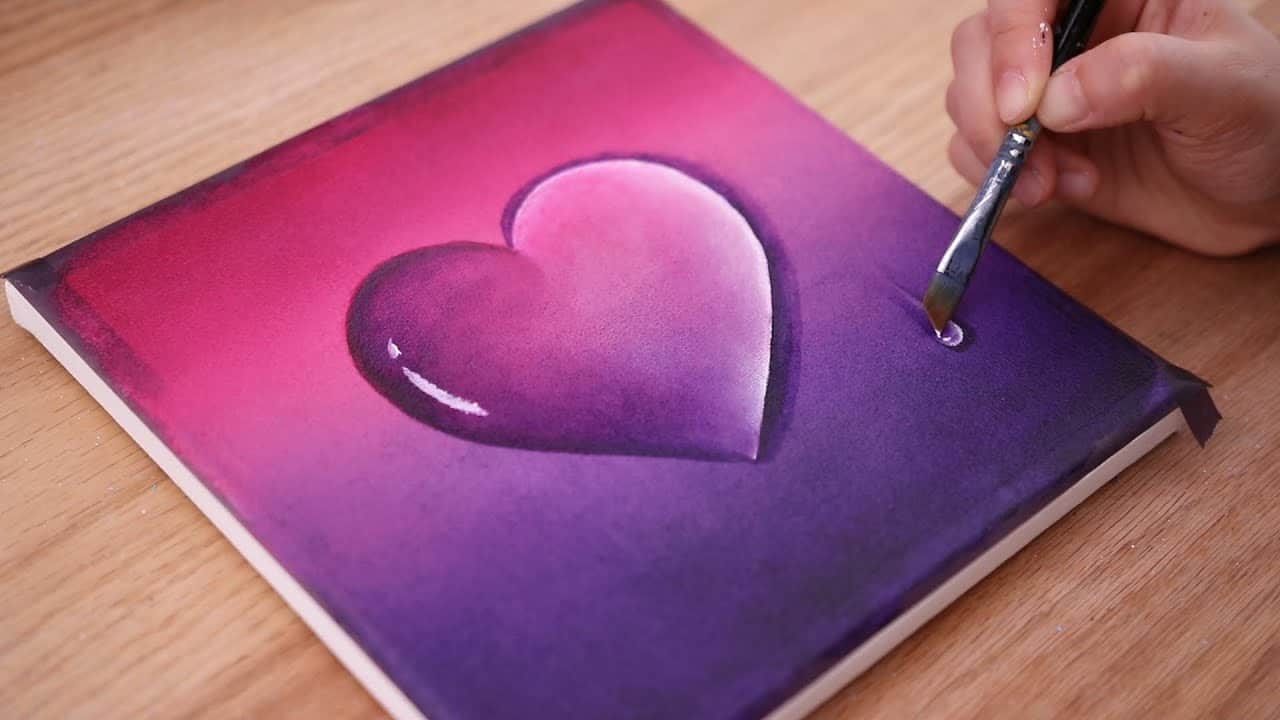
- Gradient: For a gradient effect, start with a darker shade at the bottom and gradually mix in white as you move up to create a fading effect.
- Dabbing: Use a sponge or a piece of paper towel to dab on paint for a textured look.
- Stippling: Stippling involves making tiny dots with the brush’s tip to build up texture and depth.
- Splattering: Add a touch of whimsy by splattering different colors across your heart using a stiff brush or even a toothbrush.
Whichever technique you choose, remember that the process is meant to be enjoyable. Guide your child’s hand, but let them make their own artistic choices. Celebrate their creativity, and encourage them to try new things. You may be surprised at how much fun you have along the way!
Painting a heart with your children can become a memorable tradition, not just for the art you create but also for the moments you share. As you prepare the paints and protect your surfaces, remember to protect and encourage your child’s budding creativity as well. Stay tuned for more in-depth guidance on brushes, painting styles, and finishing touches to make your heart art a masterpiece of memories.
And don’t forget, art is not about the end product—it’s about the beauty of creating something together. So join your little ones, show some love, and get ready to paint a heart that will be as special and unique as they are!
5 Essential Tips for Parents Preparing to Paint a Heart with Kids
- Embrace the Mess: One of the most important things parents should remember is that arts and crafts are inherently messy. Embrace it! Set up your space with the understanding that paint might splatter and things could get a little chaotic. Keep cleaning supplies handy, and make sure to dress everyone in clothes that can get dirty.
- Non-toxic Materials: Safety always comes first, especially when painting with little ones. Be sure to use non-toxic, child-friendly paints such as tempera or water-based acrylics, and always supervise to prevent accidental ingestion or paint getting in the eyes or mouth.
- Manage Expectations: It’s important to manage your own expectations about the outcome of the heart-painting project. The goal is to have fun and spend quality time together, not create a perfect work of art. Let go of any desire for control and allow your child’s creativity to lead the way.
- Patient Guidance: Younger children might not have the motor skills required for more detailed work, so offer patient guidance. Show them how to hold the paintbrush and demonstrate each painting technique before they give it a try. Make sure to encourage their efforts rather than focusing on correcting mistakes.
- Interactive Choices: Encourage your kids to make choices throughout the painting process, from selecting colors to choosing which painting techniques they’d like to try. This not only makes the activity more engaging for them but also boosts their confidence in making decisions and expressing themselves.
Brush Basics for Tiny Hands
Now let’s talk about brushes! For little hands, it’s a good idea to have a variety of brush sizes. Larger brushes will fill up space more quickly, while smaller ones are great for adding details. Show your child how to properly dip the brush into the paint — not too deep — and how to wipe off the excess to avoid drips. Encourage them to use different parts of the brush for different effects: The tip for lines and the flat side for broader strokes.
Creating Special Effects with Household Items
Did you know that you don’t need fancy art supplies to create interesting textures and patterns? Here are a couple of household hacks for special effects:
- Use a fork to create interesting lines and texture within your heart.
- Wrap bubble wrap around a rolling pin, roll it in paint, and then roll it across the canvas for a fun pattern!
- A piece of string can be dipped in paint and dragged across the canvas to create dynamic lines.
- Old toothbrushes are perfect for splattering paint to create a starry effect or just to add a bit of flair.
These tools can make painting even more exciting, as they add elements of surprise and discovery to your artwork!
Finishing Touches: Sealing and Displaying Your Artwork
After your heart paintings have dried, you’ll want to consider how to display them. Adding a simple frame can really make the colors pop and give your child’s creation a polished look. If you used washable paints and want to preserve the heart long-term, consider using a clear sealant spray designed for crafts — but always handle this step yourself, as such sprays are not safe for children to use.
And finally, don’t forget to find the perfect spot in your home to hang the heart. It could become an annual tradition to create a new painted heart together, building a gallery of love and creativity that charts your child’s growth over the years.
With these tips in mind, parents are well-equipped to embark on a heart-painting adventure with their kids. Let your imaginations soar, your brushes dance, and fill your home with the irreplaceable artwork that comes straight from the heart. Happy painting!
See more great Things to Do with Kids in New Zealand here. For more information see here
Disclaimer
The articles available via our website provide general information only and we strongly urge readers to exercise caution and conduct their own thorough research and fact-checking. The information presented should not be taken as absolute truth, and, to the maximum extent permitted by law, we will not be held liable for any inaccuracies or errors in the content. It is essential for individuals to independently verify and validate the information before making any decisions or taking any actions based on the articles.


