
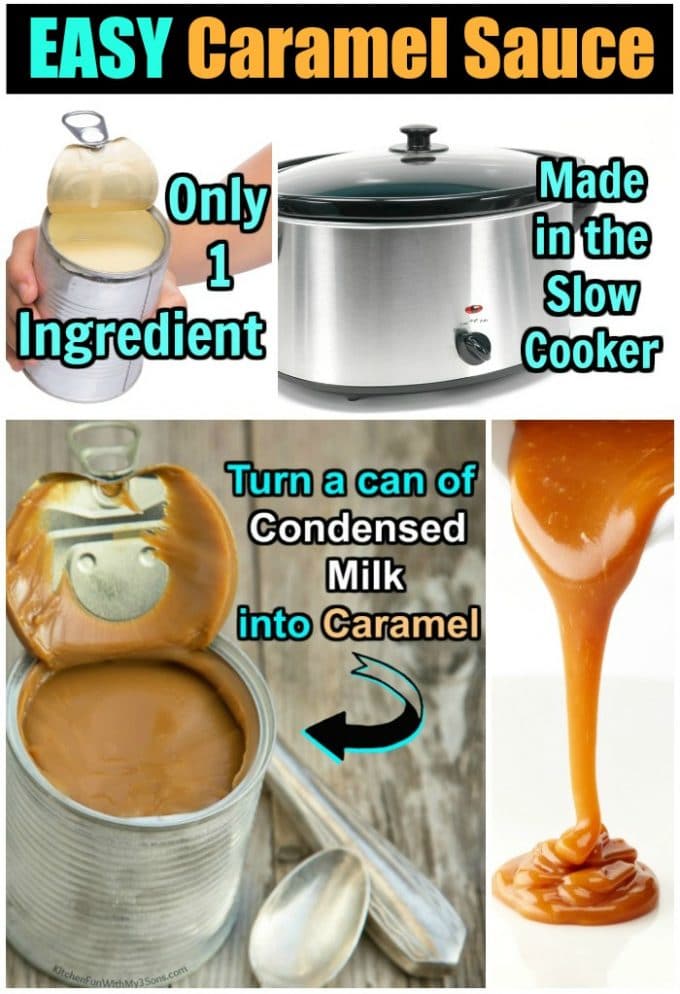
A Sweet Solution for Parents: Turning Carnation Milk into Caramel
Welcome, awesome parents! If you’ve been looking for an easy and fun dessert option to impress your loved ones, we’ve got a flavorful solution for you. Did you know that you can turn simple, versatile Carnation milk into a rich, delightful caramel? It’s an excellent way to introduce your children to cooking and bake up some tasty desserts at home.
Preparing for a Delicious Adventure
Creating caramel from Carnation milk isn’t just an cooking lesson; it’s also an opportunity to have fun and bond with your kids. Before getting into the step-by-step instructions, let’s gather the needed supplies:
Ingredients You Will Need
- One can of Carnation Evaporated Milk
- Sugar
- A hint of vanilla extract (optional)
- Butter (optional)
- Salt to balance the sweetness (optional)
These are the basic ingredients for this sweet journey.
Necessary kitchen Utensils
- A medium-sized saucepan
- A wooden spoon
- A glass jar for storing the caramel
Now you’re prepared, let’s venture into the delightful world of homemade caramel!
To be continued… Stay tuned to our upcoming posts for step-by-step instructions on how to turn Carnation Milk into a fantastic caramel!

Turning Sweet Dreams into a Sweet Reality
Are you ready for some sugary fun? Let’s bring the magical aroma of caramel to your kitchen!
Step 1: Mix the Ingredients
Start by pouring one can of Carnation Evaporated Milk and sugar into your saucepan. For every can of milk, use one cup of sugar. If desired, you can add a pinch of salt, a small dollop of butter, and a hint of vanilla extract to add depth of flavor to your caramel.
Step 2: Stir the Mix
Put your saucepan on medium heat. As the mixture warms, continually stir with your wooden spoon to prevent the sugar from clumping. This is a great step for your little ones to help. They can watch as the mixture goes from a creamy color to a rich caramel brown.
Step 3: Cook to the Desired Consistency
Continue to stir the mixture for about 1-2 hours while maintaining a gentle boil. If you like your caramel thin, you might find the right consistency within the first hour. For thicker caramel, keep going until you reach the desired thickness.
Step 4: Cool the Caramel
Once your caramel has reached the desired consistency, remove the saucepan from the heat. Let the caramel cool for a few minutes, then carefully pour it into a glass jar.
Congratulations, You’ve Made Caramel!
There you have it, superstar parents! You’ve created a delightful, homemade caramel using Carnation milk. So simple, yet so delightful!
Experiment with this recipe and don’t hesitate to add your desired ingredients. Whether you’ll use it as a topping on ice creams, desserts, or simply as a sweet treat on its own, this caramel will have your whole family smiling.
Remember to have fun and appreciate every moment of this delicious adventure with your kids. Stay tuned for more delicious family-friendly recipes. And in the meantime, enjoy your sweet, sweet success!
5 Essential Tips for Parents Turning Carnation Milk into Caramel
Preparing caramel using Carnation milk can be a delightful adventure in your kitchen. Here are five vital things every parent should know to facilitate this process:
1. The Importance of Slowly Heating the Milk:
Always remember to cook the condensed Carnation milk over low heat. This is to prevent the milk from boiling over or burning at the bottom of the pot.
2. Regular Stirring is Necessary:
Keep stirring the mixture continuously. This helps to achieve an even distribution of heat and prevents the formation of lumps, resulting in a smooth caramel.
3. The Colour Change is Critical:
The transformation process of the milk into caramel is not just about the consistency, but the colour as well. The milk should turn into a beautiful golden colour which signifies that your caramel is ready.
4. Safety Precautions:
Ensure the children are at a safe distance from the stove when making caramel as the sugar can get extremely hot. It’s also essential to handle hot liquids with care to prevent accidental burns.
5. Fun Part – Taste and Usage:
Once your caramel is ready, let it cool and then taste it. You can use this delicious homemade caramel for toppings on ice-cream, pies, apple cupcakes or even in your morning coffee.
In conclusion, converting Carnation milk into caramel requires patience and continuous stirring. Parents can make this delightful dessert topping with these key factors in mind and ensure a smooth and enjoyable cooking adventure.
For more great articles please see here. For more information see here
Disclaimer
The articles available via our website provide general information only and we strongly urge readers to exercise caution and conduct their own thorough research and fact-checking. The information presented should not be taken as absolute truth, and, to the maximum extent permitted by law, we will not be held liable for any inaccuracies or errors in the content. It is essential for individuals to independently verify and validate the information before making any decisions or taking any actions based on the articles.


