
Unlock the Fun of Loom Knitting: A Parent’s Guide to Getting Started!
Hello, crafty parents and creative kiddos! Ready to dive into the whimsical world of loom knitting? Whether you’re looking to whip up some cozy hats, cute scarves, or even adorable toys, a knit loom is your new best friend. No needles, no problem – this is the kid-friendly and adult-approved way to create handmade treasures that will be cherished for a lifetime.
What is a Knit Loom?
A knit loom, also known as a knitting loom, is a fantastic tool that helps you knit without the traditional needles. The loom is made up of a frame with pegs that you wrap yarn around to create stitches. While it might sound complex, it’s so easy that even little ones can get the hang of it quickly! Plus, it’s a safer alternative for younger children who aren’t quite ready for knitting needles.
Choosing the Right Loom
Before we dive into the ‘how-tos,’ let’s talk about the ‘what-ats’ – the types of looms! There are round looms, long looms, and even loom sets designed for different projects. For beginners, a round loom is a versatile choice, perfect for hats, socks, and more. Look for a loom with grooved pegs, which are easier for novice hands to navigate.
Supplies You’ll Need:
- Knit loom kit (which usually includes a loom, hook, and needle)
- Yarn (medium-weight is great for starters)
- Scissors
- Yarn needle (often included in the kit)
Step-by-Step: Casting On Your Loom
Now, let’s get your first project started! Casting on is the process of getting the yarn onto the loom so that you can start knitting. Here’s a simple method to follow:
- Begin by securing the yarn. Make a slip knot and place it on a peg at the side of the loom. That’s your anchor peg.
- Wrap the yarn around each peg in a clockwise direction, working your way around the loom.
- Once you’ve gone around once, wrap the yarn around a second time. You should have two loops on each peg.
- Using the hook tool, lift the bottom loop over the top loop and off the peg.
- Repeat this process for each peg.
- You’ve just completed your first row! Continue to wrap and hook each peg for each subsequent row.
Congratulations, you’re loom knitting!
Creating the Knit Stitch
The knit stitch is the most basic stitch in loom knitting, and it’s so easy to master. Once you’ve cast on:
- Wrap the yarn around each peg as you did before.
- Again, use the hook to lift the bottom loop over the top loop and off the peg, knitting one row at a time.
This method is known as the e-wrap knit stitch and is perfect for creating a soft, textured fabric that’s great for a variety of projects. The beauty of the e-wrap stitch is its simplicity and versatility, making it a go-to for many loom knitters.
As you continue to work with your loom, you’ll become faster and more proficient, creating enchanting knitted pieces that your family will love. Loom knitting is not only a productive hobby but also a heartwarming way to spend quality time with your children, teaching them a skill that encourages patience, creativity, and fine motor coordination.
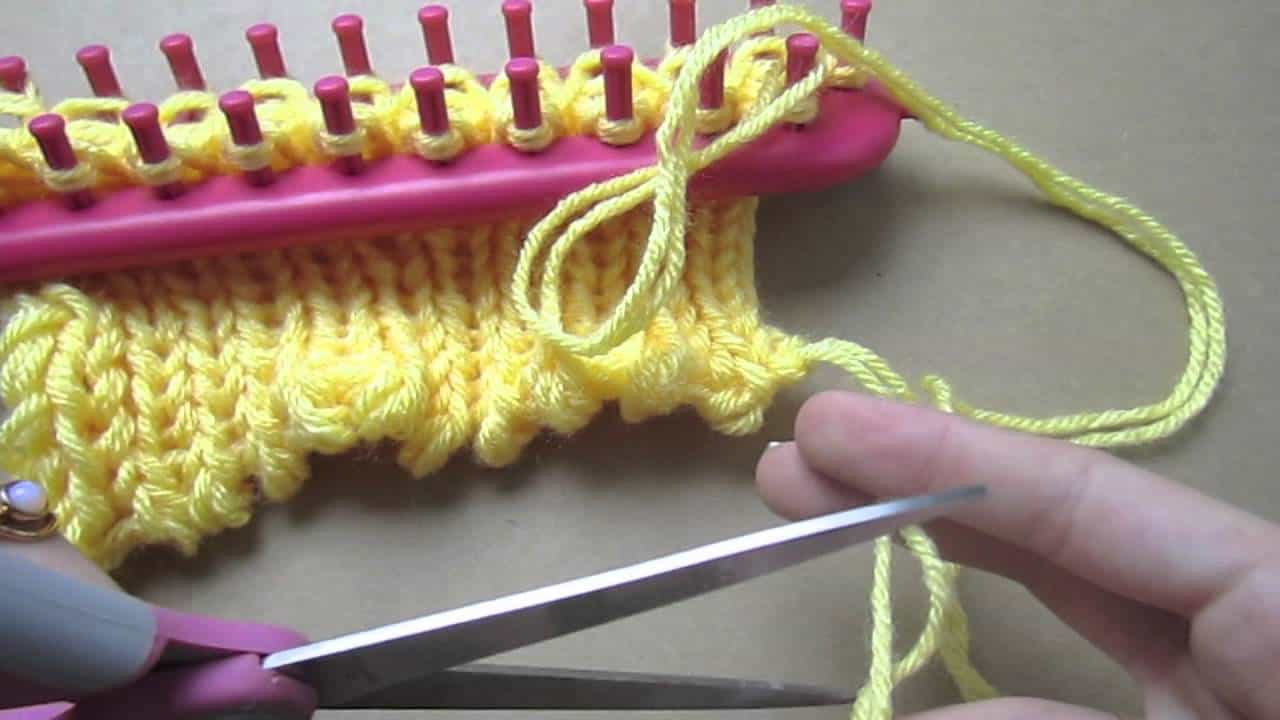
Finishing Off Your Project
Once you’ve reached your desired length, you’ll need to finish off, or bind off, your project. Binding off is how you remove your knitting from the loom and secure it so that it doesn’t unravel. Here’s a basic bind-off technique:
- Knit two pegs as you normally would.
- Move the loop from the second peg onto the first peg.
- Lift the bottom loop over the top on the first peg, leaving you with one loop.
- Move this remaining loop onto the second peg.
- Repeat this process until you have one loop left on the loom.
- Cut the yarn, leaving a tail, and pull it through the last loop to secure it.
Voila! You’ve successfully completed a loom knitting project!
Starting your loom knitting journey can be a thrilling adventure that leads to many wonderful creations. Stay tuned for more detailed instructions, helpful tips, and project ideas that will keep your family happily crafting for hours. Keep on loom knitting, and you’ll soon have a collection of handmade items filled with memories of the time spent together. Happy looming!
5 Things Every Parent Should Know About Loom Knitting
Greetings, creative families! Are you eager to jumpstart a new hobby with your children that’s both engaging and rewarding? Loom knitting might be the imaginative escape you’re looking for! Here are five vital tips to prepare you for an enriching loom knitting experience with your little ones.
1. Understanding the Knit Loom Basics
Before you start, familiarize yourself with the knit loom’s components and how they work. It’s a tool that consists of a frame with evenly distributed pegs, each peg holding a loop of yarn. It comes in various sizes and shapes, which determines the size and type of your finished project.
Important Loom Features:
- Gauge: The distance between the pegs. Smaller gauges are for thinner yarns, and larger gauges work well with thicker yarns.
- Adjustability: Some looms allow you to add or remove pegs, which is excellent for projects of different sizes.
- Shape: Round looms for circular projects like hats, and long looms for flat pieces like scarves.
2. Selecting Kid-Friendly Yarn
Choosing the right yarn is crucial for a smooth knitting adventure, especially when crafting with kids. Opt for bulky or medium-weight yarns as they are easier to handle and produce quicker results. Also, let your kids pick the colors—it’s a great way to fuel their excitement and creativity!
Yarn Tips for Parents:
- Texture: Look for softer yarns, which are more forgiving and comfortable for tiny hands.
- Color: Bright, variegated yarns can hide imperfect stitches and are stimulating to work with.
- Durability: Acrylic yarns are durable, easy to clean, and ideal for your child’s first projects.
3. Mastering the Loom Knitting Process
Practicing the fundamental steps of loom knitting—casting on, the knit stitch, and binding off—is essential before teaching them to your children. You don’t have to be a pro, but a basic understanding will make the process smoother and more fun for everyone.
Key Knitting Techniques:
- Casting On: Start by showing your child how to securely place the yarn on the loom pegs.
- Knit Stitch: Demonstrate the essential e-wrap stitch, a simple and versatile stitch perfect for beginners.
- Binding Off: Learn how to properly remove the finished knit from the loom without it unraveling.
4. Planning Fun and Achievable Projects
Choose projects that are simple and quick to accomplish, giving your child a sense of achievement early on. Starting with a basic scarf or a small cozy blanket can be rewarding as they watch their project grow quickly.
Project Suggestions:
- Hats: A rewarding project that’s relatively easy and has a playful end result.
- Scarves: Excellent for beginners to practice stitches without worrying about shaping.
- Small Toys: Fun, approachable projects that kids can proudly display or give as gifts.
5. Embracing the Learning Experience
Keep in mind that loom knitting with your children is as much about the journey as it is about the end product. There might be mistakes and tangled yarn along the way, but there will also be priceless learning moments and memories made.
Empowering Your Children:
- Encourage: Celebrate all efforts, regardless of how the project turns out.
- Patience: Allow your kids to learn at their own pace and remind them that practice leads to progress.
- Collaboration: Work on a project together, this can create shared goals and strengthen bonds.
By keeping these five tips in mind, you’ll set the stage for a delightful and fulfilling loom knitting experience with your children. Get ready to explore a world of color, texture, and creativity as a family. Happy loom knitting!
For more resources and project ideas, be sure to check back with us for updates. Let the looping, knitting, and joyful creation begin!
See more great Things to Do with Kids in New Zealand here. For more information see here
Disclaimer
The articles available via our website provide general information only and we strongly urge readers to exercise caution and conduct their own thorough research and fact-checking. The information presented should not be taken as absolute truth, and, to the maximum extent permitted by law, we will not be held liable for any inaccuracies or errors in the content. It is essential for individuals to independently verify and validate the information before making any decisions or taking any actions based on the articles.


