
Ultimate Guide to Drawing Easter Delights: A Family Bonding Activity
Hey there, festive families! The season of joyous hopping bunnies and colorful eggs is upon us. Are you looking for a delightful way to engage your kids in Easter fun? Well, you’ve hopped to the right place! Our whimsical guide is here to sprinkle some artistic magic into your holiday festivities.
Whether you’re a seasoned artist or a drawing novice, we’ve got something for everyone. So grab your pencils, crayons, and let’s embark on this egg-citing drawing adventure together!
What You’ll Need to Get Started
- Plain white paper or drawing pads
- Pencils and erasers for sketching
- Colored pencils, markers, or crayons for decorating
- Optional: glitter, stickers, or paint for extra sparkle and fun
With these tools at the ready, let’s jump into creating some egg-stra special Easter artwork!
Simple Step-by-Step Guide to Drawing An Easter Bunny
The Easter Bunny is a cherished symbol of the season and drawing one can be a snap with these simple steps:
- Start with the Head: Draw a large oval to form the head of your bunny. This will be the foundation of your character, so make sure you leave enough room for the rest of the body!
- Add the Bunny’s Ears: On top of the head, add two long ears. Kids can experiment here – make them straight, floppy, or even a little bent at the tips for added character!
- Sketch the Body: Just below the head, draw a larger oval for the bunny’s body. It should be wider and slightly longer than the head to give your bunny a cuddly look.
- Create the Face: Inside the head, draw two circles for the eyes, a small triangle for the nose, and a squiggly line for the mouth. Don’t forget those whiskers!
- Final Touches: Add little paws at the front, and don’t miss out on a fluffy tail at the back. Your Easter Bunny drawing is almost complete!
- Color and Decorate: This is where your kids can let their imaginations soar! Color the bunny in hues of grey, brown, or white, and add in some pinks for the ears and nose. Throw in a little background – maybe a field of flowers or a sunny sky!
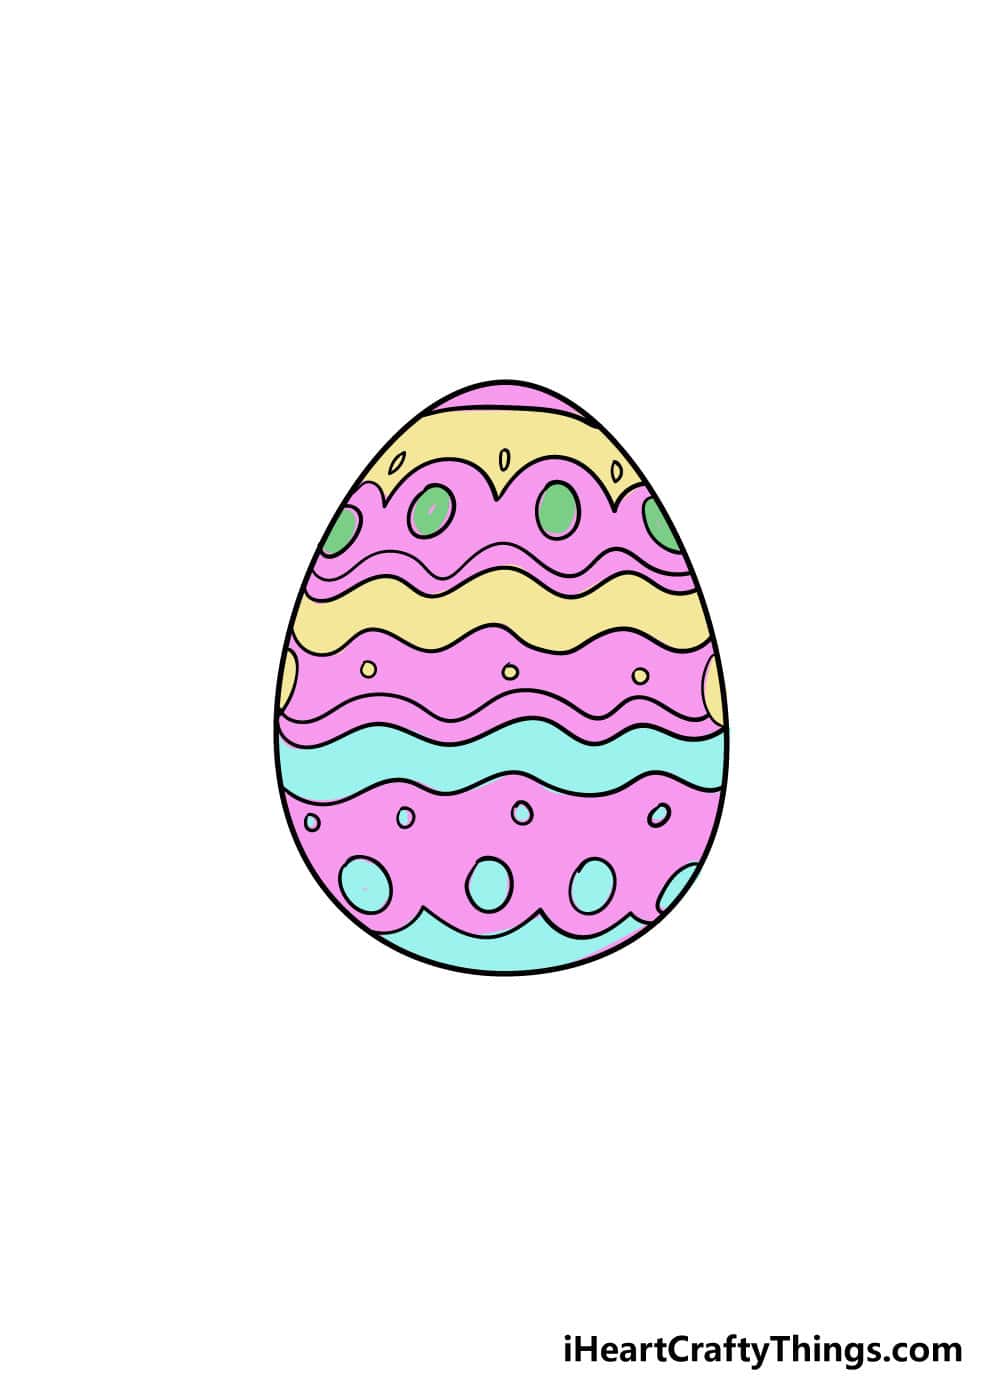
Crafting the Perfect Easter Egg Drawing
Easter isn’t Easter without the eggs, right? Drawing them can be both fun and an awesome way for kids to showcase their creativity.
- Draw an Oval: Begin with a simple oval shape. This forms the basic egg outline and kids can practice making it as symmetrical as possible for an extra challenge.
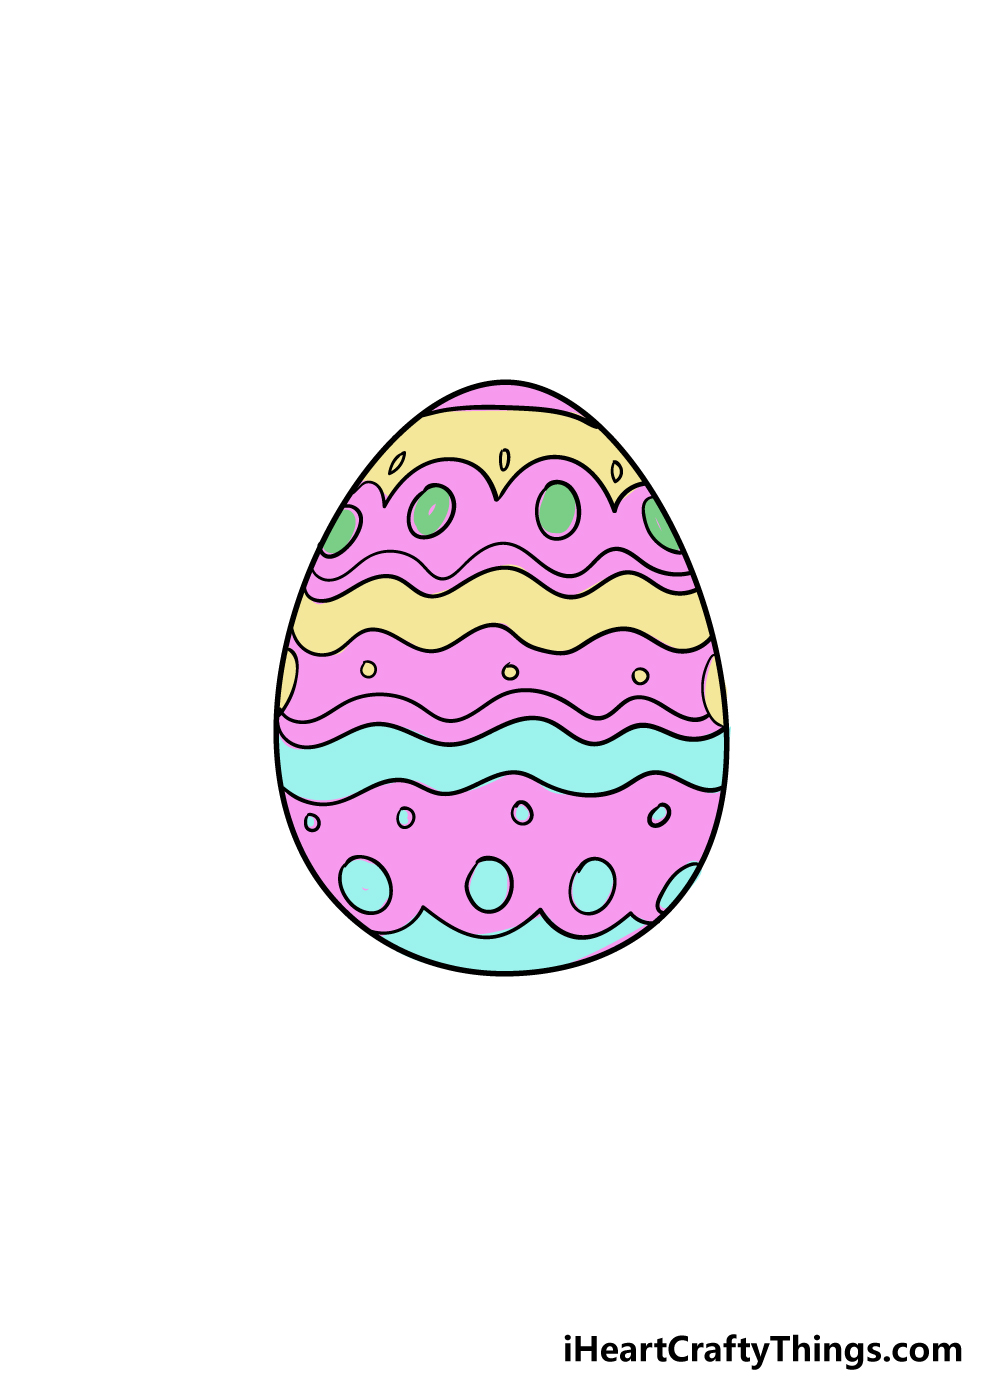
- Design Patterns: Next comes the best part – decorating the egg with patterns! Encourage your kids to draw stripes, polka dots, zig-zags, or any design they fancy on the egg.
- Add Some Color: Once the designs are in place, it’s time to color them in. Go wild with the color choices or maybe stick to pastel shades for a traditional Easter look.
Drawing alongside your children isn’t just about creating adorable Easter art. It’s about making memories, sharing laughter, and enjoying the process of creation. Stay tuned for more tips on how to draw other Easter-themed items such as spring flowers, baskets, and cute baby chicks!
Ready for even more art fun? Keep reading as we continue to explore the delightful world of Easter drawings and crafts.
Five Essential Tips for Parents Preparing for Easter Drawing Sessions
Before you dive into the world of Easter sketches and doodles with your little ones, here are five vital pointers to ensure your drawing experience is as smooth and enjoyable as possible:
1. Create a Comfortable Workspace
Designate a drawing area that is well-lit and comfortable. Ensure the surface is flat, like a table or desk, and there’s enough room for all your drawing materials. A clean workspace will not only inspire creativity but will also help in keeping the little artists focused.
2. Choose Age-Appropriate Tools
Select drawing utensils that are suitable for your child’s age. For younger children, washable markers or crayons might be more appropriate, whereas older kids may enjoy the precision of colored pencils or fine-tip markers. The right tools will help them create without frustration.
3. Be Ready for Messes
Art can get messy, especially with excited kiddos. Keep wipes or a damp cloth handy for quick cleanups. Also, protect clothing with art smocks or old t-shirts, and use washable art supplies to avoid stubborn stains.
4. Embrace Imperfections
Remind your children (and yourself) that perfection is not the goal – fun is! Praise their effort and imagination. If they go outside the lines or their bunny looks more like a cat, that’s okay. It’s the unique quirks that make each piece extra special.
5. Encourage Self-Expression
Allow your kids to express themselves freely through their art. If they want to draw a purple bunny or a polka-dotted sky, let them! Creative expression is a wonderful way to explore their individuality and build confidence in their ideas.
With these tips in mind, you’re all set for a fantastic drawing experience this Easter. Gather your supplies, and let the creativity begin!
Drawing Charming Spring Flowers
No Easter scene is complete without the fresh bloom of spring flowers! Let’s add a floral touch to your Easter drawings:
- Start with the Stems: Draw a couple of long, slightly curved lines for stems. They can be as tall or as short as you like!
- Add Petals: At the top of each stem, draw simple shapes for petals. Circles, ovals, or heart shapes work great for creating different flower varieties.
- Draw the Leaves: Sketch some leaves along the stems. They can be long and skinny or wide and round, depending on the type of flower you’re creating.
- Finish with Details: Add lines in the petals for texture, and perhaps a dot or circle in the center of each flower for the stamen or pistil.
- Bring to Life with Color: Now for the magical part – coloring! Encourage your kids to use bright, vibrant colors to bring their flowers to life. A mixture of colors can create a lovely variety in their garden!
How to Sketch an Easter Basket
The Easter basket is a staple of the holiday. Follow these steps to make your basket look ready for an egg hunt:
- Outline the Basket: Start by drawing an oval at the top and a wider oval below it for the basket’s opening and base. Connect them with straight lines on each side to form the basket’s body.
- Weave the Pattern: Add parallel curved lines both horizontally and vertically to create a woven texture. This can be a fun way to practice patterns with your kids!
- Draw the Handle: Attach a curved handle from one side of the top oval to the other, making sure it’s sturdy looking for all those Easter goodies.
- Add Eggs and Details: Inside the basket, draw some oval shapes for Easter eggs. You can even add a little Easter grass peeking out from beneath them.
- Color Your Creation: Choose warm, earthy tones for the basket and bright, cheerful colors for the eggs. This contrast will make your drawing pop!
Remember, the true joy comes from the process of creating together. As you guide your little artists through drawing these Easter-themed items, cherish the giggles, the smudged fingers, and the proud smiles. It’s all part of the wondrous journey of art and family bonding!
See more great Things to Do with Kids in New Zealand here. For more information see here
Disclaimer
The articles available via our website provide general information only and we strongly urge readers to exercise caution and conduct their own thorough research and fact-checking. The information presented should not be taken as absolute truth, and, to the maximum extent permitted by law, we will not be held liable for any inaccuracies or errors in the content. It is essential for individuals to independently verify and validate the information before making any decisions or taking any actions based on the articles.


