
Embark on a Magical Art Adventure: A Parent’s Guide to Teaching Kids How to Draw Elves
Welcome to our whimsical guide, dear creative parents and guardians! Are you looking to add a little enchantment to your family’s art time? You’ve stumbled upon the perfect spellbinding stop! Drawing is not only a delightful way to foster your child’s imagination but also a fantastic method to improve their fine motor skills and concentration. Today, we’re focusing on one of the most charming and mystical subjects to sketch: elves! Elves have captured the hearts of many, from ancient mythologies to modern fantasy epics, and they serve as fantastic characters to inspire young artists. So grab your pencils, paper, and a sprinkle of magic dust as we embark on this artistic journey to learn how to draw elves together.
Why Elves? The Benefits of Drawing These Magical Creatures
Drawing elves isn’t just a fun activity; it’s a doorway to a variety of learning experiences. Elves, with their intricate clothing and unique features, challenge your child’s attention to detail and their ability to reproduce complex shapes and patterns. Plus, the mythical nature of elves encourages your child to let their imagination flow freely, which is essential for cognitive development. Let’s explore some captivating reasons why teaching your little ones to draw elves can be incredibly rewarding:
- Creativity Booster: Elves come in all shapes, sizes, and styles. Whether you’re drawing a woodland elf with leafy garments or a high elf donned in elegant attire, there’s no limit to creativity.
- Storytelling Skills: Each elf can have its own backstory. Encouraging your child to invent stories about their elf characters can enhance their narrative skills.
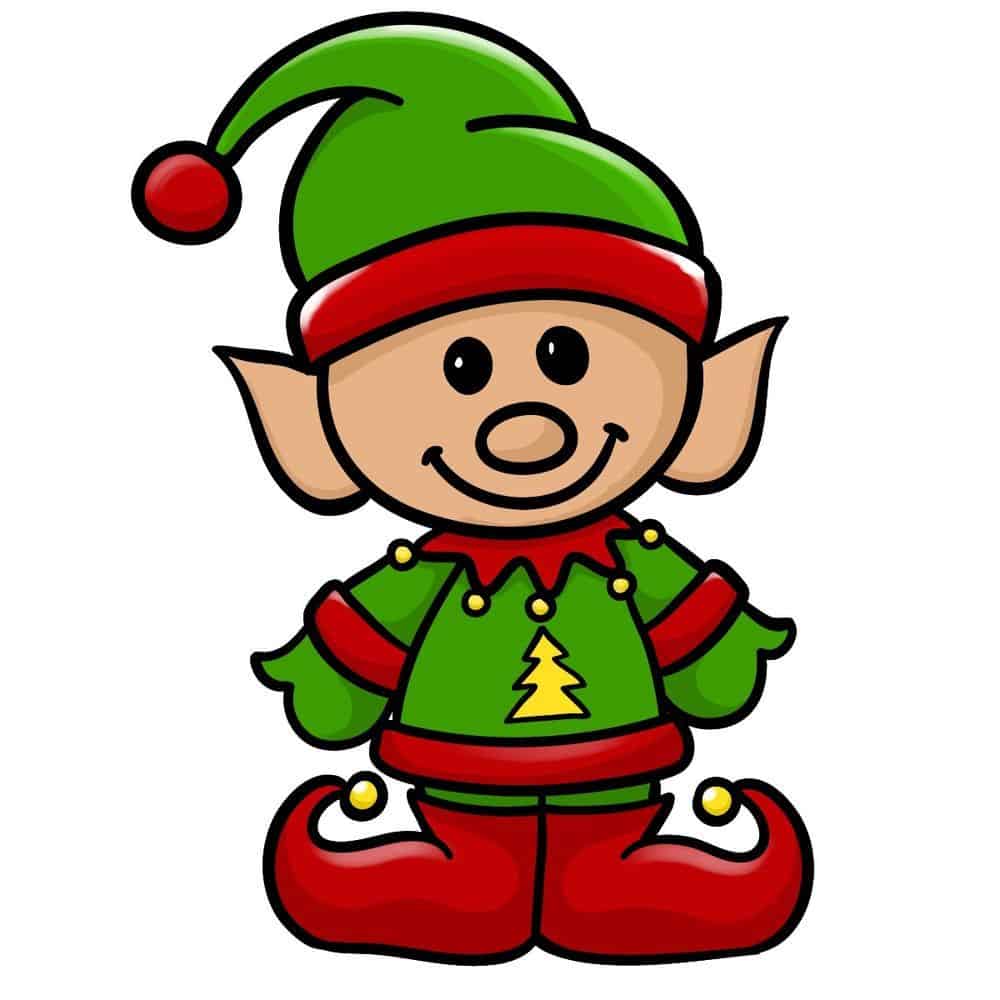
- Attention to Detail: Elves traditionally have distinct features like pointy ears and ornate robes. Focusing on these details can refine your child’s observation and drawing skills.
- Improved Motor Skills: The fine movements involved in sketching help to develop your child’s hand-eye coordination and dexterity.
- Cultural Exploration: Elves are prominent in various cultures. Drawing different types of elves can be a doorway to learning about folklore from around the world.
Setting the Scene: Materials and Preparation
Before we jump into the fantastical forest of elf-drawing, let’s make sure we have everything we need. Preparing the right materials and environment plays a crucial role in your child’s artistic experience. Here are some materials to gather:
- Drawing Paper: Smooth paper is ideal for fine lines and detailed work, while textured paper can add an interesting element to your elf drawings.
- Pencils: A range of pencils (HB, 2B, 4B, etc.) allows for different shades and line thickness. Make sure to have a sharpener handy!
- Erasers: A standard eraser for removing pencil marks and a kneaded eraser for lightening lines or creating highlights.
- Coloring Supplies: Colored pencils, markers, or watercolors — choose your child’s favorites to bring their elf creations to life!
- Reference Images: Having pictures of elves can inspire and guide your child through the drawing process.
Ensure you have a quiet and comfortable space with enough room to spread out your art materials. Good lighting is also essential to prevent eye strain and to see the artwork clearly.
Step-by-Step Guide: Drawing Your First Elf
Now, let’s start with the basics. Here’s a simple, step-by-step guide for drawing a classic elf that both you and your child can enjoy:
Step 1: Shape the Head and Body
Begin by sketching a lightly drawn oval for the head. Underneath it, draw a simple line to indicate the spine, two lines for the shoulders, and a tapered shape for the torso. This will serve as the basic framework for your elf’s body.
Step 2: Add Facial Guidelines
Inside the oval, draw crossed lines — these will guide you to place the elf’s facial features correctly. The horizontal line should curve slightly to give the face shape, and the vertical line will help balance the placement of the eyes, nose, and mouth.
Stay tuned for more detailed steps where we will explore crafting delicate elf ears, adorning your elf with traditional clothing, and adding those twinkling fairy-tale touches that make your elf drawing truly magical. Remember, the key to learning something new is to be patient and enjoy the process, and soon, you’ll both be creating enchanting elfin art together!
5 Essential Tips for Parents Preparing for Elf Drawing Lessons
Parents, as you gear up to guide your youngsters into the realm of elf drawing, there are a few enchanted nuggets of wisdom you should keep in mind. Let’s dive into five essential tips to ensure your art venture is as smooth as an elf’s flight through starry skies!
1. Foster a Relaxing Atmosphere
Art is a form of escapism, a time to relax and dive into the world of creation. Create an atmosphere that’s cozy and inviting, free from distractions. Settle into a space that’s comfortable, quiet, and where imagination can sprout wings. Use soft background music or nature sounds if it helps to set the tone for a magical adventure.
2. Patiently Teach the Art of Observation
Before pencils touch paper, spend a moment with your child looking at various images of elves. Discuss the details, like the arch of an eyebrow or the swirl in a garment. Encourage them to notice the little things—the way light dances on an elf’s hair, or how their eyes might reflect centuries of wisdom. This skill of seeing the nuance will translate beautifully onto their canvas.
3. Embrace the Mess and Mishaps
As with any great adventure, there will be moments of chaos—broken pencil tips, smudges, and lines that go awry. Instead of aiming for perfection, emphasize the joy in the process. Who knows, a stray mark might lead to the creation of an entirely unique elfish characteristic. Celebrate the blunders; they’re proof of learning and creativity at work!
4. Keep it Simple and Build Gradually
Begin with basic shapes and patterns. An elf’s ear, for example, starts as a simple triangle. As your child becomes more comfortable, you can add curves and details. Layering their skills step-by-step makes the task less daunting and much more enjoyable. Celebrate each milestone, from the first stroke to the final embellishment.
5. Encourage Artistic Freedom
While elves have their common features, remember that each artist brings their unique perspective. Inspire your child to add personal touches—maybe their elf wields a crystalline staff or wears boots that bloom with real flowers. Artistic freedom nurtures creativity, and you’ll be amazed at the worlds your child can create with just a dash of encouragement.
As we continue, I’ll guide you through designing intricate elfin ears, dressing your characters in fantastical apparel, and adding those special sparkles that make your elf drawings come alive. Drawing together can create heartwarming family memories and extraordinary art. So, ready your sketches and color palettes—for the next trail of our elf-drawing guide awaits your artistic spirit!
See more great Things to Do with Kids in New Zealand here. For more information see here
Disclaimer
The articles available via our website provide general information only and we strongly urge readers to exercise caution and conduct their own thorough research and fact-checking. The information presented should not be taken as absolute truth, and, to the maximum extent permitted by law, we will not be held liable for any inaccuracies or errors in the content. It is essential for individuals to independently verify and validate the information before making any decisions or taking any actions based on the articles.


